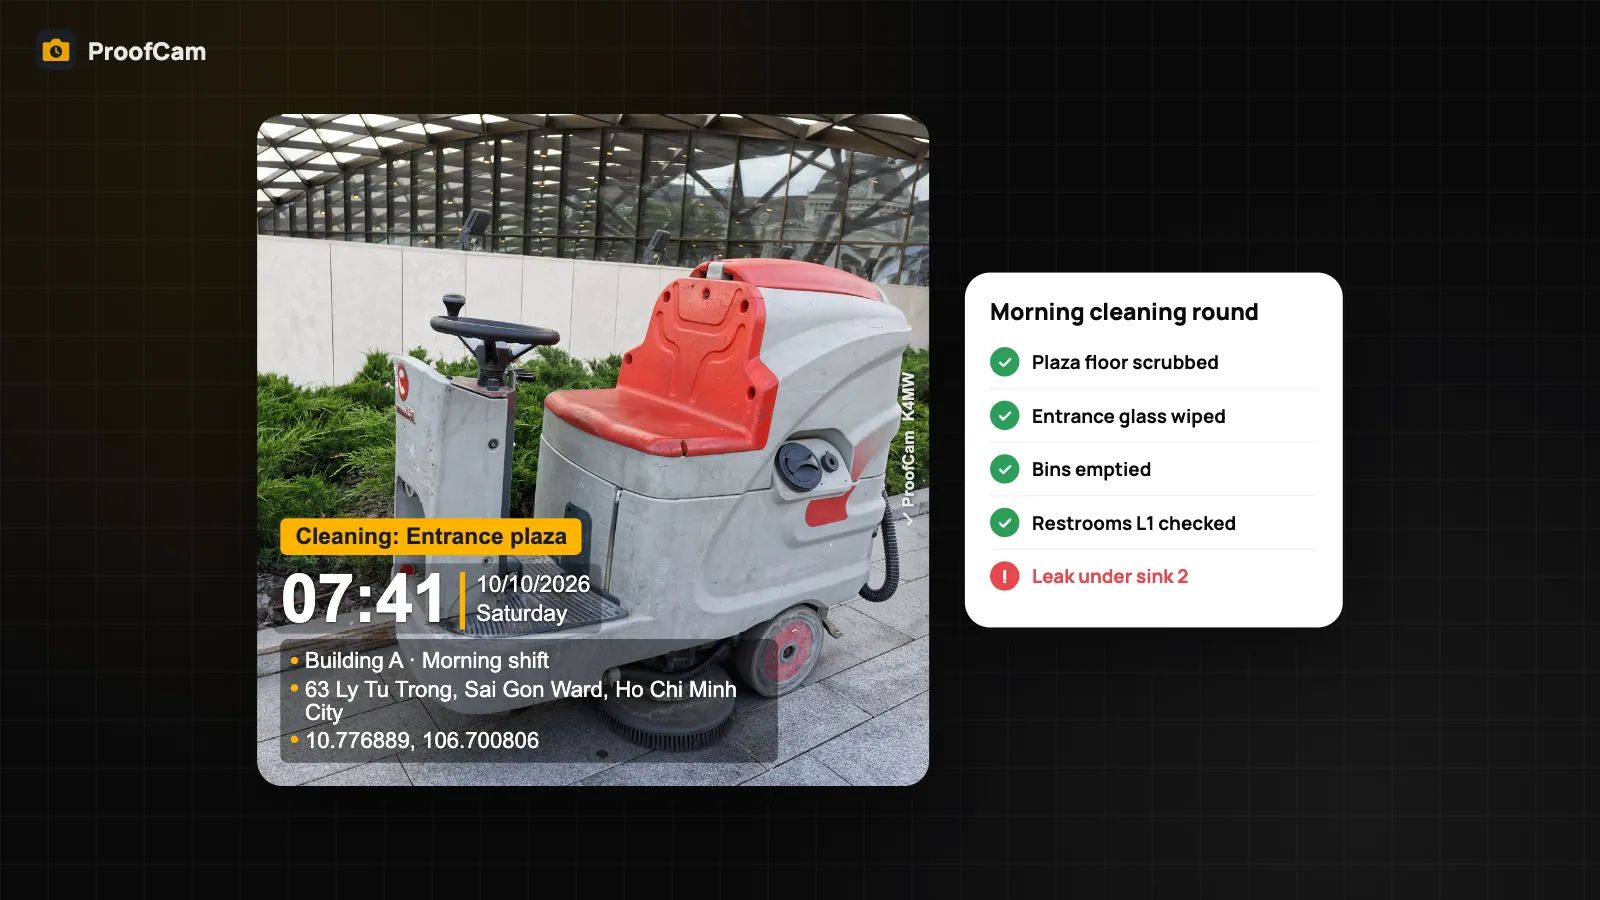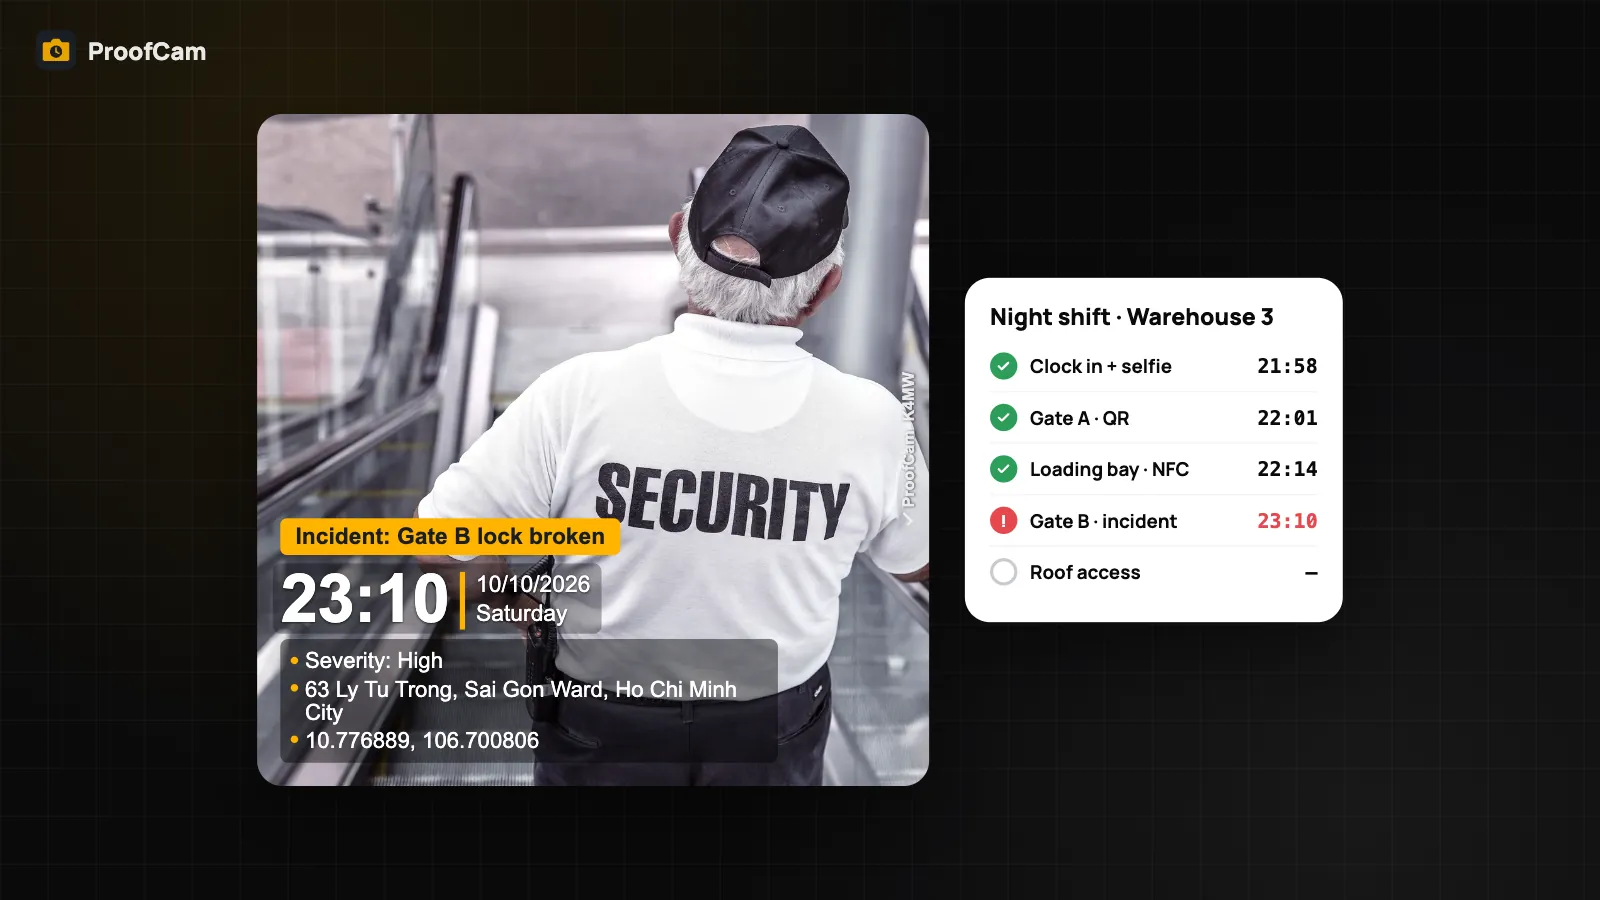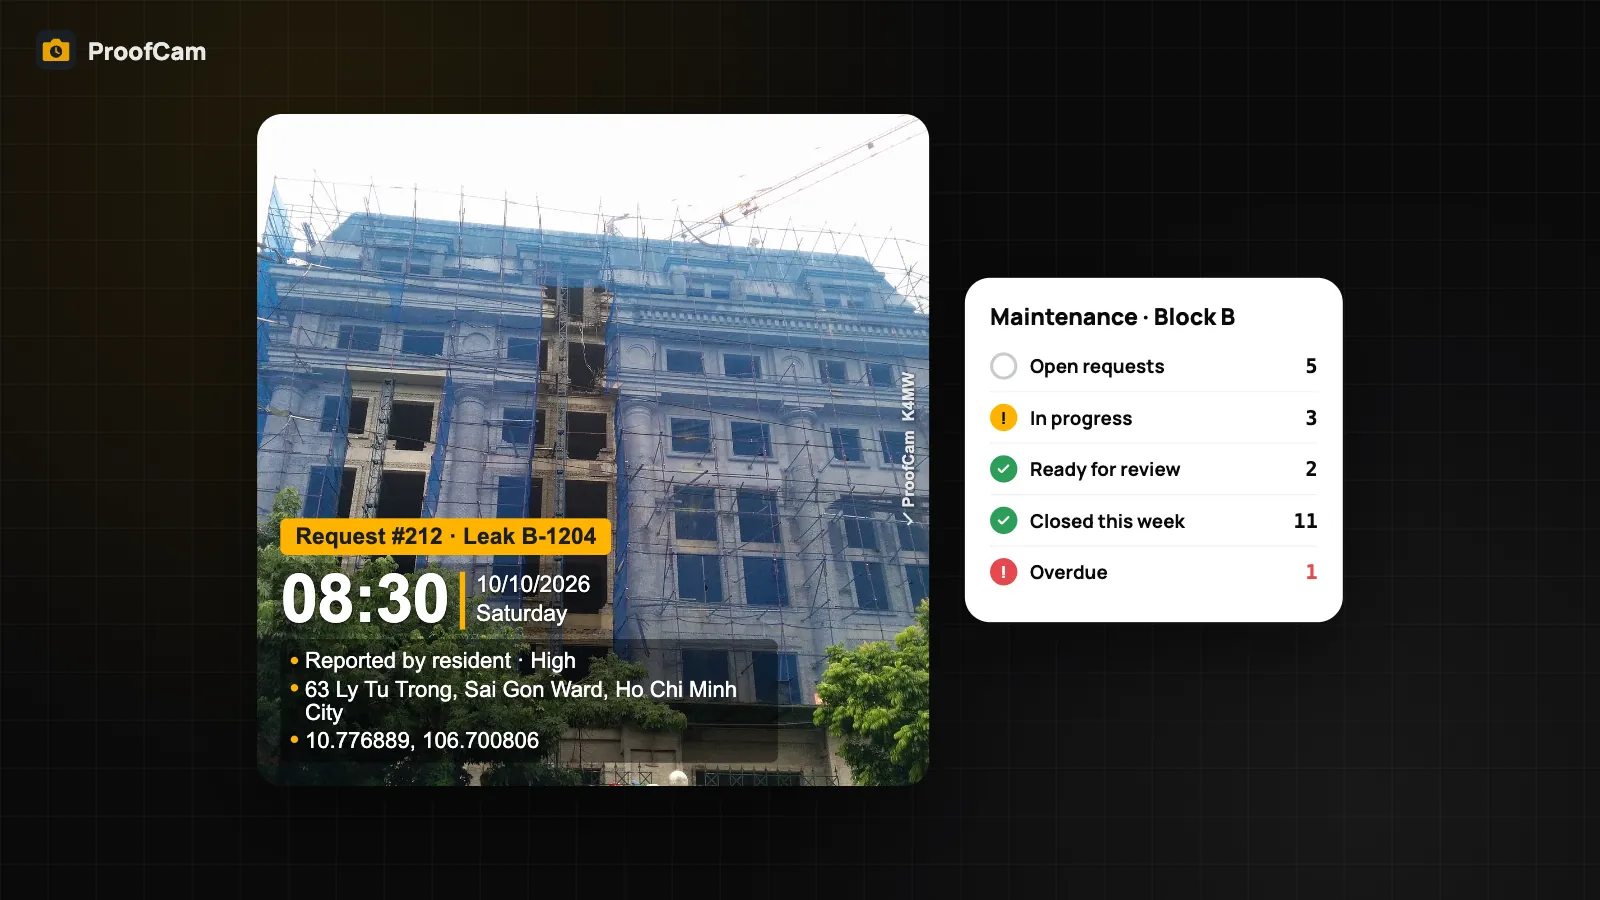
Most deposit arguments come down to one question: was that crack there when the tenant moved in? A year later, nobody remembers, and a handful of undated phone photos doesn't settle it. A move in move out inspection app records the condition of every room on the first day and the last, with the same items checked twice, so both sides can see what changed. This guide is for landlords, property managers and tenants who want a clear condition report without a stack of paper forms.
Why rental handovers turn into disputes
- No baseline. The move-in walk-through was rushed, or the form just says "Good" for every room. At move-out, there is nothing specific to compare against.
- Photos without context. Pictures sit in someone's camera roll with no room name, and the date can be changed or lost when the photo is forwarded.
- Meter readings argued later. The electricity and water readings were written on a sticky note, or not at all, so the final bill becomes a negotiation.
- Two different versions. The landlord has their photos, the tenant has theirs, and neither trusts the other's.
- Paper that goes missing. The signed inventory annex lives in a drawer and is nowhere to be found a year later.
Which ProofCam features help
| Need | ProofCam feature | Plan |
|---|---|---|
| Room-by-room check-in and check-out | Bundled real-estate templates Handover — check-in and Handover — check-out | Real-estate pack: personal Plus, a team on trial, or a Business team with the add-on |
| Compare move-in and move-out | Side-by-side check-in vs check-out PDF with both signatures | Same as above |
| Trustworthy date and time | Network time on every photo (phone clock ignored once synced) | Free |
| The other party can check a photo | Photo Code + web verify page | Free |
| A full view of each room | 4-direction compass-guided set with 2×2 collage | Plus |
| Point at damage | Markup on a copy: arrow, box, text (more shapes on Plus) | Free |
| Size of a crack or stain | AR measure: distance and height (area on Plus) | Free on supported phones |
| Scan the signed paper annex | Document mode: multi-page PDF, Photo Code per page | Plus |
| Send the report | PDF export, share link | PDF Free up to 10 photos, Plus unlimited; share links with an account or Teamspace |
The move in move out inspection, step by step
Before the handover
- Unlock the real-estate pack. It's included with personal Plus, with a team on its 14-day Business trial, or with a Business team that has the real-estate add-on.
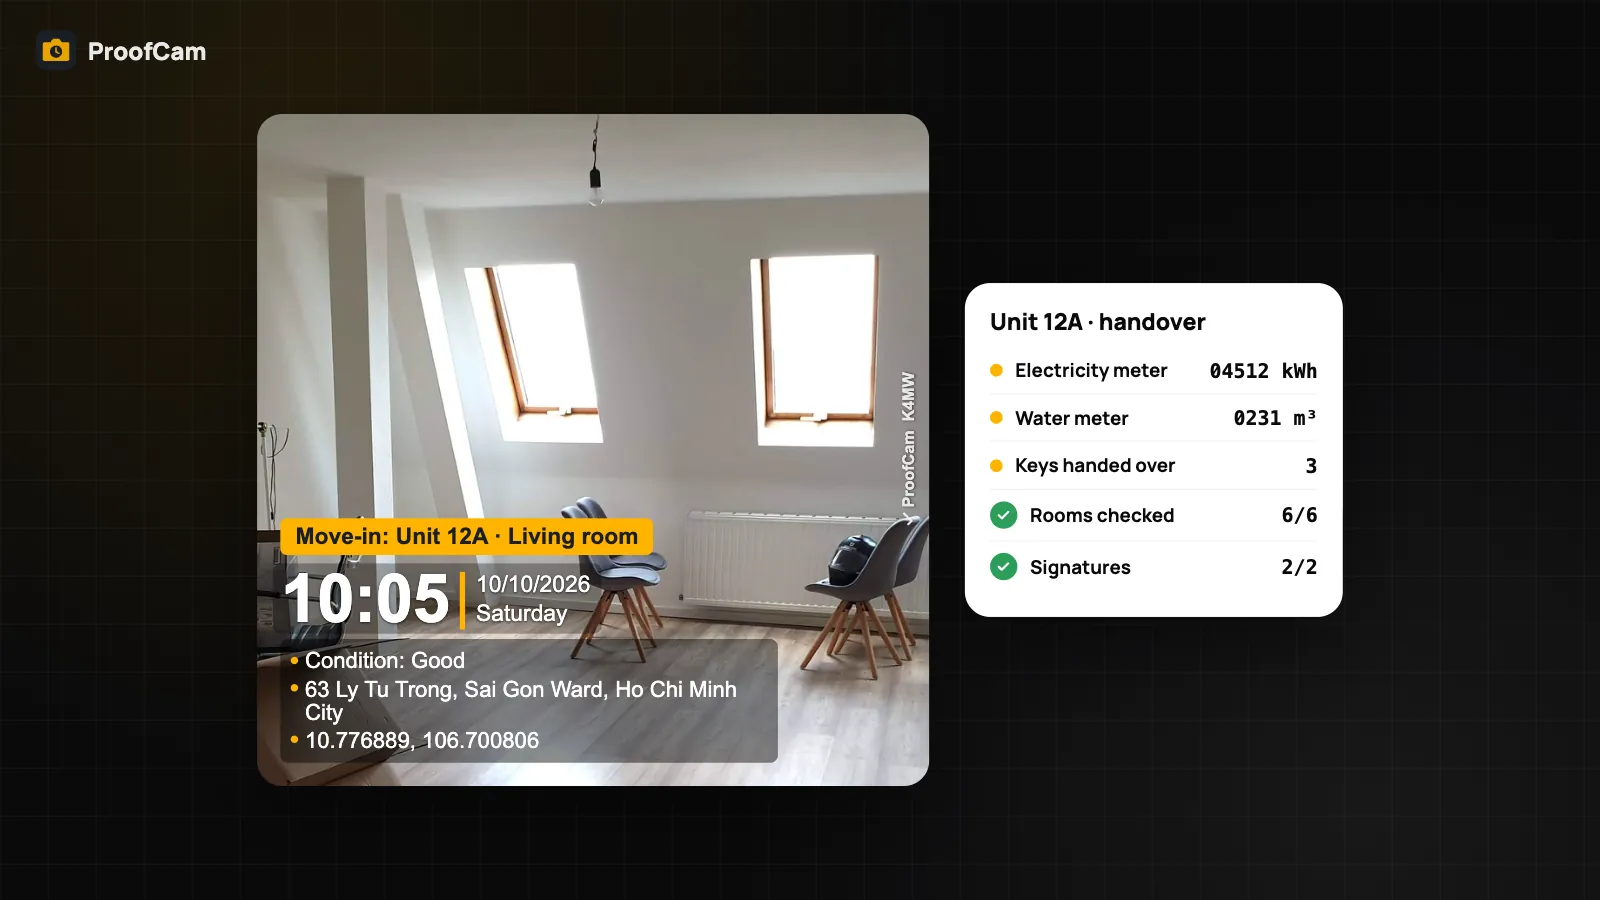
- Open the Handover — check-in template. It covers the unit, the tenant, electricity and water meter readings, keys, and a condition block for each room: a condition rating, two photos and notes. It is built on the same engine as all inspection checklists and PDF reports. Adjust room names to match the unit (Unit 12A has a living room, kitchen, two bedrooms and a bathroom, for example).
- Set up the stamp. Add a custom field like "Unit" so every photo shows "Unit 12A · Living room". Network time and the Photo Code are on every photo by default; see why network time matters.
On move-in day
- Read the meters first. Enter the electricity (kWh) and water (m³) readings as number fields and photograph each meter display. The photo backs up the number.
- Go room by room. Rate each room, take the two photos, add notes for anything worth remembering ("small scratch on the wardrobe door"). With Plus, a 4-direction set (N/E/S/W, guided by the compass) gives a full view of a room in four shots and a 2×2 collage. See the 4-direction set in the construction photo guide.
- Mark existing damage. Draw an arrow or box on a copy of the photo to point at a mark. The original and its Photo Code stay untouched. On supported phones, AR measure records the length of a crack or the width of a stain.
- Count the keys. Enter the number of keys and fobs handed over.
- Both parties sign on the phone at the end of the checklist.
- Scan the paper. If you also sign a paper inventory annex, scan it with document mode (Plus): each page gets its own Photo Code and the pages become one PDF.
On move-out day
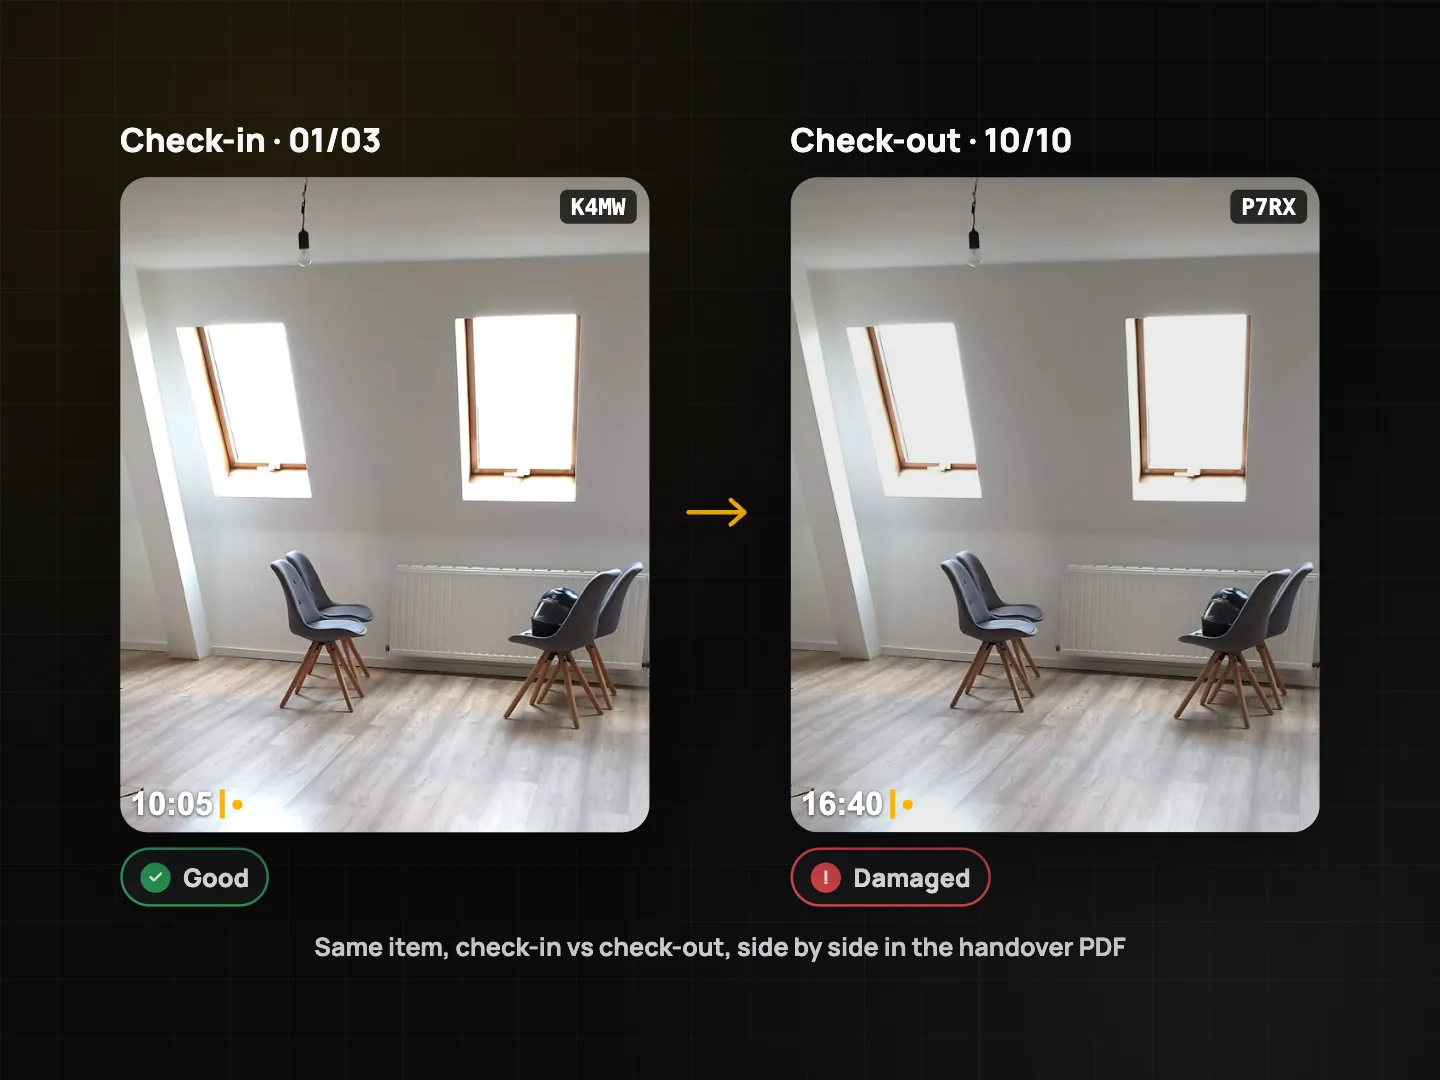
- Open Handover — check-out. It lists the same items in the same order, so nothing gets skipped. Take the photos from the same spots as at check-in; standing in the doorway is easy to repeat.
- Read the meters again and photograph them. The difference is the usage since move-in.
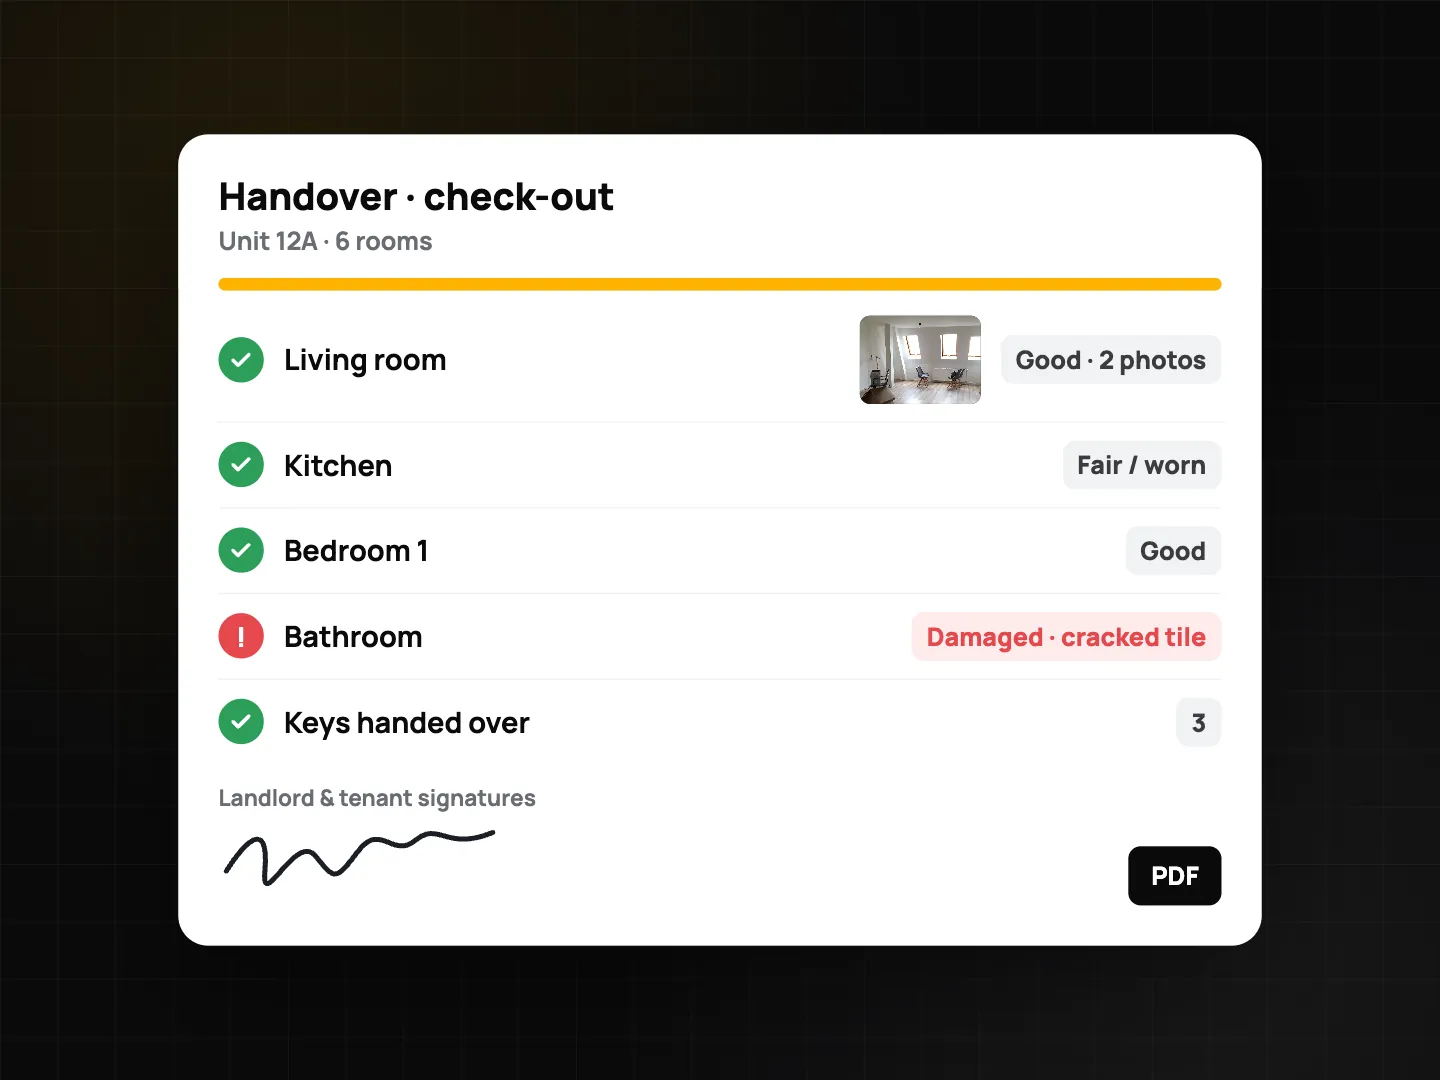
- Flag what changed. Mark a room Damaged, take close-ups, measure the damage and add a note. If a repair is needed and you manage the property with Teamspace, create a task from the photo so the repair is closed with an after photo. See punch lists with before and after photos.
- Sign and export. ProofCam builds a side-by-side PDF: each item at check-in next to the same item at check-out, with both signatures. Share it as a PDF or a share link.
After the handover
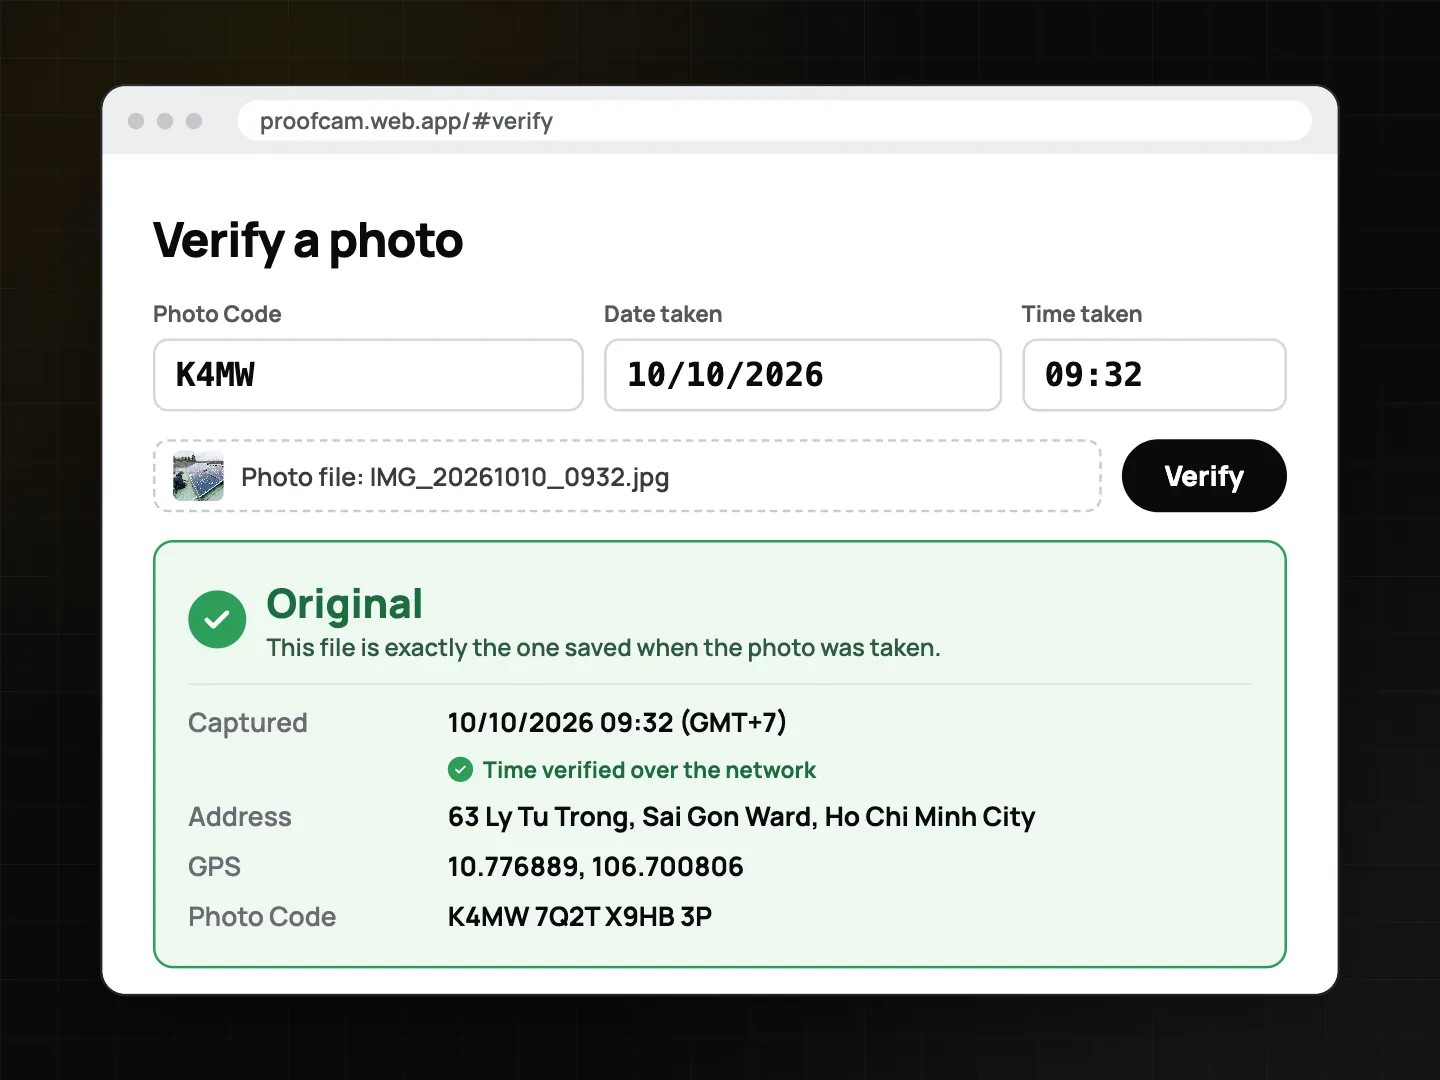
The other party can check any photo themselves. They enter the Photo Code on the verify page, and the photo's fingerprint is computed in their browser, so the picture is never uploaded. The result shows whether it is the original and when and where it was taken. More in Photo Code: verify original photos.
Checklist: what to record in a rental condition report
The bundled templates cover the essentials. A good report usually includes:
| Item | Question type | Tip |
|---|---|---|
| Unit, address, tenant name | Text | Use the same unit name as the lease |
| Electricity meter | Number (kWh) + photo | Photo the display, not the meter box |
| Water meter | Number (m³) + photo | Include the meter serial in frame |
| Keys and fobs | Number | Note which doors they open |
| Each room: condition | Single choice (Good / Fair / Damaged) | Same rating scale at check-in and check-out |
| Each room: photos | Photo (2 per room) | Same spots both times |
| Each room: notes | Text | Describe existing marks precisely |
| Appliances working | Yes/No/N/A + photo | Fridge, AC, water heater |
| Smoke alarm tested | Yes/No/N/A | |
| Landlord and tenant signatures | Signature | Both sign at both inspections |
Tips
- Photograph from the doorway first, then details. Wide shots show context; close-ups show the mark.
- Use the same light. Open curtains or switch on the lights both times, so a shadow isn't mistaken for a stain.
- Don't edit originals. Markup and collages are separate copies; keep the originals for verification.
- Share by link or file, not only by chat. Chat apps recompress photos, so a forwarded copy shows as a modified copy on the verify page, though its code still points to the original record.
FAQ
Does a move-in inspection settle a deposit dispute?
Stamped photos and a signed side-by-side report help provide evidence of the condition at each handover. How a deposit is handled depends on your lease and local law, so check the rules that apply to you.
Can a tenant use this, or only landlords?
Both. A tenant with ProofCam can record their own move-in photos. The Photo Code lets either side check the other's photos on the verify page.
Which plan do I need for the handover templates?
The real-estate pack comes with personal Plus, a Teamspace team on its Business trial, or a Business team with the real-estate add-on. Stamped photos, Photo Codes and verify work on the free plan.
Does AR measure work on every phone?
No. It needs a phone with ARCore support on Android or ARKit on iPhone. Distance and height are free; area and paths are Plus.
Related: equipment rental check-out and return photos and cleaning before and after photos.