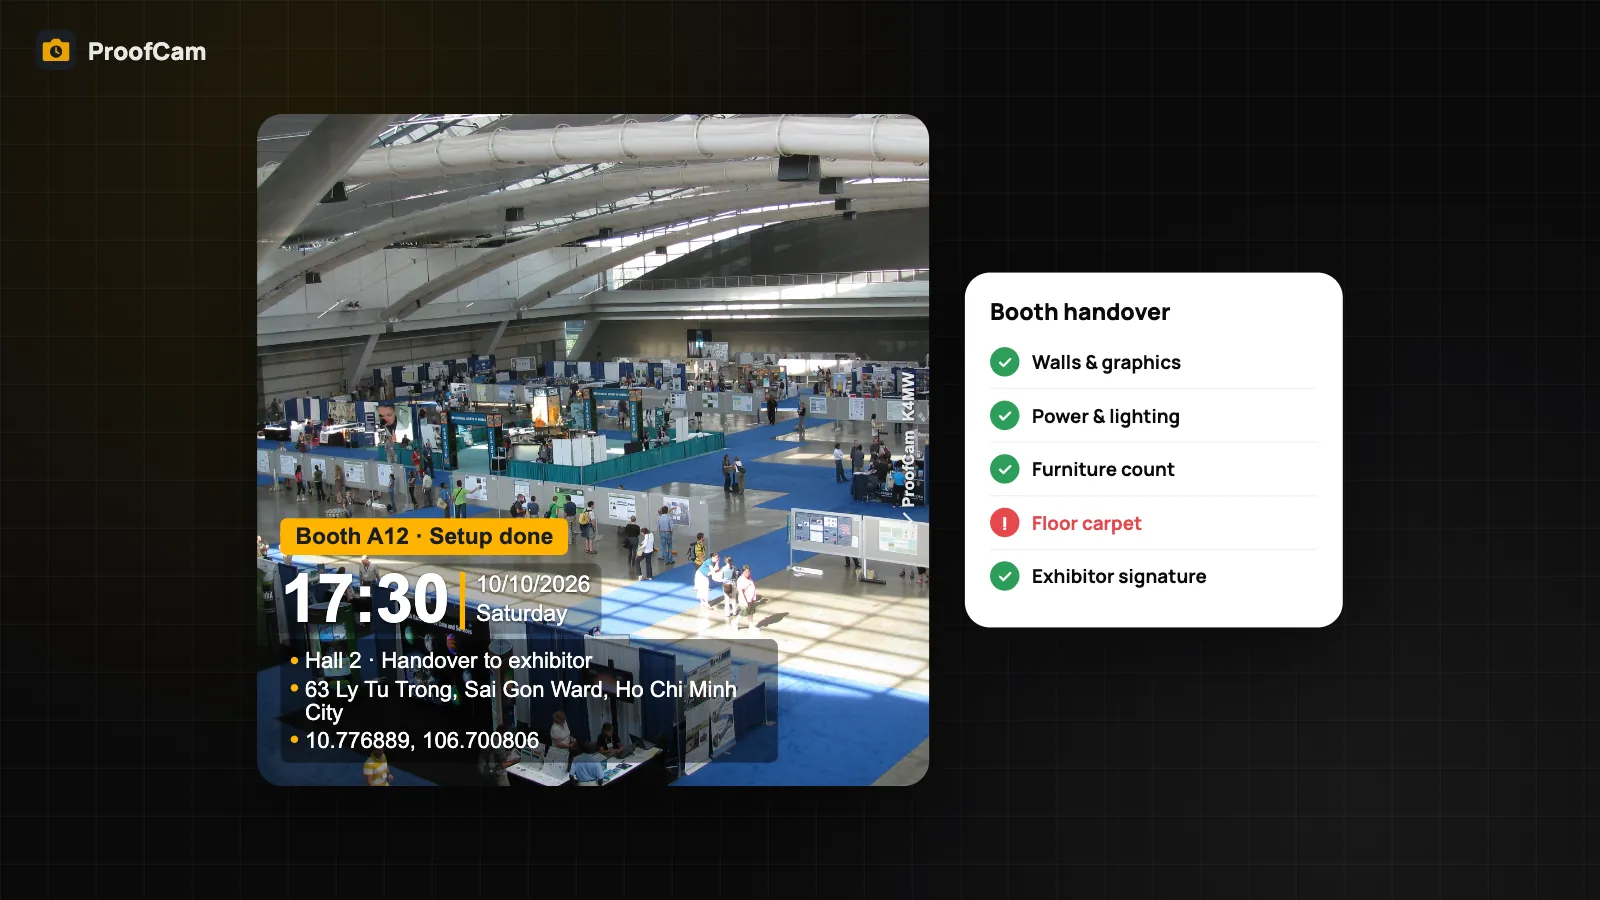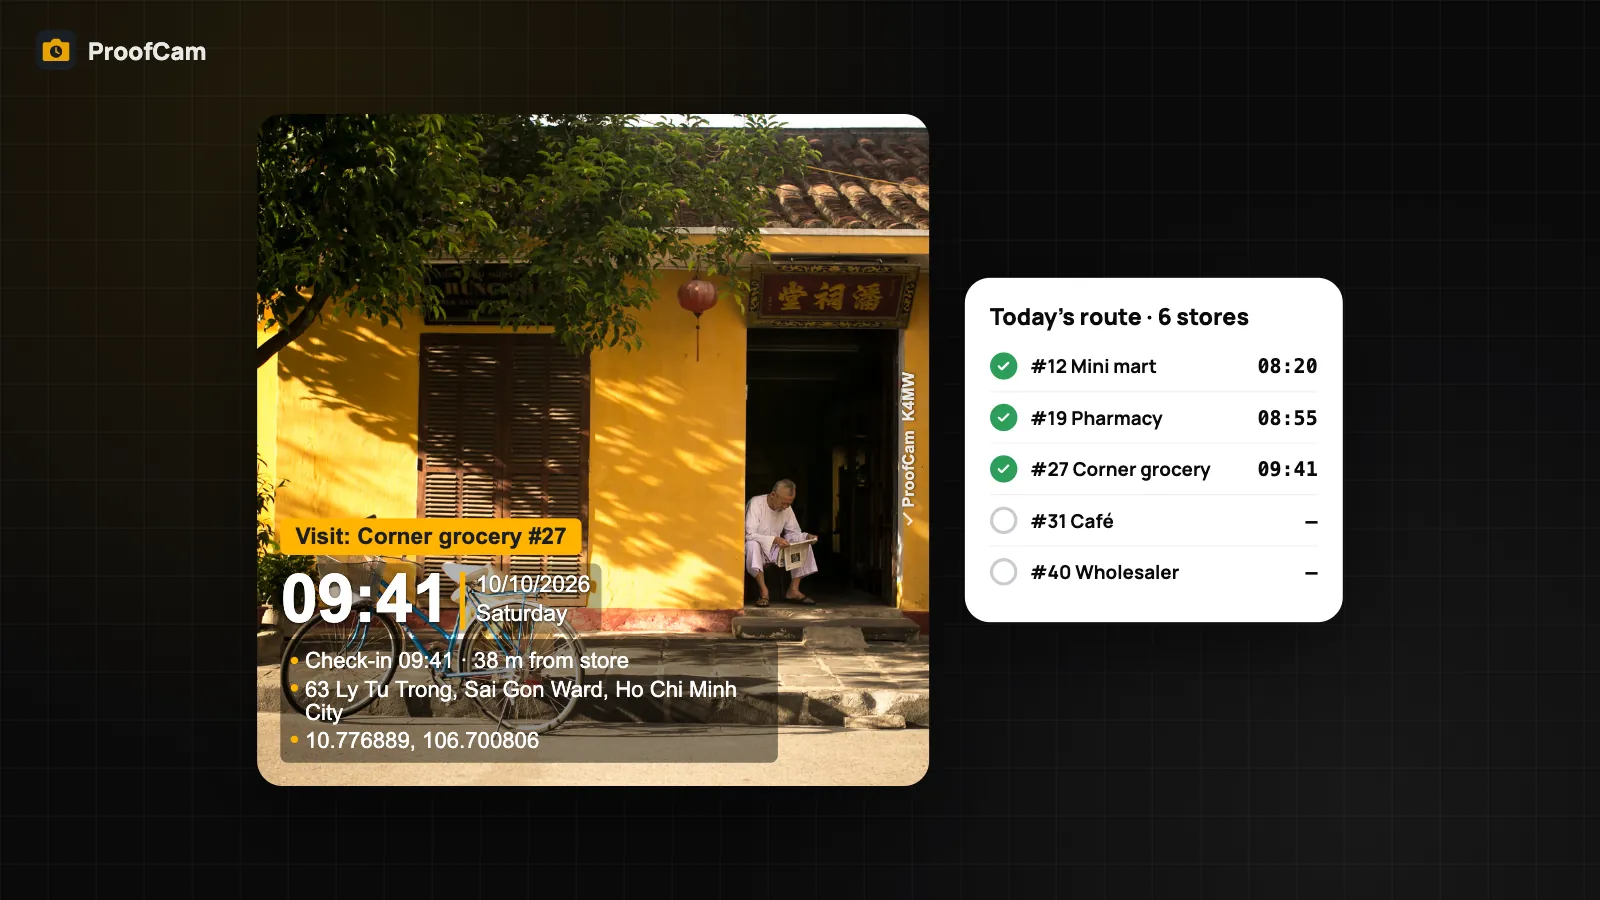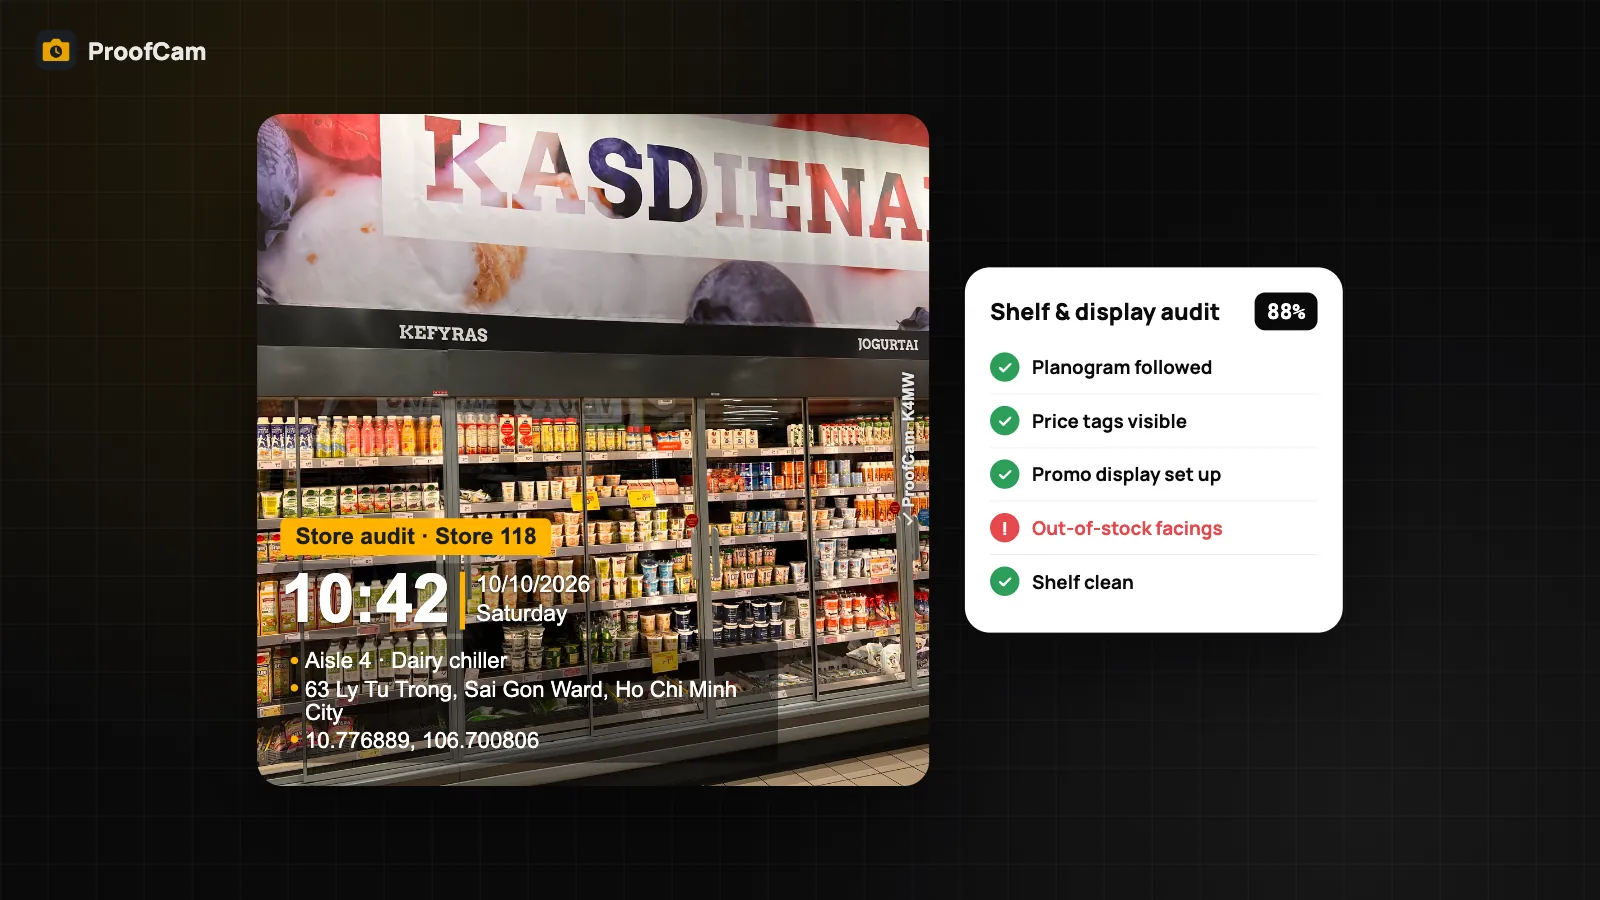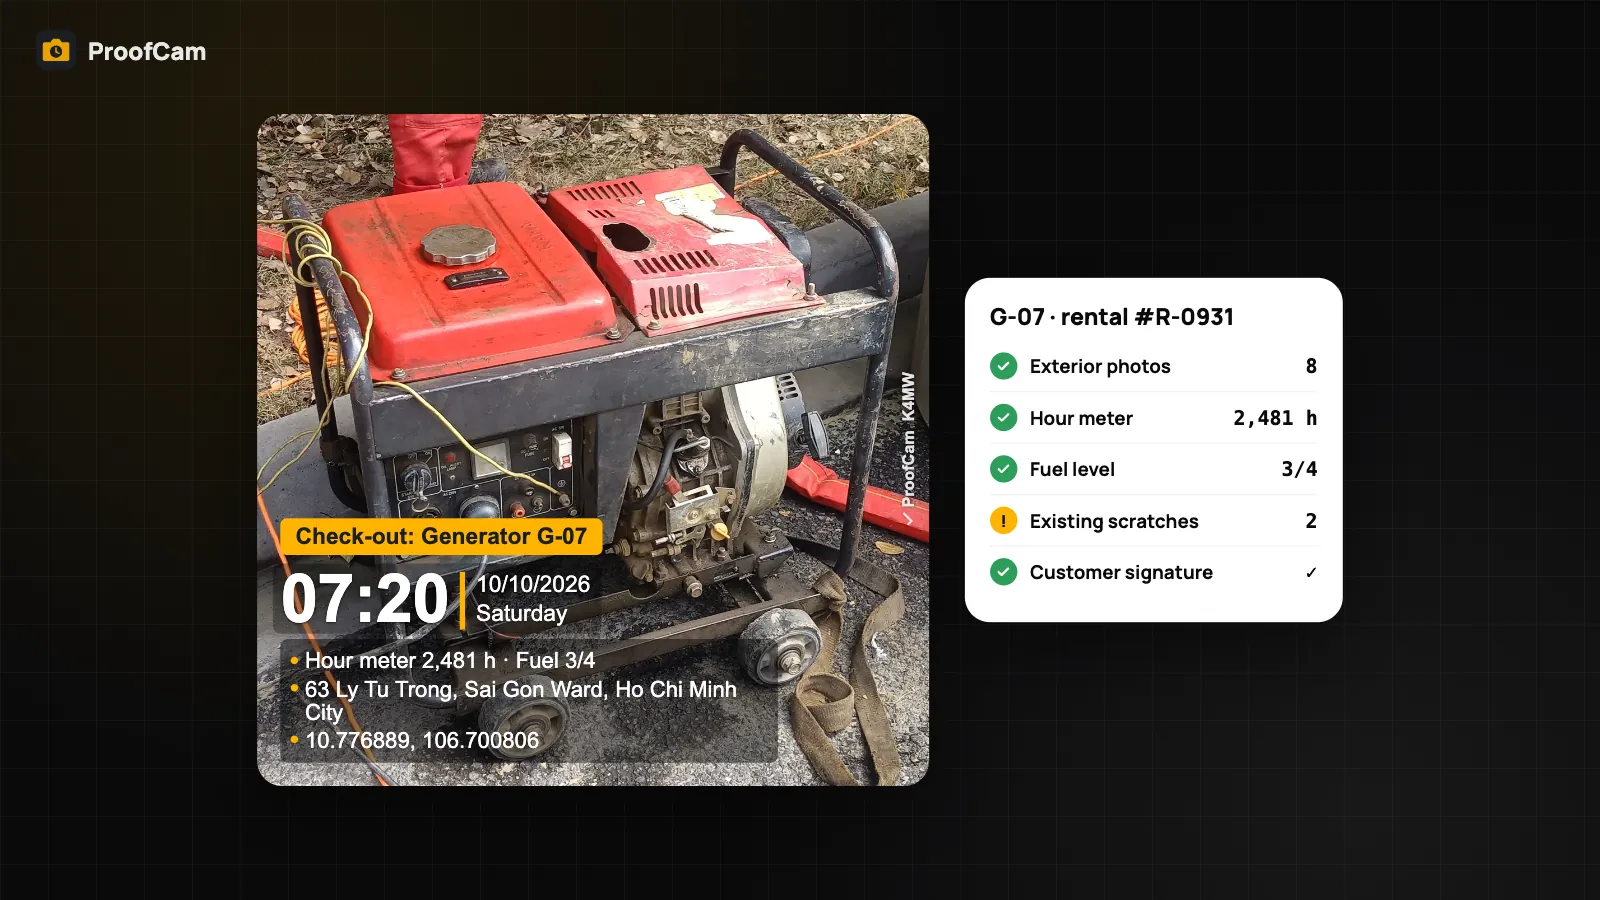
An excavator comes back from a ten-day hire with a dent in the bucket. The customer says it was already there. Your yard staff say it wasn't. Without a record from the morning it left, the conversation goes nowhere. A proper equipment rental check-out and return inspection settles this before it starts: the same machine, photographed from the same angles, with the hour meter, the fuel level and both signatures, at the moment it leaves and the moment it comes back.
This guide is for plant and tool hire yards, car and van rental, and anyone who lends out machines, generators or vehicles. It shows how to run both inspections in ProofCam so the two records line up and can be compared photo by photo.
Why rental condition disputes are hard
- No baseline. A quick walk-around with the customer and a tick on paper says "OK" but shows nothing. When damage appears at return, there is nothing to compare it with.
- Photos that prove little. Phone photos in a chat app have no reliable time or place. The customer can fairly ask whether a photo was taken today or last month, and on which machine.
- Numbers written by hand. Hour meter, odometer and fuel are scribbled on the form and often argued about later. A photo of the gauge next to the number is much harder to dispute.
- Different angles each time. If check-out photos are taken from the front and return photos from the side, a new scratch is hard to show.
- The yard has poor signal. Depots, construction sites and car parks often have weak coverage, and the inspection can't wait for a connection.
Who pays for damage depends on your rental contract and local law. Photos help provide evidence of condition at each handover. They don't decide liability on their own, so check your contract terms and local rules.
Which ProofCam features help with equipment rental check-out and return
| Need | ProofCam feature | Plan |
|---|---|---|
| Time, date, GPS and address on every photo, from a clock the user can't change | Watermark with network time and Photo Code | Free |
| Unit ID and rental number on every photo | Custom fields in the watermark (Free 3, Plus 10) | Free / Plus |
| Same inspection every time, with required photos and readings | Checklists: photo with min. count, number fields, signature | Free (1 template), Plus (unlimited) |
| Ready-made team templates | Starter templates "Vehicle daily check" and "Equipment pre-use inspection" | Business |
| Full view of the machine from four sides | 4-direction set (N/E/S/W) with 2×2 collage | Plus |
| Compare check-out and return | Comparison slider in photo details; before/after collage export | Free (slider) / Plus (collage) |
| Mark the scratch or dent | Markup on a copy (arrow, box, text; more shapes on Plus) | Free / Plus |
| Show the moment, not just a frame | Live proof (1.5 s clip inside the photo); video with watermark (Free up to 15 s, Plus up to 10 min) | Plus or Business / Free–Plus |
| Let the customer check the photos | Photo Code + verify page | Free |
| Send the record to the customer | Checklist PDF; share link /s/… (Teamspace) |
Free (PDF up to 10 photos) / Plus / Business |
| Work in the yard without signal | Offline capture and sync later | Free |
Step-by-step: check-out and return
1. Set up once
- Create a watermark template with custom fields like "Unit" (EX-07) and "Rental #" (R-0931). The fields print on every photo and can be used in file names.
- On a Business team, install the starter template "Equipment pre-use inspection" for plant, or "Vehicle daily check" for vans and cars, and adjust it. On Plus, build your own checklist with the same questions. See inspection checklists and PDF reports.
- Make the photo questions required, with a minimum count, so nobody skips the rear or the cab.
2. Check-out at the yard
- Start the checklist and enter the unit and rental number.
- Photograph the machine all around. With the 4-direction set (Plus), ProofCam guides you North, East, South and West and offers a 2×2 collage. Note where you stood; you will repeat it at return. More in the construction photo documentation guide.
- Take a close-up of the hour meter or odometer and the fuel gauge, and enter the readings in the number fields.
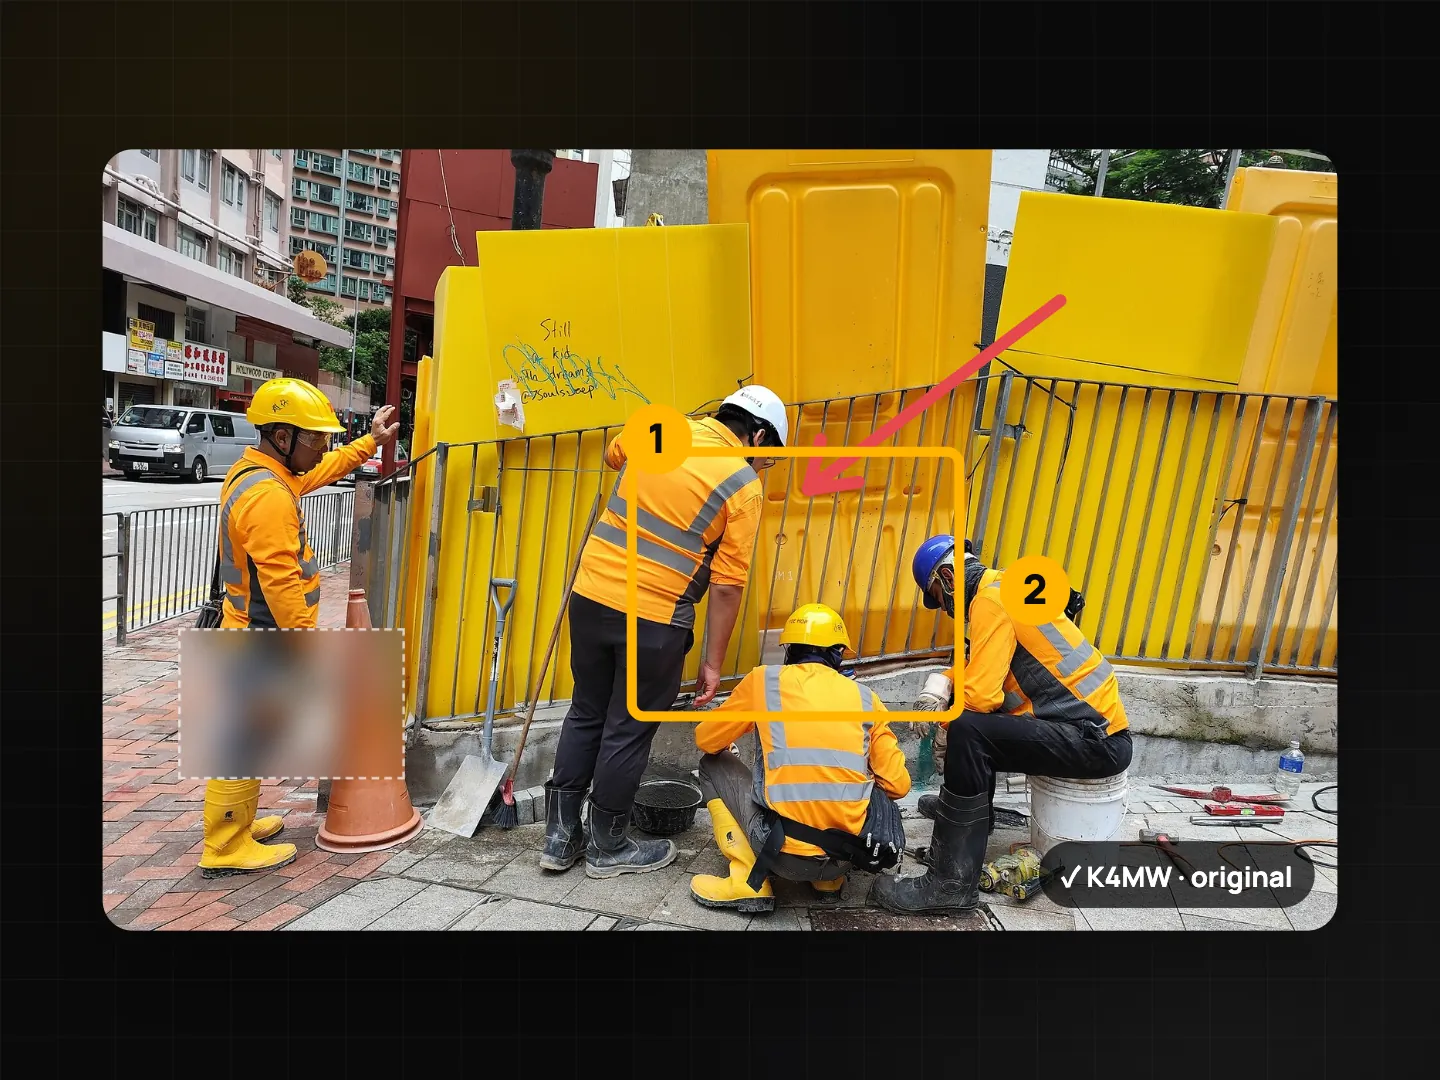
- Photograph existing damage close up. Use markup to circle each scratch on a copy; the original and its Photo Code stay untouched.
- For high-value units, record a short walk-around video with the watermark, or turn on Live proof so each photo keeps 1.5 seconds before and after the shutter. See screen recapture detection and Live proof.
- The customer signs the checklist on the phone. Export the PDF and send it, or share a link.
3. Return
- Run the same checklist again as the return inspection.
- Stand in the same places and take the same photos. Read the new hour meter and fuel level.
- Flag anything new. On a Business team, a flagged answer can create a task automatically for the workshop.
- The customer signs the return.
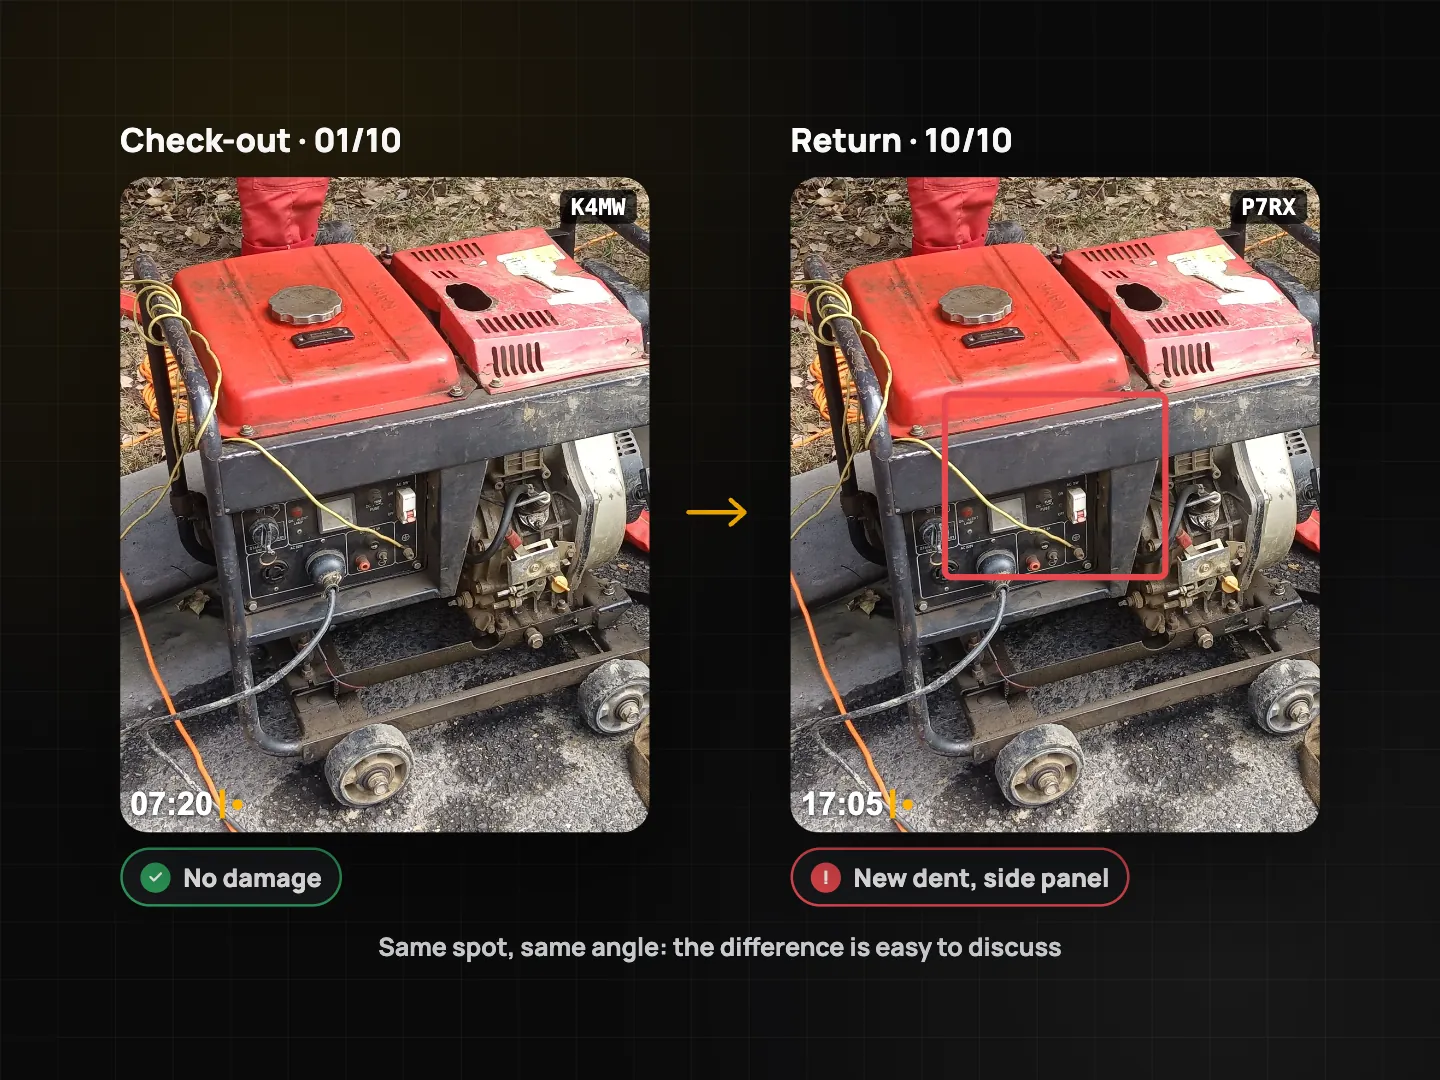
4. Compare and resolve
Open the return photo, pick the matching check-out photo and drag the comparison slider. For the customer or the insurer, export a before/after collage (Plus) with both stamps visible. If damage needs repair, a punch list with before/after photos tracks the fix: the after photo is taken over a 30% ghost of the before.
Checklist template: return inspection
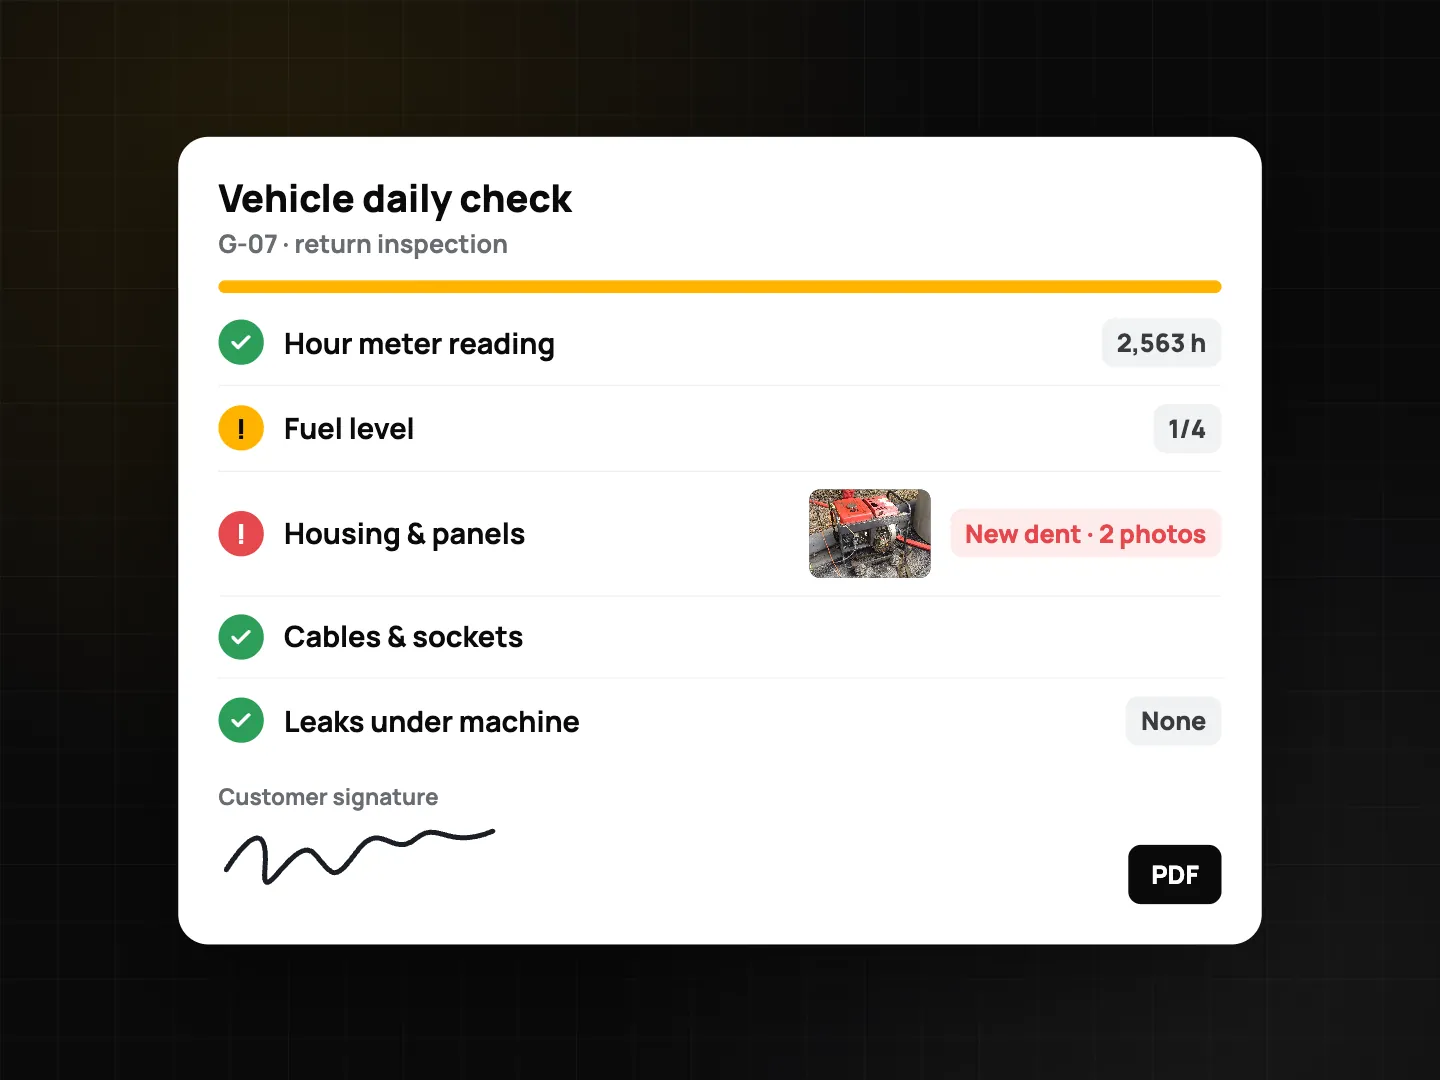
| Item | Question type | Notes |
|---|---|---|
| Unit ID / plate | Text or barcode/QR scan | Scan the asset tag if you have one |
| Rental number | Text | Same as the contract |
| Photos all around | Photo, min. 4 | Or a 4-direction set (Plus) |
| Hour meter / odometer | Number with unit (h or km) | Plus a photo of the display |
| Fuel / charge level | Single choice (Full, 3/4, 1/2, 1/4, Empty) | Photo of the gauge |
| Body, bucket, tracks or tyres | Yes/No/N/A + photo | Flag new damage |
| Lights, horn, beacon | Yes/No/N/A | |
| Leaks (oil, hydraulic, coolant) | Yes/No | Photo if Yes |
| Attachments and accessories | Number | Count returned vs issued |
| Cleanliness | Single choice | Cleaning fee per your terms |
| Customer signature | Signature | Required |
| Location | GPS location | Yard or site |
Let the customer check the originals
Every photo carries a Photo Code. The customer can open the verify page, drop in the photo and see whether it's an original, with its network time and place. The fingerprint is computed in the browser and the photo isn't uploaded. Copies sent through chat apps are recompressed and show as "Modified copy", but the code still points to the original record. Details in Photo Code: verify original photos.
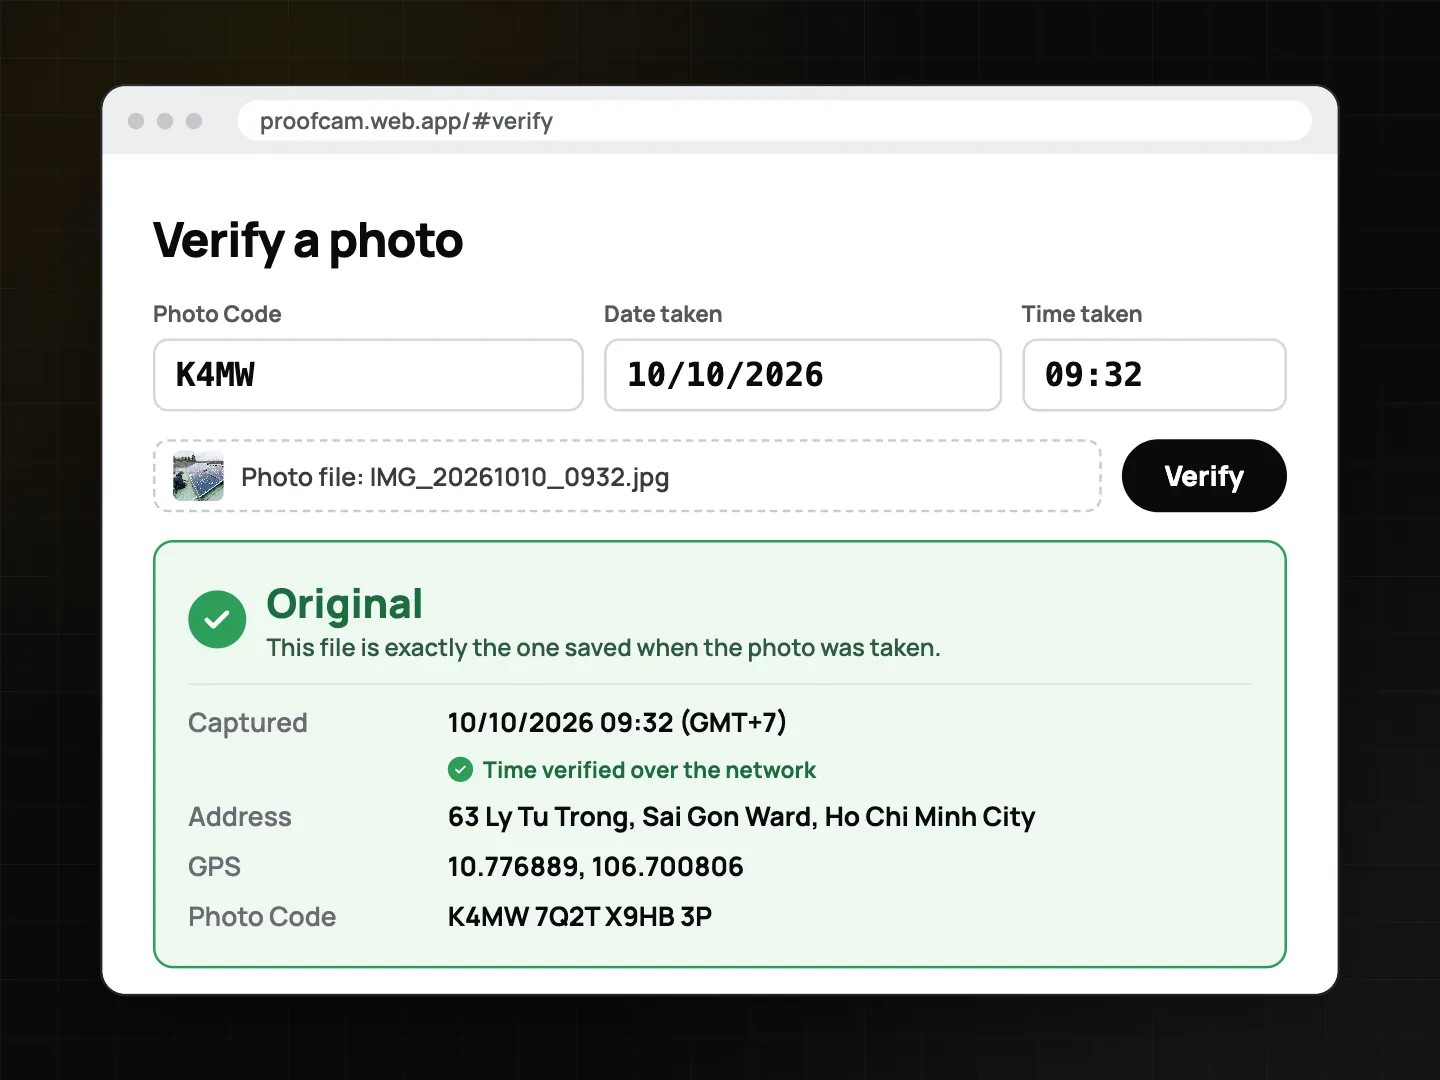
Time comes from the network, not the phone clock, so a check-out photo can't be backdated by changing the phone's settings. Read network time vs phone clock for how that works.
Tips
- Mark standing spots in the yard (corners of a bay) so check-out and return angles match.
- Photograph gauges with the ignition on, and keep the needle and the unit ID in the same shot when you can.
- Do the return inspection with the customer present whenever possible, and get the signature before the keys change hands.
- Keep the PDF with the contract. One file per rental makes later questions quick to answer.
FAQ
Do I need a team plan to use this?
No. The stamp, Photo Code and one checklist template are free. Plus adds unlimited templates, the 4-direction set and collages. The starter templates, team review, automatic tasks and share links need a Business team or the 14-day trial.
Can the customer edit or fake the photos?
They receive copies. The Photo Code points to the original record, and the verify page shows whether a file is the original or a modified copy.
Does this decide who pays for damage?
No. It gives you a clear record of condition at check-out and return. Liability depends on your rental contract and local law.
Does it work without signal in the yard?
Yes. Photos, checklists and signatures are saved on the phone and sync when you're back online.
Related: move-in move-out inspection app and trade show booth setup and teardown.