A booth goes up in two days and comes down in six hours. In between, the exhibitor, the stand builder, the furniture rental company and the venue all have their own idea of what the booth looked like. Trade show booth setup and teardown is where most disputes start: a scratched graphic wall, a missing chair, tape marks on the hall floor that the venue wants to deduct from the deposit. This guide shows how stand builders and event crews can use ProofCam to photograph each stage, get the exhibitor to sign off at handover and keep a damage log at teardown.
Where booth jobs go wrong
- Handover on a handshake. The exhibitor arrives the evening before opening, walks the booth and says "looks good". Two days later they complain the lighting was never right, and there is nothing signed.
- Teardown damage nobody saw. Most damage happens when walls come down and crates go back on the truck, in a rush, with several crews on the floor. Without photos of each wall and crate, nobody knows who did what.
- The venue floor deposit. Venues often hold a floor or damage deposit. Tape residue, drill holes or stains found after you leave can be charged to you, and the terms depend on your venue contract.
- No signal in the hall. Big halls with thousands of visitors and steel roofs often have weak mobile data, so photos sit unsent and chat groups lag.
- Subcontractor crews. Electricians, carpenters, graphics installers and riggers all take photos on their own phones, in their own chat groups.
Which ProofCam features help
| Need | ProofCam feature | Plan |
|---|---|---|
| Time, place and code on every photo | Watermark with network time, GPS, address and Photo Code | Free |
| Booth, hall and exhibitor on each photo | Custom fields ("Booth", "Hall", "Exhibitor") | Free (3 fields), Plus (10) |
| Signed handover to the exhibitor | Checklist with photo questions and a signature | Free (1 template), Plus (unlimited), Business (team templates) |
| Build-up time-lapse for the client | Interval capture + time-lapse MP4 on the phone | Plus |
| Full view of the booth from four sides | 4-direction compass-guided set with 2×2 collage | Plus |
| Move-in vs teardown comparison | Comparison slider in photo details; before/after collage | Slider Free; collage Plus |
| One folder per event | Projects in Teamspace | Free team (3 projects), Business unlimited |
| Subcontractor crews with limited access | Members, roles, project access | Teamspace (Business lifts the limits) |
| Snag list before opening | Tasks with before/after photos, Kanban | Any Teamspace team |
| Share with the exhibitor | Share link: photo grid, map, ZIP download | Teamspace share links |
| Weak signal in the hall | Offline capture, Sync center, Wi-Fi-only sync | Free |
Photos for trade show booth setup and teardown, stage by stage
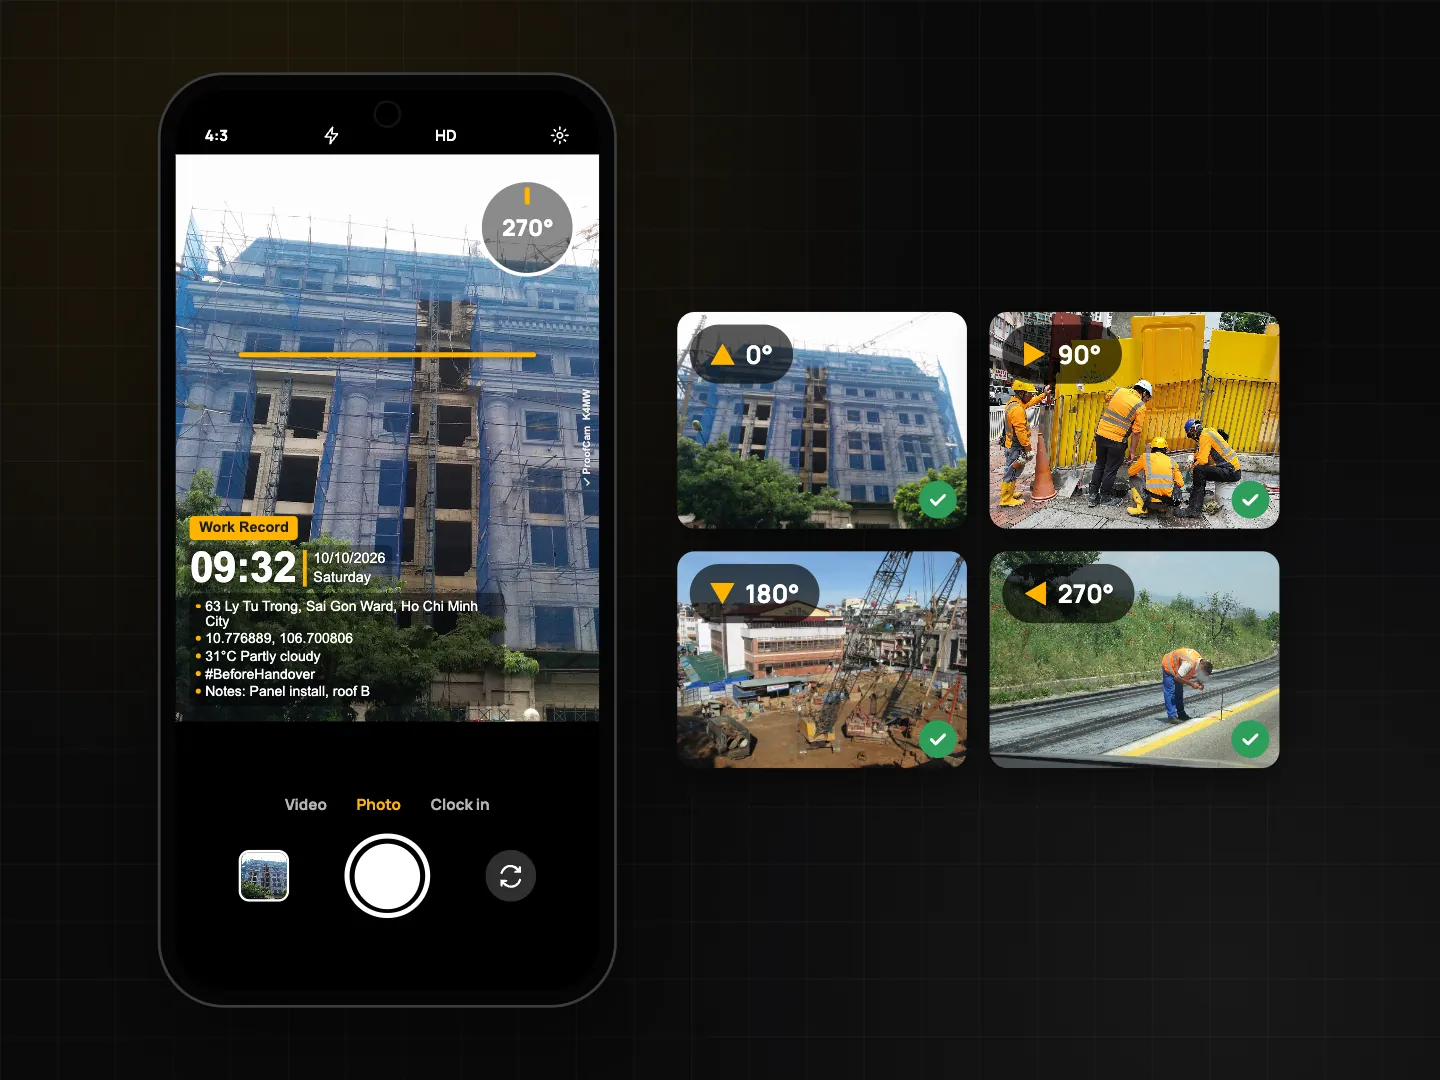
Move-in. Before anything is built, photograph the empty booth space and the venue floor around it. This is your "before" for the deposit. Shoot a 4-direction set (Plus): the camera guides you to N, E, S and W, each photo gets its compass direction and Photo Code, and ProofCam offers a 2×2 collage. Get close-ups of any existing marks, cracks or stains already on the floor. More on the camera tools in the construction photo documentation guide.
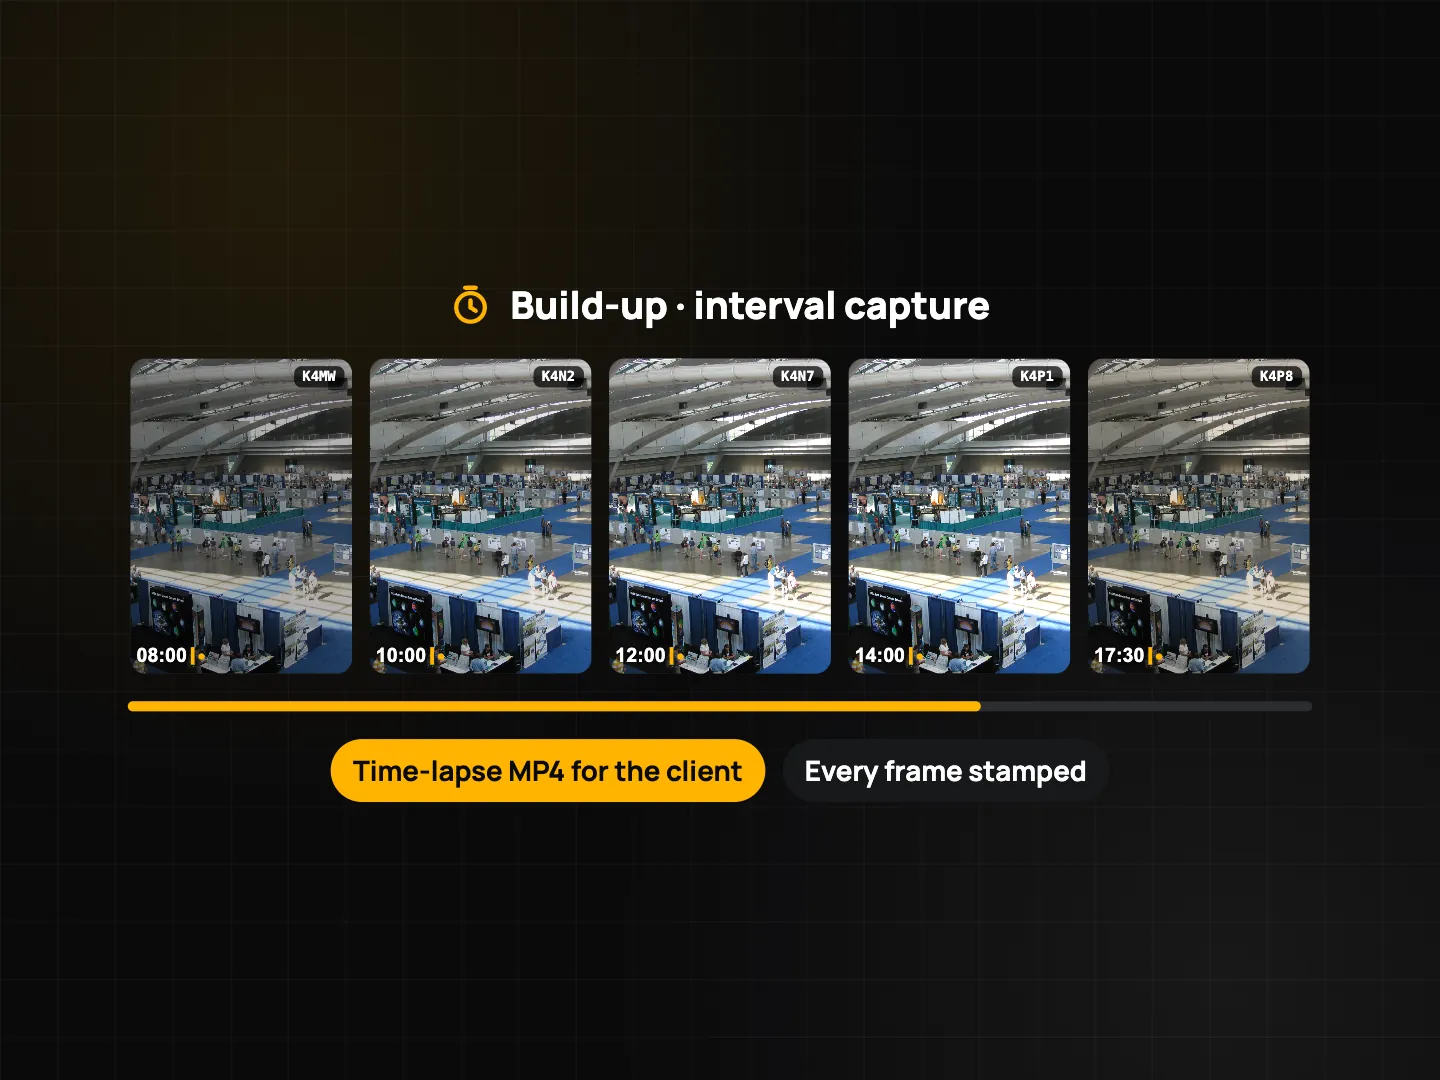
Build-up. Mount a phone on a stand at the edge of the booth and start interval capture (Plus), for example one photo every 15 minutes. Each frame is stamped and coded, and at the end ProofCam makes a time-lapse MP4 on the phone. Exhibitors like it for social media, and it doubles as a record of who was on the stand and when. Keep the phone on power; the screen stays on while it runs.
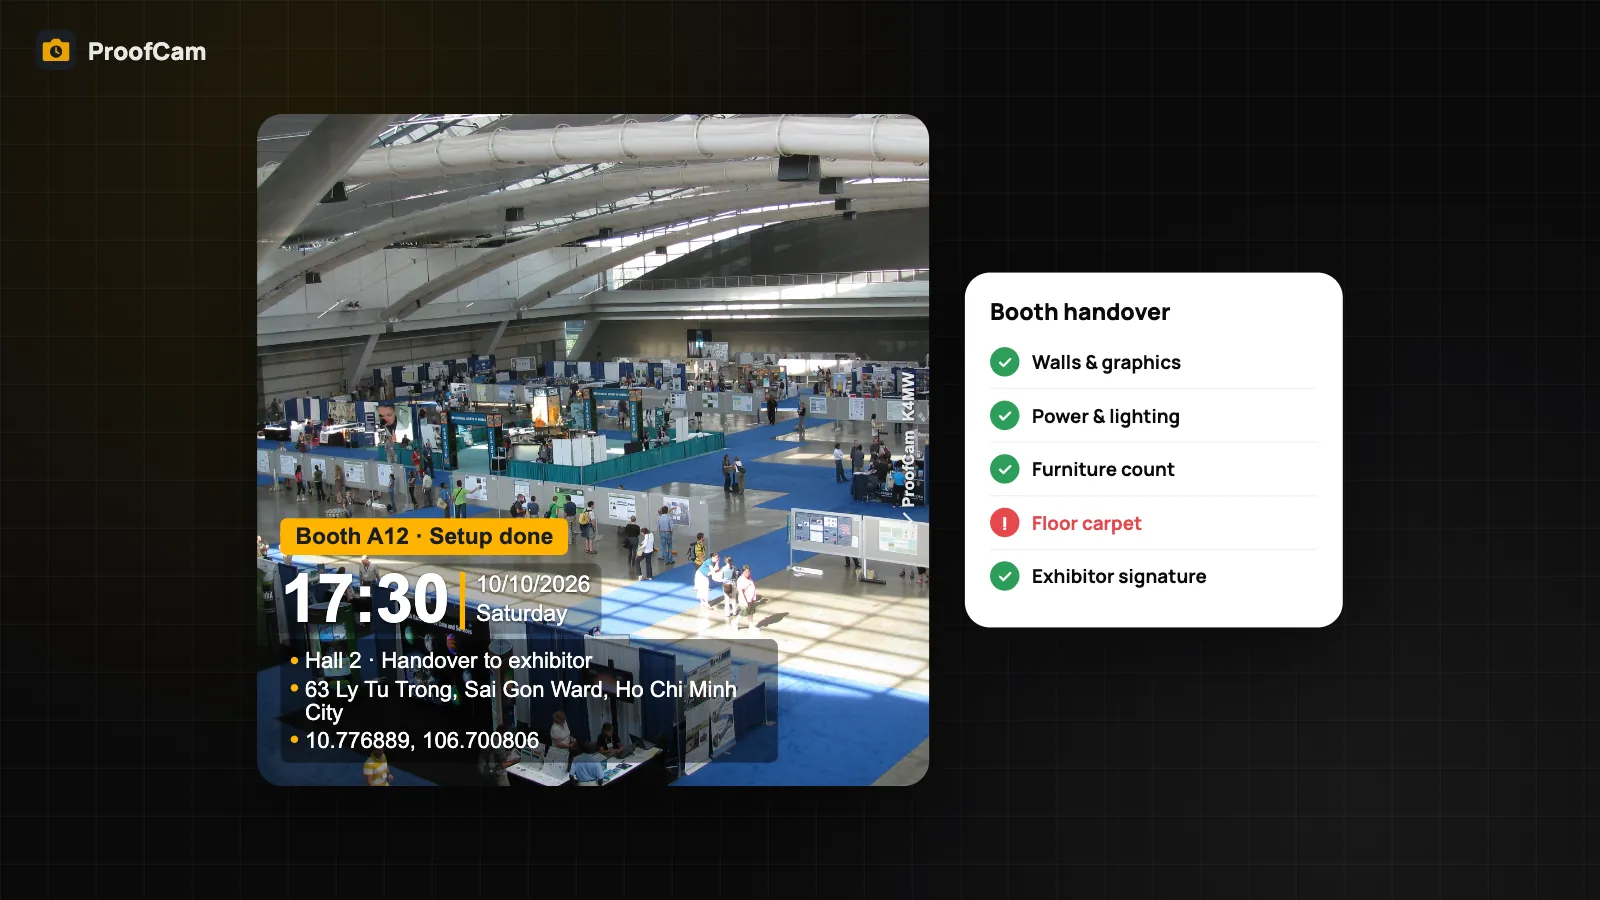
Handover. Walk the booth with the exhibitor and fill in a handover checklist: each wall and graphic, power and lighting, furniture count, flooring, AV. Every photo carries the network time, so the record shows when the booth was finished, whatever the phone clock says. The exhibitor signs on the screen and you share the PDF, with every photo and its Photo Code. More in inspection checklists and PDF reports.
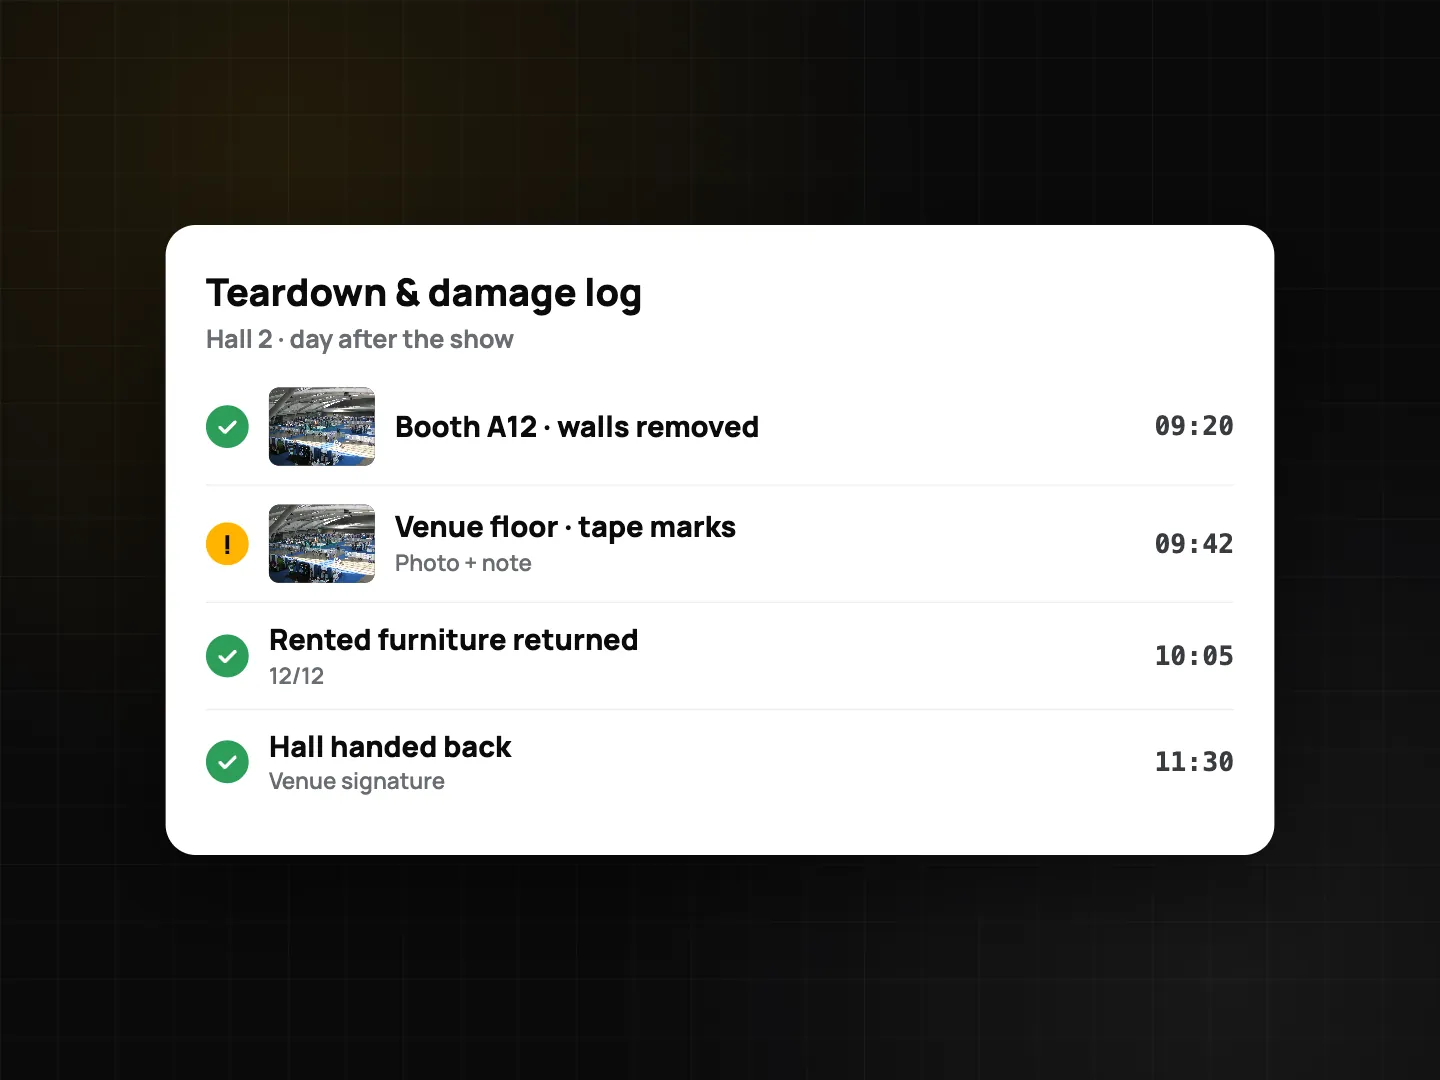
Teardown. Before the first wall comes down, take photos of the booth as it stands. Then photograph each crate as it is packed, rented items as they are returned, and the floor once the booth is cleared. Open a floor photo in details and use the comparison slider against the move-in photo from the same spot. Tape marks or damage go into the teardown log with a photo and a note.
Step-by-step workflow
- Create a project per event. In the Teamspace portal at /app/, create a project such as "Expo Hall 2 · October", with the venue address and a geofence. Free teams are limited to 3 projects; Business is unlimited.
- Invite the crews. Add electricians, carpenters and graphics installers as members with access only to that project. Custom roles help, for example "Crew lead". See Teamspace for managers.
- Set up the stamp. Add custom fields "Booth" and "Exhibitor" to the watermark. A Business team can make the template mandatory.
- Prepare the checklists. Build a Booth handover checklist and a Teardown & damage log. Make photo questions required and add a signature at the end.
- Set sync for the hall. In the Sync center, choose Wi-Fi-only sync, or photos and videos on Wi-Fi only so small records still go over mobile data. Everything captures offline and syncs when the phone finds a network. More in offline photo proof.
- Shoot move-in, build-up and handover as described above.
- Fix snags before opening. Anything the exhibitor doesn't accept becomes a task with a photo. The crew takes the after photo over a 30% ghost of the before and marks it ready for review. See punch lists with before and after photos.
- Share with the exhibitor. Send a share link: they see the photo grid and map and can download a ZIP, no account needed. Set an expiry or revoke it after the show.
- Tear down and hand back. Fill in the teardown log, compare the floor with the move-in photos, and get the venue representative to sign when the space is handed back.
Checklist templates
Booth handover (setup done):
| Item | Question type | Notes |
|---|---|---|
| Booth number / hall | Text | Or a custom field on the stamp |
| Walls and graphics | Yes/No + photo (min 4) | One photo per wall |
| Power and lighting working | Yes/No + photo | Flag on "No" |
| Furniture count | Number | Compare with the order |
| Floor / carpet | Single choice: good, needs fix | Photo if "needs fix" |
| AV and screens | Yes/No/N/A | |
| Notes from exhibitor | Text | |
| Exhibitor signature | Signature | Required |
Teardown & damage log:
| Item | Question type | Notes |
|---|---|---|
| Booth before teardown | Photo (min 4) | Or a 4-direction set |
| Crates packed | Number + photo | One photo per crate |
| Rented items returned | Number | e.g. 12 of 12 |
| Venue floor condition | Single choice: as move-in, marks found | Conditional: photo + note |
| Damage found | Yes/No, flagged on "Yes" | Photo + description |
| Venue representative signature | Signature | When the space is handed back |
Tips
- Shoot the empty floor first. It's the one photo you can't take later.
- Photograph from the aisle corners. They are easy to find again at teardown, so the slider lines up.
- Keep the time-lapse phone powered. Interval capture keeps the screen on.
- Check the venue rules. Deposit and damage terms depend on your venue contract; photos help support your account, but the contract decides.
FAQ
Can the exhibitor check that the handover photos are original?
Yes. Every photo has a Photo Code that can be checked on the verify page. The photo is not uploaded for the check. Copies sent through chat apps are recompressed and show as a modified copy, while the code still points to the original record.
Does it work in a hall with no signal?
Yes. Photos, checklists and signatures all work offline. The Sync center uploads them when the phone gets a connection, and you can limit large files to Wi-Fi.
Can we give the time-lapse to the client?
Yes. Interval capture (Plus) creates an MP4 on the phone that you can share like any video. Each frame used for it is also kept as a stamped photo.
Will photos settle a deposit dispute with the venue?
They help provide evidence of the floor condition at move-in and teardown. How deductions are decided depends on the venue contract.
Related: equipment rental check-out and return photos and construction daily report app.