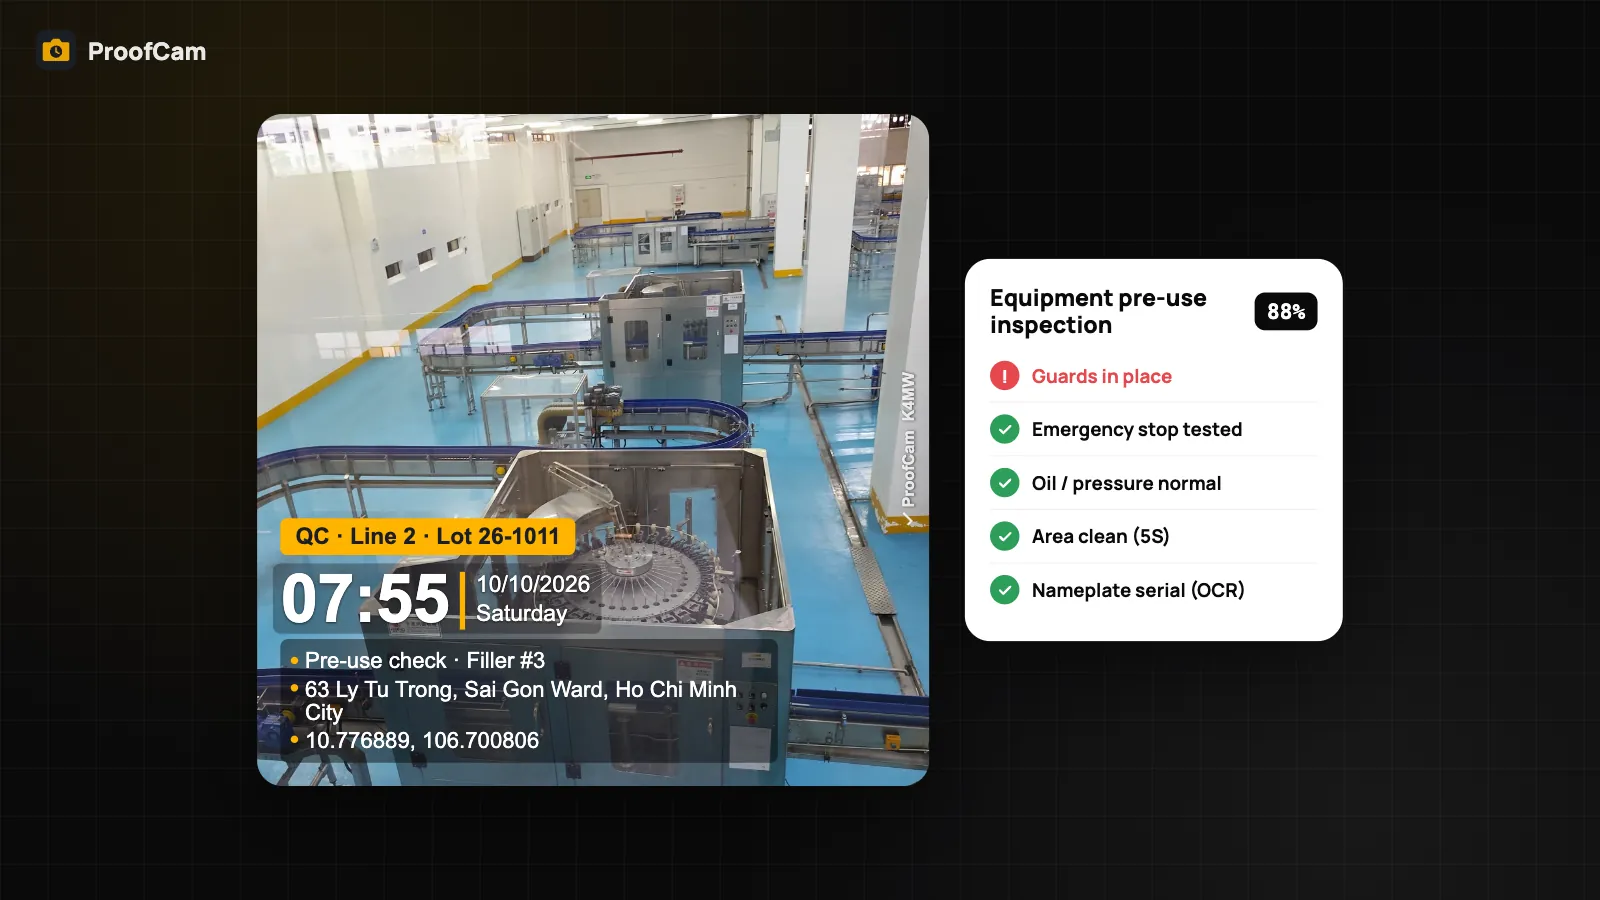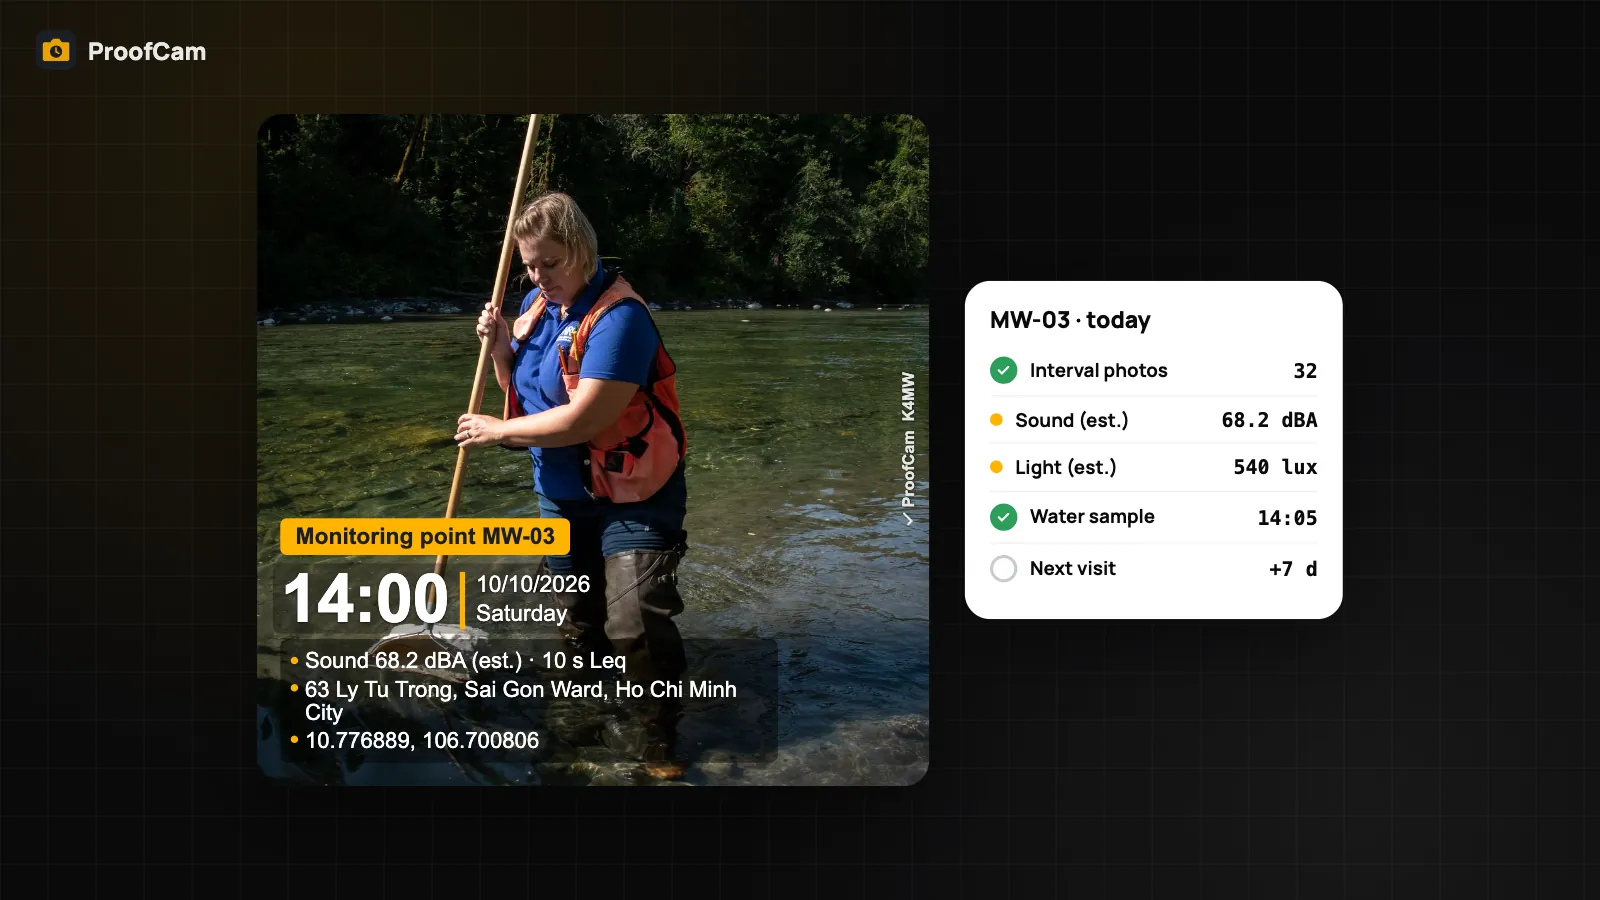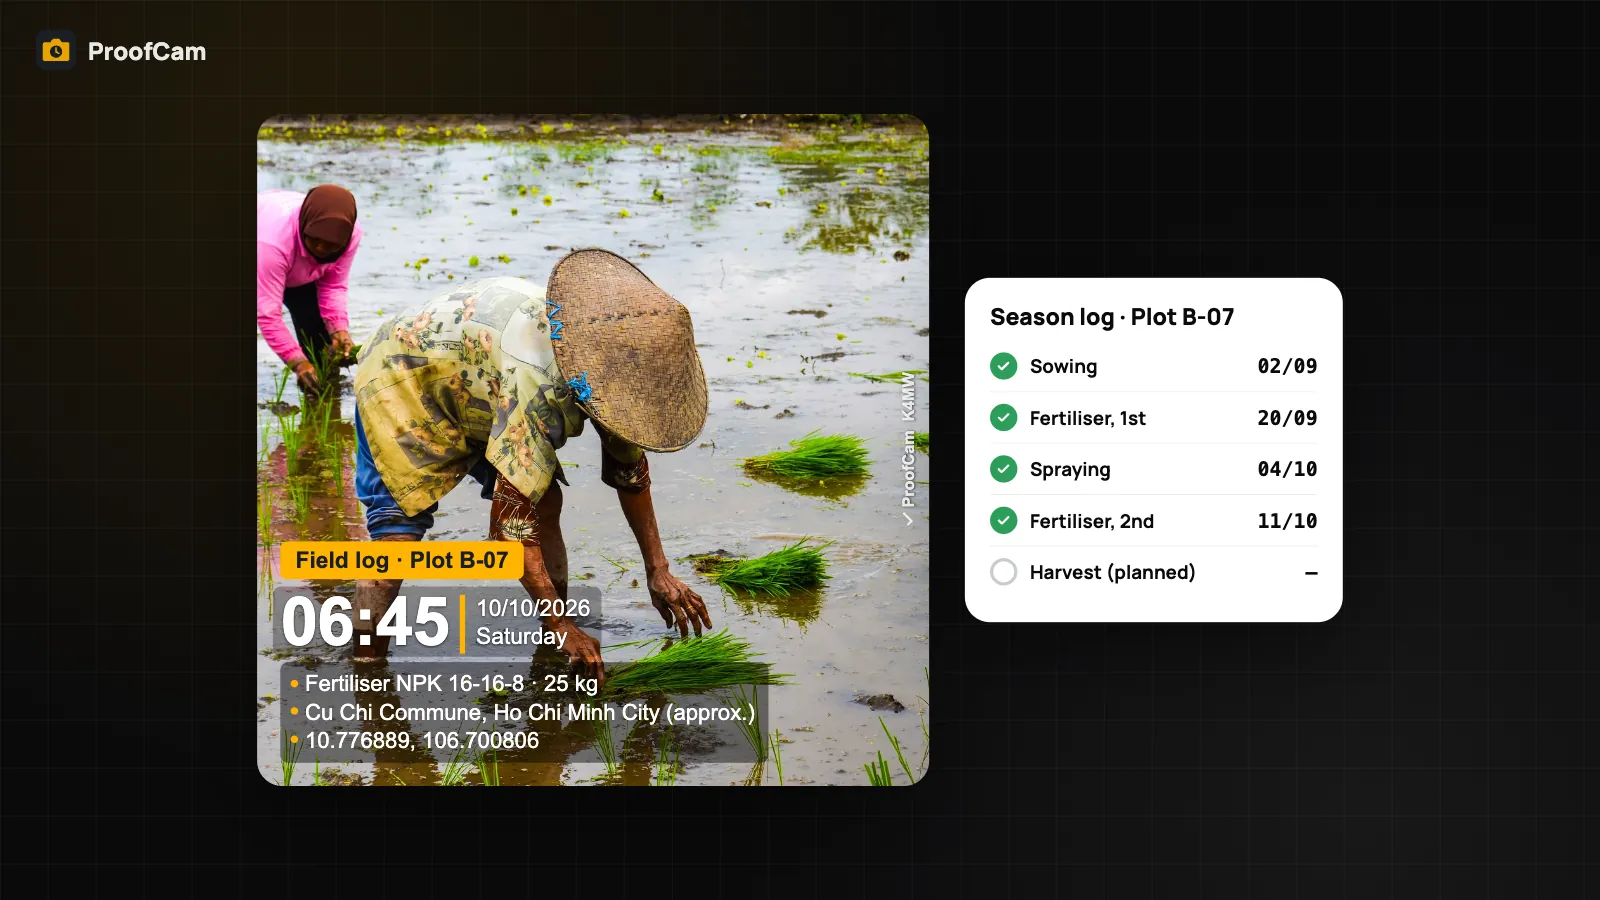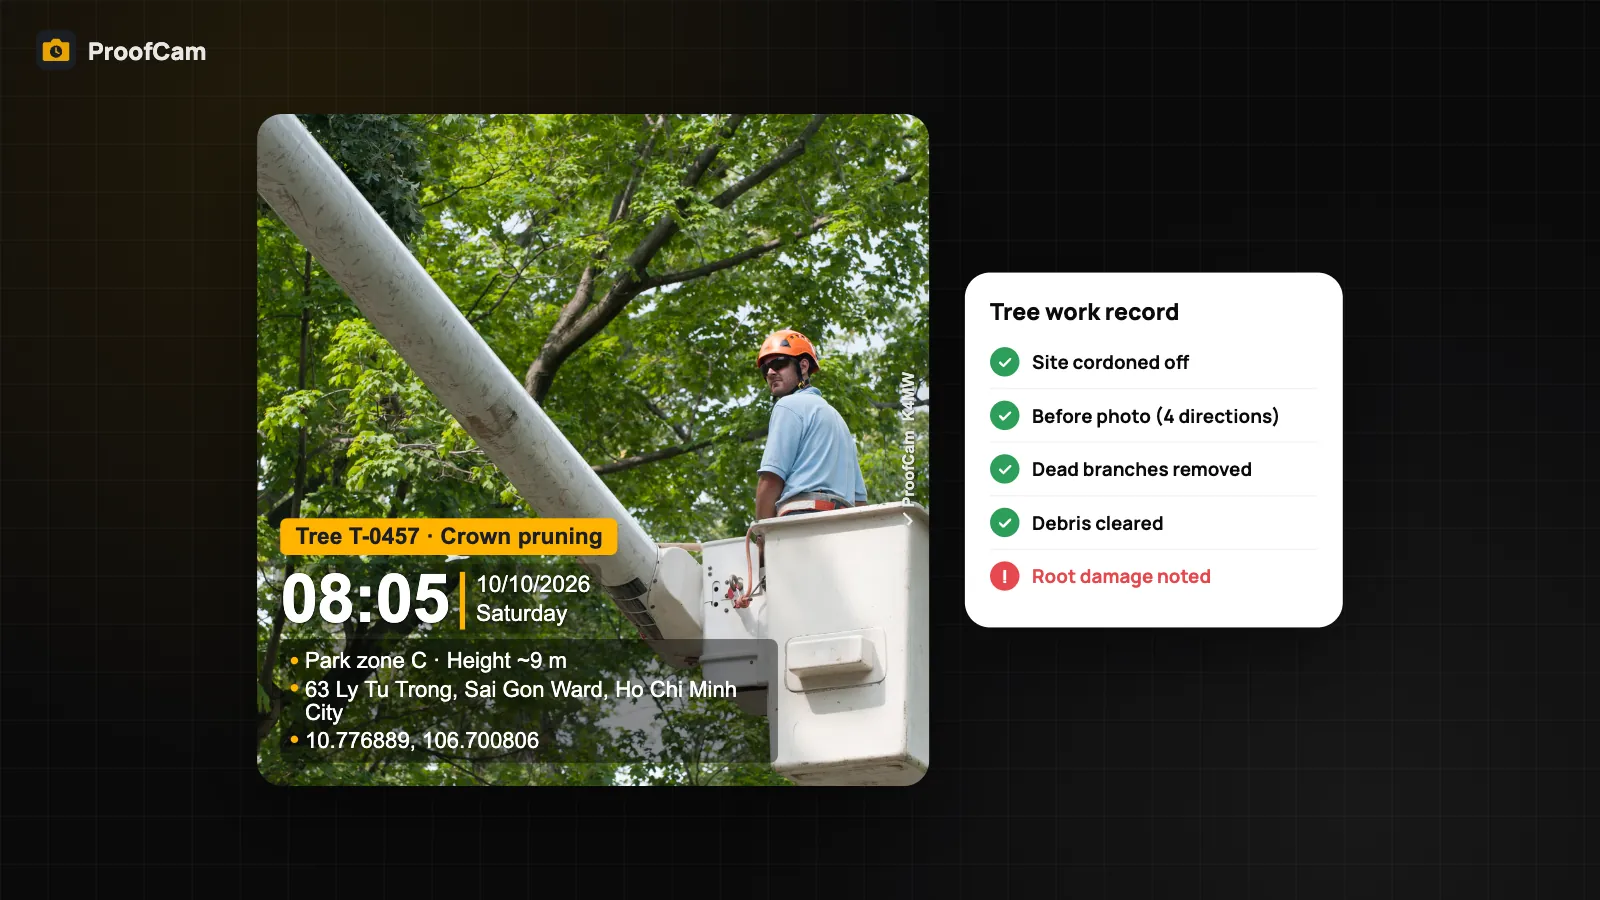
A grounds crew mows six parks a week, prunes forty trees, clears storm damage and replants a roundabout. At the end of the month the client, often a property manager or a city department, asks: which trees were pruned, when, and what did they look like before? Landscaping job photos answer that question, but only if each photo carries a reliable time, place and tree or zone ID, and if they can be found again. This guide shows how landscaping contractors and tree-care crews can use ProofCam to build before/after records per job and per tree, a simple map of what was done, and a report the client can open.
Why landscaping and tree work is hard to prove
- The evidence grows back. Grass, hedges and crowns change within weeks. If you didn't photograph the result on the day, it's gone.
- Every tree looks the same in a photo. Without a tree number or zone on the image, "the oak near the gate" becomes an argument.
- Crews spread across many sites. Several parks, verges and estates a day make it hard to know who was where, and for how long.
- Chat-app photo dumps. Hundreds of photos a week, recompressed, unsorted, no map.
- Patchy signal. Large parks, river banks and peri-urban sites often have weak or no mobile data.
ProofCam features for landscaping job photos
| Need | ProofCam feature | Plan |
|---|---|---|
| Stamped photos with network time, GPS, address and notes | Timestamp camera | Free |
| Tree ID, zone, work type on every photo | Custom fields on the watermark ("Tree ID", "Zone", "Work") | Free (3), Plus (10) |
| After photo from the same spot as the before | Tasks with 30% ghost overlay of the before | Teamspace team |
| Before/after in one image for the client | Before/after collage | Plus |
| Same tree from four sides | 4-direction set N/E/S/W with 2×2 collage | Plus |
| Tree height or distance to a building or line | AR measure (supported phones) | Distance and height Free; path, area, pins Plus |
| Tree work record, safety cordon, signatures | Checklists + PDF | Free (1 template), Plus (unlimited), Business (team templates, review) |
| Map of where each photo was taken | Teamspace map with photo pins; KMZ export for Google Earth | Teamspace |
| Growth or progress from a fixed position | Interval capture + time-lapse MP4 | Plus |
| Crew attendance at several parks | Clock in / out with photo; geofence per project | Free; geofence policies Business |
| Work without signal | Offline capture + Sync center | Free |
| Report for the client or city | Share link, PDF (report builder with logo on Plus or Business team) | Free / Plus / Business |
The map and KMZ give you a simple photo inventory, a record of where photos were taken and what they show. It's not a GIS or a full tree-management system; if your client keeps a GIS layer, you can open the KMZ alongside it.
Step-by-step workflow for a crew
Setup (once per contract)
- Create a Teamspace project per park or site with its address and a geofence (50 m to 1 km). Large parks can be split into zones as separate projects.
- Publish a team watermark template with custom fields "Tree ID", "Zone" and "Work" (pruning, felling, mowing, planting). Make it required so every crew member uses it. See watermark templates.
- Install checklists: a "Tree work record" and a "Safety cordon" check (template below). Business teams can review submissions before they go to the client.
On site
- Clock in at the park. The geofence shows whether the photo was taken inside the site; Business policies can require it. See photo clock-in.
- Cordon off and photograph the safety set-up before work starts, as the first checklist item.
- Shoot the before photos. Fill in the tree ID on the stamp. For important trees, use the 4-direction set (Plus): the compass guides you to N, E, S and W and builds a 2×2 collage.
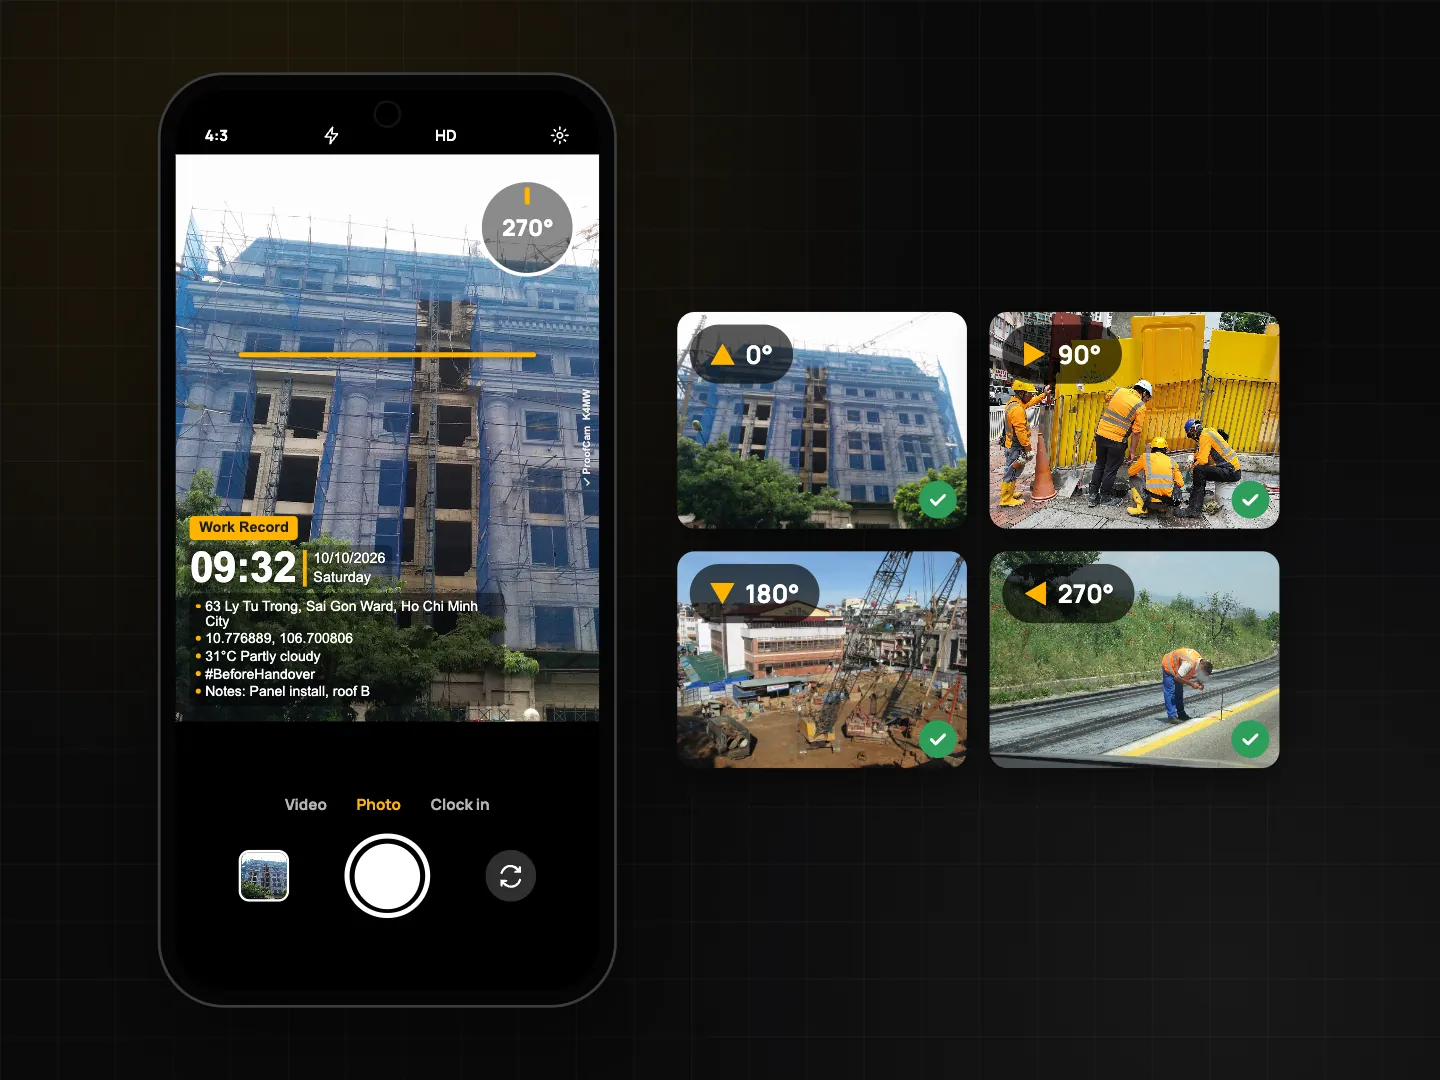
- Measure if needed. On a supported phone, AR measure gives an approximate height or the distance from a crown to a wall or line. Treat it as an estimate.
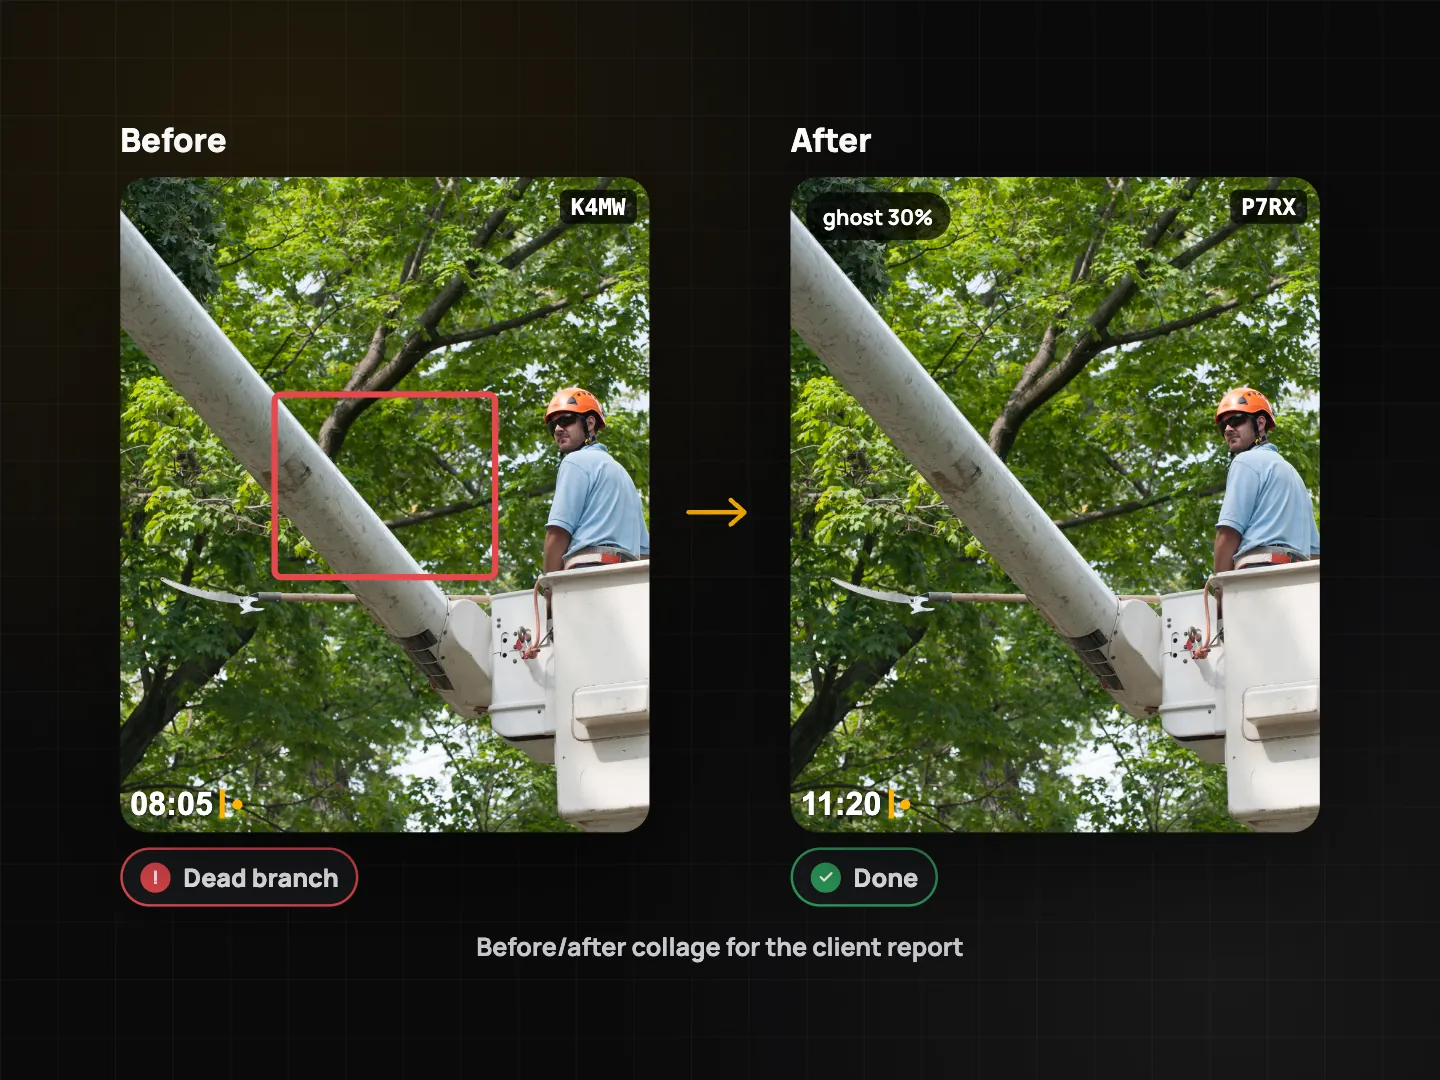
- Log the job as a task. Create a task from the before photo ("T-0457 · remove dead branches"). After the work, the after photo is taken over a 30% ghost of the before, from the same spot. More in punch lists with before/after photos.
- No signal in the middle of the park? Keep working. Everything saves on the phone and syncs later; see offline photo proof.
- Long jobs or new plantings: set up interval capture (Plus) from a fixed position to record progress or establishment over time; each frame is stamped and the phone builds a time-lapse MP4.
After the job
- Review the map in the Teamspace web portal: every photo appears as a pin, so you can see which trees in a zone were done and which need another visit.
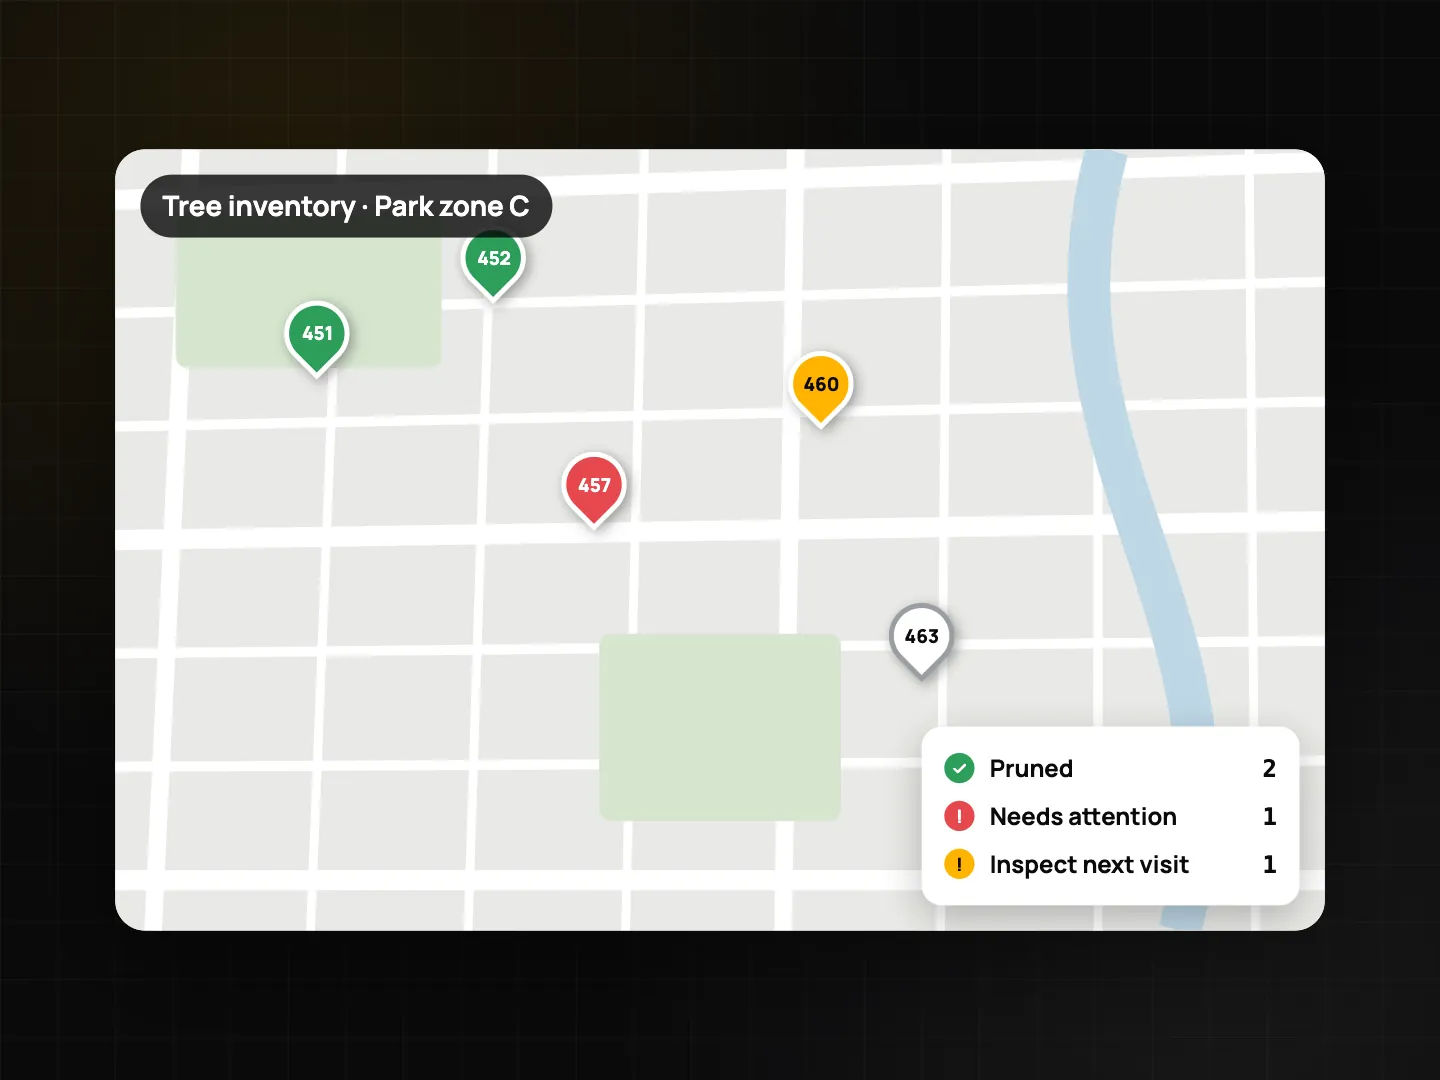
- Export a PDF report, Excel list, ZIP of photos or a KMZ for Google Earth.
- Share with the client. A share link lets them browse the photo grid and map and download a ZIP; you can set an expiry or revoke it. A before/after collage (Plus) is a quick way to show the result in one image.
Tree work and landscaping checklist template
| Item | Question type |
|---|---|
| Tree ID / zone | Text (or barcode/QR scan if trees are tagged) |
| Species (if known) | Text |
| Work type | Single choice (Pruning / Crown lift / Felling / Stump grinding / Planting) |
| Safety cordon and signage in place | Yes / No + required photo |
| Overhead lines or road nearby | Yes / No (conditional: permit or approval reference) |
| Before photos | Photo (min. 2) |
| Approximate height from AR measure | Number with unit (m) |
| Dead or hazardous branches removed | Yes / No / N/A |
| Debris cleared, site clean | Checkbox + photo |
| Damage observed (roots, bark, cavity) | Yes / No, flag "Yes" → task |
| After photos | Photo (min. 2) |
| Location | GPS location |
| Crew leader signature | Signature |
For mowing and grounds maintenance, a shorter round works: zone, before photo, after photo, edges trimmed, litter picked, irrigation issues flagged.
A note on safety and permits: tree work near power lines, public roads or protected trees must follow local safety rules, permits and the network operator's requirements. ProofCam helps document what was done; it doesn't replace those approvals.
Tips
- Stand in the same spot. For a tree you'll revisit, note a reference point (bench, lamp post) in the photo note.
- One tree, one task. Tasks keep before and after together and make the map easy to read.
- Photograph the cordon. The safety set-up is often the first thing asked about after an incident.
- Use zones as projects so the client sees one tidy list per park.
Monitoring the same sites over time? The environmental monitoring photo log guide covers fixed points and interval capture in more depth.
FAQ
Is the tree map a GIS?
No. The Teamspace map shows where photos were taken, as pins, and you can export a KMZ for Google Earth. It works as a simple photo inventory, not a full GIS or tree database.
How accurate is AR measure for tree height?
It gives an estimate on supported phones (ARCore on Android, ARKit on iPhone). Distance and height are free; path, area and pins need Plus. Use a proper instrument when an exact height is required.
Can the city or client check the photos are original?
Yes. Every photo has a Photo Code that anyone can check on the verify page. The check runs in the browser and the photo isn't uploaded.
Does it work in large parks with no signal?
Yes. Capture, checklists, signatures and clock-ins work offline and sync when there's a connection.
Related: inspection checklists and PDF reports and road defect reporting.