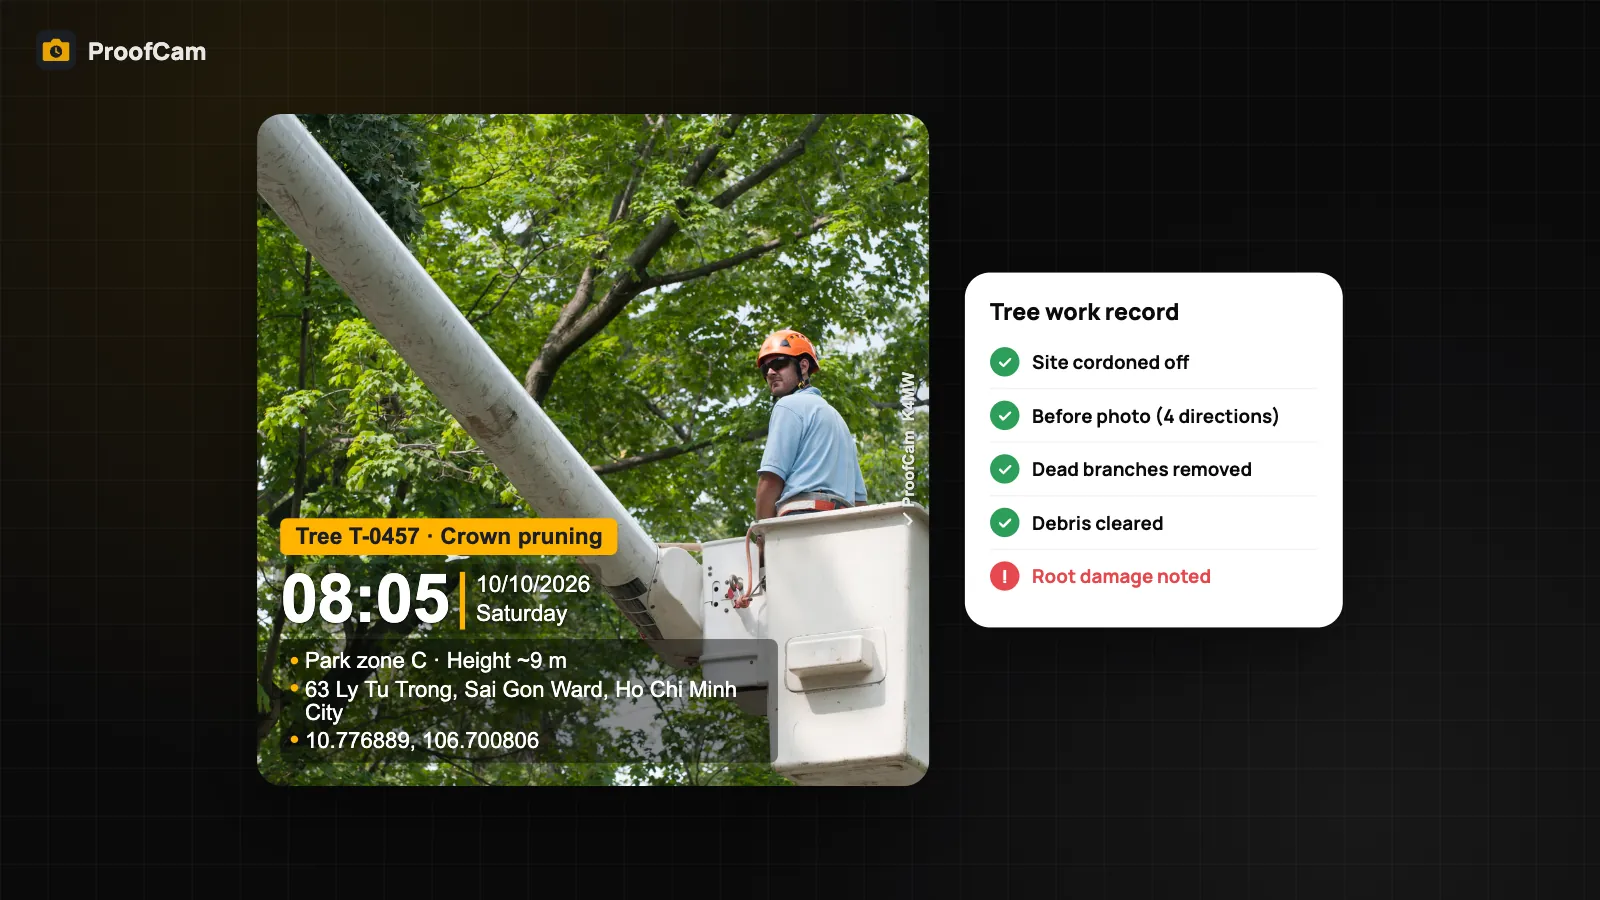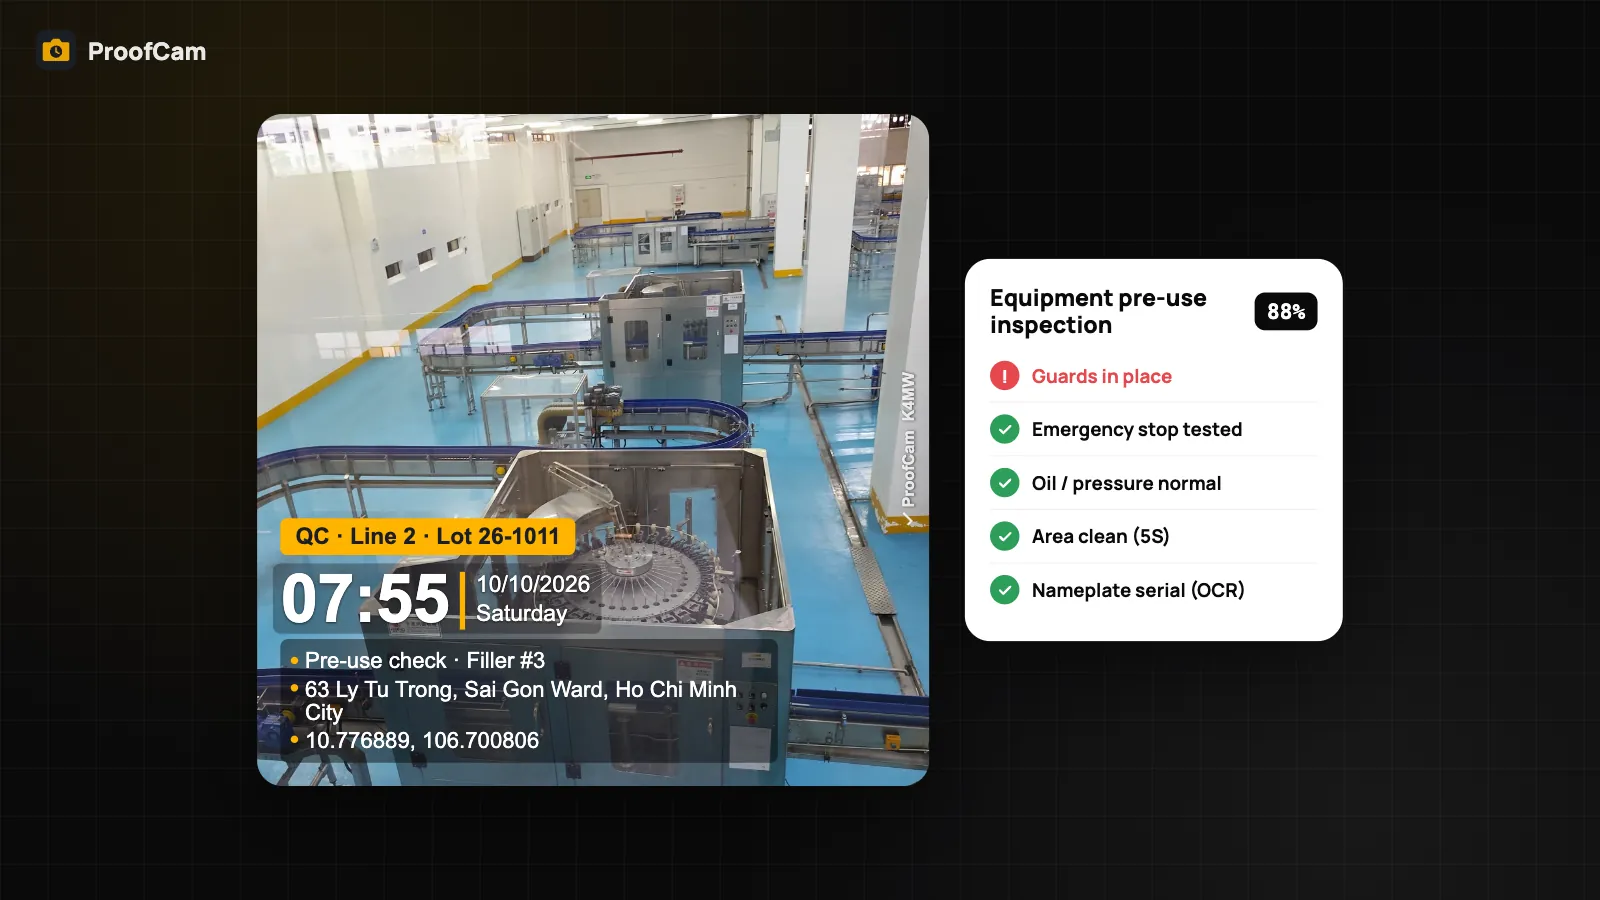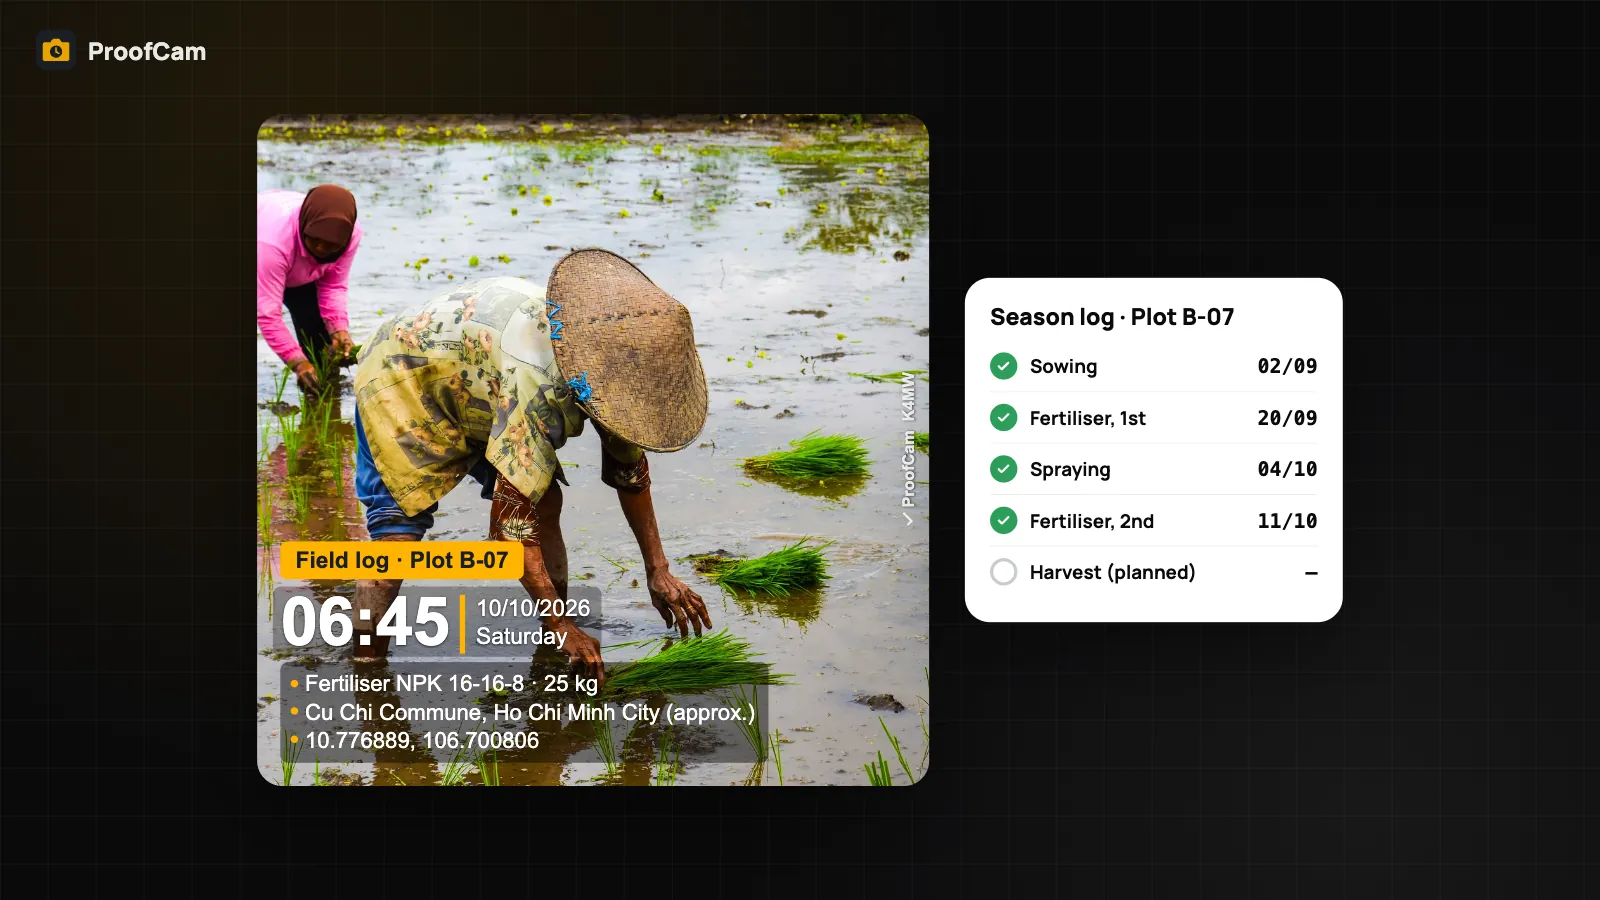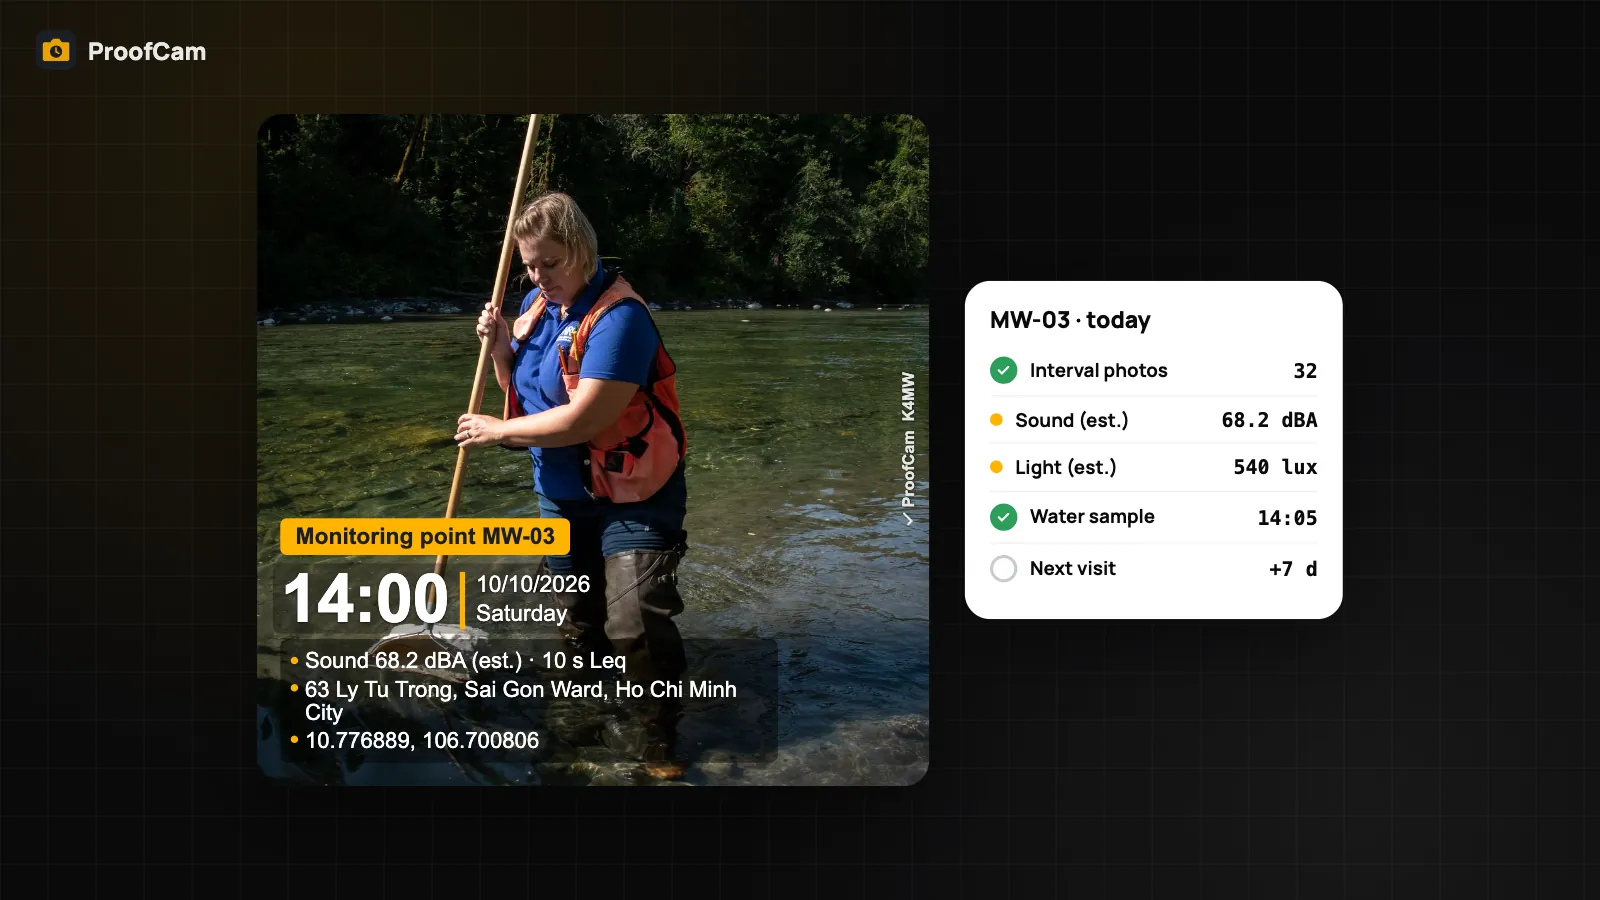
Field monitoring is repetitive by design: the same points, the same angles, the same readings, visit after visit. The value is in the series, which only works if every photo can be tied to its point, its date and its conditions. An environmental monitoring photo log done in a phone gallery and a spreadsheet tends to break at exactly that link. This guide shows how to run monitoring points, sampling visits and erosion or stormwater site inspections in ProofCam so each photo carries its own time, place and readings.
First, the boundary. ProofCam documents what you saw and what your instruments read. It is not a certified monitoring instrument and it does not replace accredited methods. Regulated environmental monitoring must use certified methods and instruments and follow the authority's reporting requirements. Use ProofCam for the photo log and field records around that work.
Where monitoring records get weak
- Photos that can't be placed. "River_0614.jpg" doesn't say which monitoring point, or whether it was shot from the same spot as last month.
- Readings separated from the scene. The pH is in the notebook, the photo is on the phone, and the sample label is on the bottle. Linking them later is guesswork.
- No signal at the point. Riverbanks, quarries and remote sites are often out of coverage.
- Change you can't see in one photo. Turbid runoff after rain, a slope slowly slumping, silt building up behind a fence: you need a series from a fixed position.
- Inspection findings that never close. A failed silt fence is noted, but nobody can show when it was repaired.
ProofCam features for an environmental monitoring photo log
| Need | ProofCam feature | Plan |
|---|---|---|
| Photo with network time, GPS coordinates, altitude, compass heading and notes | Timestamp camera | Free |
| Know how much to trust the position | Location trust grade A–D, mock-location detection | Free (full on Android, basic check on iPhone) |
| One record per monitoring point | Project with coordinates and a radius | Free (personal), Teamspace |
| Right point selected automatically on arrival | Auto-select project/template inside the radius | Plus |
| Team photos only accepted at the point | Require inside geofence (50 m–1 km) | Business |
| Photo series from a fixed position + time-lapse | Interval capture + time-lapse MP4 on the phone | Plus |
| Indicative sound, light, vibration on the photo | Field meters, "Capture with readings" | Plus or Business team |
| Sampling log with sample ID, values from your instruments, signature | Checklists (barcode scan, number, photo, signature, GPS) | Free (1 template), Plus (unlimited) |
| Centimetre positions for points | External RTK GNSS receiver | Business (or trial) |
| Work with no signal | Offline capture + Sync center | Free |
| Map of all points and photos | KMZ export for Google Earth | Free (10 photos per export), Plus (unlimited) |
| Visit report | PDF report builder | Plus or Business team |
Step-by-step: a monitoring visit
Setup
- Create a project per monitoring point, for example "MW-03 · River downstream", with its coordinates and a radius. With Plus, ProofCam auto-selects the project and template when you arrive. On a Business team, an admin can require photos to be taken inside the project's geofence.
- Make a watermark template with custom fields such as "Point ID", "Visit type" (routine, after rain, complaint) and "Sampler".
- Build the checklists: a "Field sampling log" and, for construction sites, an erosion and sediment control inspection. See inspection checklists and PDF reports.
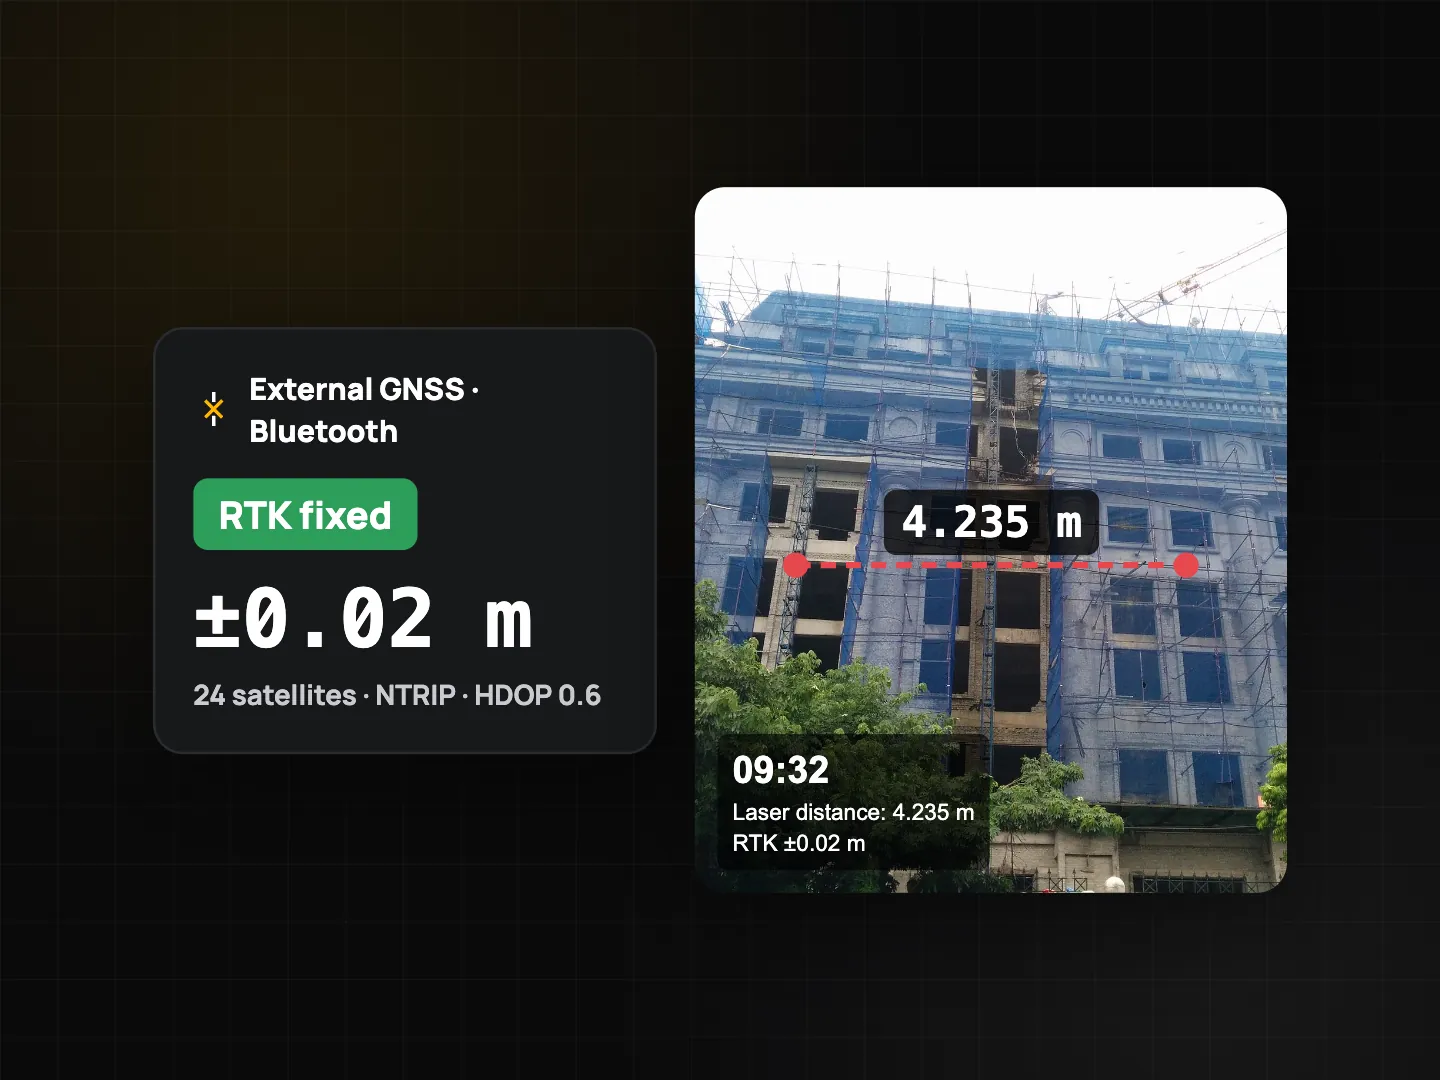
- Need precise point positions? Connect a Bluetooth RTK GNSS receiver (Business). The stamp then shows a line like "RTK FIXED ±0.02 m". Details and iPhone limits are in field meters, RTK GNSS and laser.
At the point
- Check the location grade before you shoot. The location trust grade shows whether the fix is good enough; wait a moment in the open if it's low.
- Take the fixed-angle photo first, from the same marked spot and heading as previous visits. The compass heading is printed in true north, which helps you line it up.
- Add indicative readings if useful. Tap Capture with readings to stamp sound (dBA, 10 s Leq and max), light (lux) or vibration (m/s² RMS and Hz) on the photo. Every value is labelled estimated; audio is never recorded. On iPhone, lux is estimated from the camera exposure. If you have a reference meter, set a calibration factor for each phone.
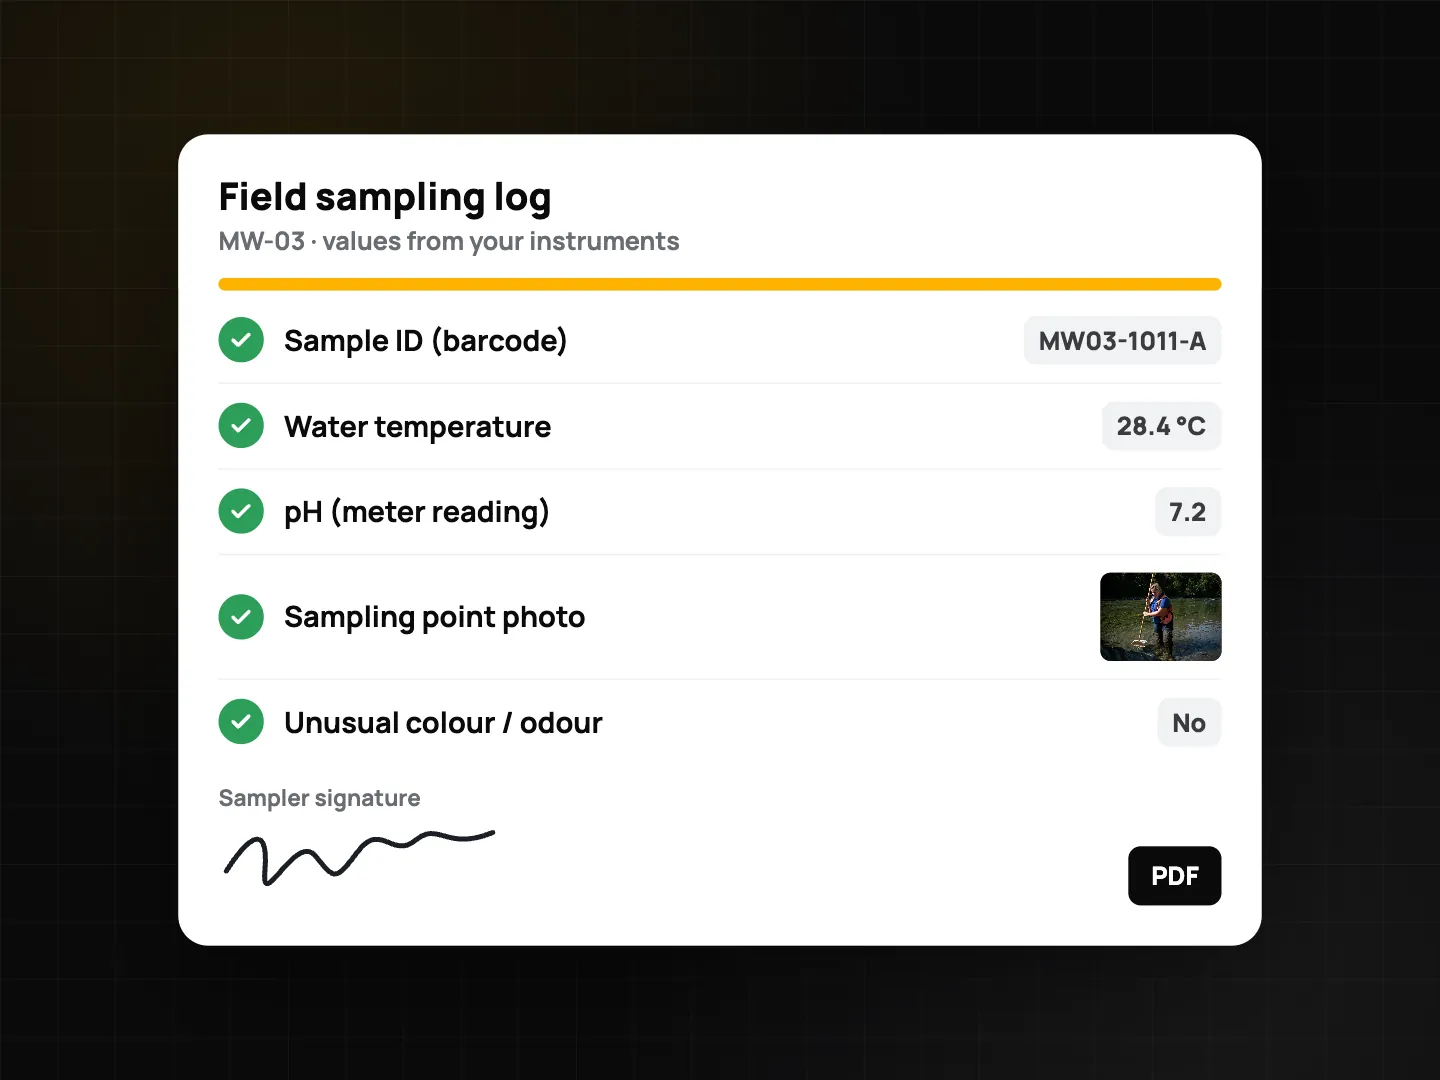
- Fill in the sampling log: scan the sample bottle's barcode for the sample ID, enter pH and temperature from your own calibrated instruments, photograph the sampling point and the meter display, answer the observation questions, sign.
- No signal? Everything is saved on the phone and appears in the Sync center until it uploads. See offline photo proof.
Interval capture and time-lapse
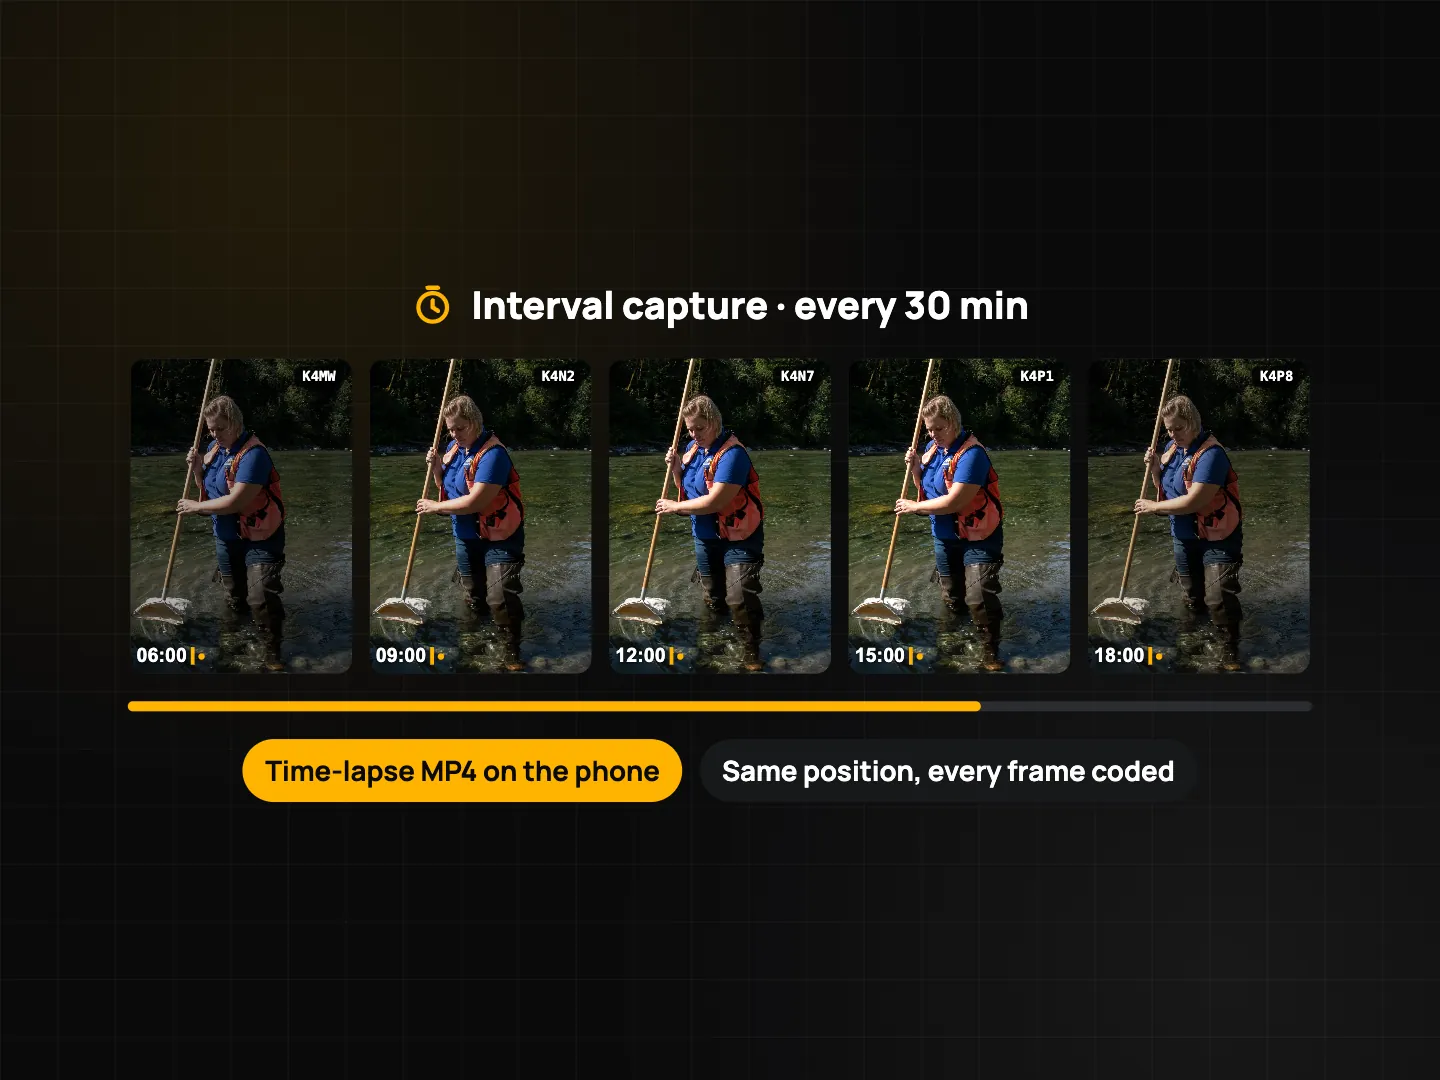
For change over a few hours, such as runoff during a storm, tide levels or dust from an activity, use interval capture (Plus). Pick an interval in seconds or minutes, mount the phone on a tripod or clamp at the fixed position and keep it plugged in or on a power bank: the screen stays on while the session runs. Every frame is a normal stamped photo with its own Photo Code. When you stop, ProofCam builds a time-lapse MP4 on the phone. The same tool is described for site progress in the construction photo guide.
After the visit
- Export a KMZ to see all points and their photos in Google Earth, or share a Teamspace link for the client.
- Build the visit report with the report builder (Plus or Business team): cover, photos per page, timeline and checklist sections, or a Quick PDF report from selected photos.
- Flagged inspection items become tasks on a team, with the inspection photo as "before" and a later "after" photo when the repair is done.
- Teamspace at /app/ shows photos by day, member and project on a map, plus checklist submissions for review.
Sampling log and site inspection template
| Item | Question type |
|---|---|
| Monitoring point ID | Single choice |
| Visit type (routine / after rain / complaint) | Single choice |
| Sample ID | Barcode/QR scan |
| Sampling time | Date |
| Water temperature from your thermometer | Number with unit (°C) |
| pH from your meter | Number with min/max |
| Photo of the meter display | Photo (min. 1) |
| Sampling point overview + close-up | Photo (min. 2) |
| Unusual colour, odour or foam | Yes / No (flag "Yes") |
| Position | GPS location |
| Sampler | Signature |
For erosion and stormwater site inspections, add: silt fence intact (Yes / No + photo), inlet protection in place, stabilised entrance clean, visible sediment leaving the site (flag "Yes" → task), rainfall since last inspection (number, mm).
Whatever you record, follow the method, holding times and reporting formats your permit or authority sets. ProofCam supports those records; it doesn't define them.
Tips
- Mark the photo spot with a stake or paint so every visit is shot from the same place.
- Photograph the instrument display next to each value you type in.
- Keep calibration notes in the template, for example a text field for the meter's last calibration date.
Other outdoor crews use the same pattern: see the farm record keeping app guide and road defect reporting.
FAQ
Can ProofCam's sound or light readings be used for compliance monitoring?
No. They're indicative estimates from phone sensors and are labelled that way. Compliance measurements need certified instruments and methods; ProofCam can stamp a photo of that instrument's display.
Can I leave a phone at a point for days of interval capture?
Interval capture keeps the screen on, so it suits sessions of hours with the phone mounted and powered, not unattended long-term monitoring.
Does it work at remote points with no coverage?
Yes. Photos, readings, checklists and signatures are saved offline and sync later from the Sync center.
How precise is the GPS position of a point?
A phone is usually accurate to a few metres; the location trust grade shows how reliable each fix is. For centimetre positions, connect an external RTK GNSS receiver (Business).