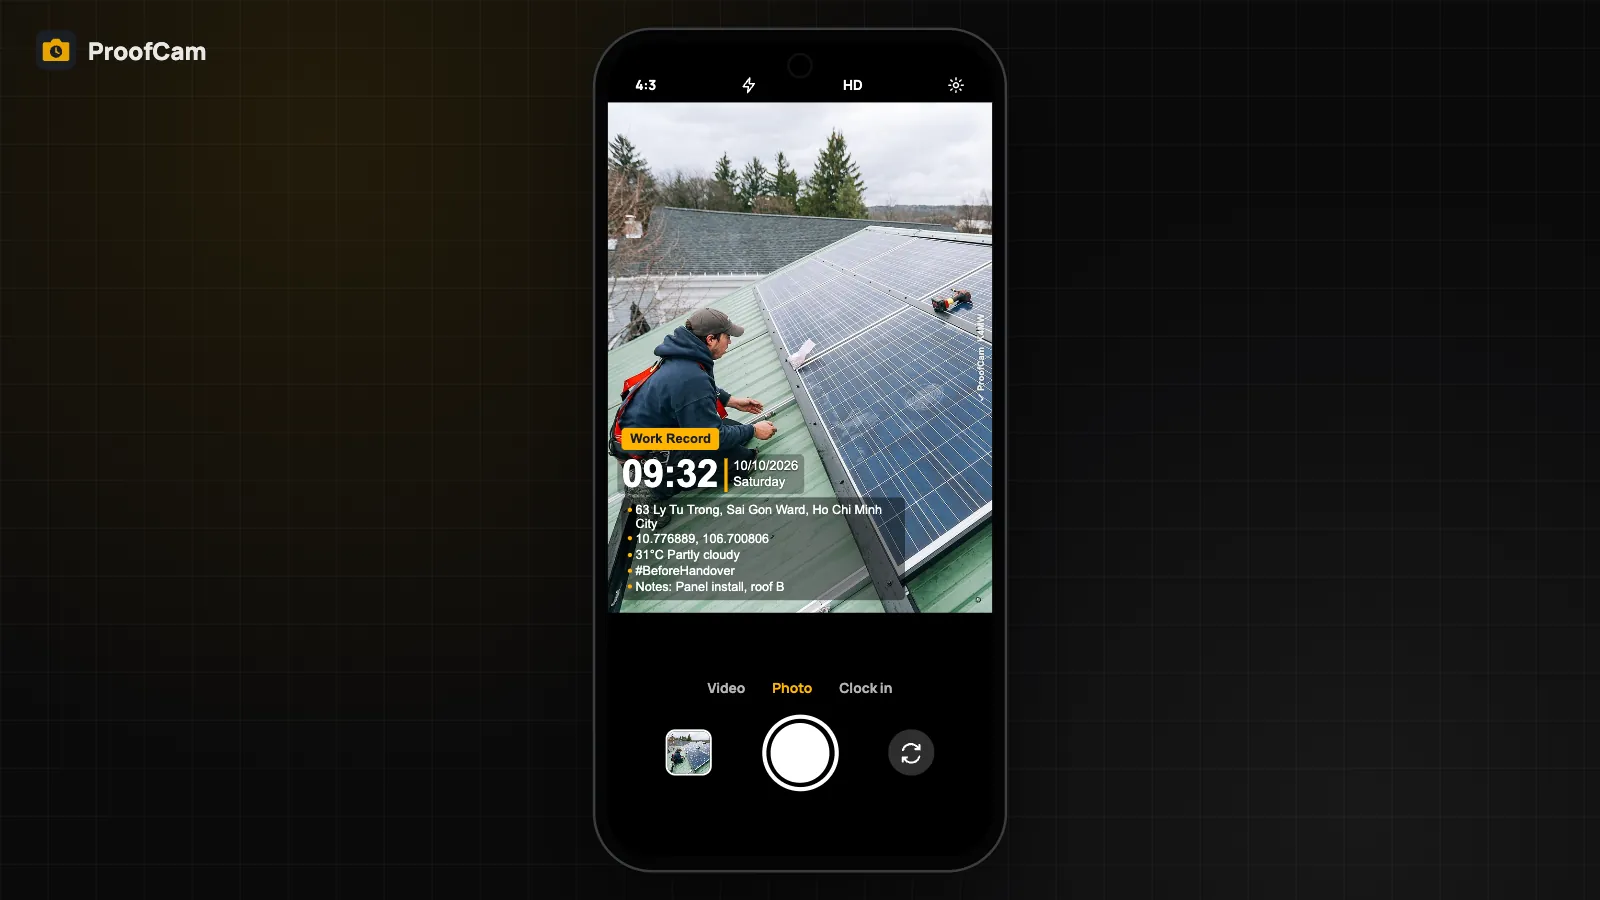
The watermark is the part of a proof photo that people actually read. A site manager wants the project name and floor, a cleaning client wants the address and time, a delivery customer wants "Delivered" and an order number. ProofCam lets you build the stamp that fits your job, from six visual styles and ten ready-made templates down to your own fields, date format and position on the photo.
This guide covers what you can change, how to build a template step by step, and which options are in Free and which need Plus.
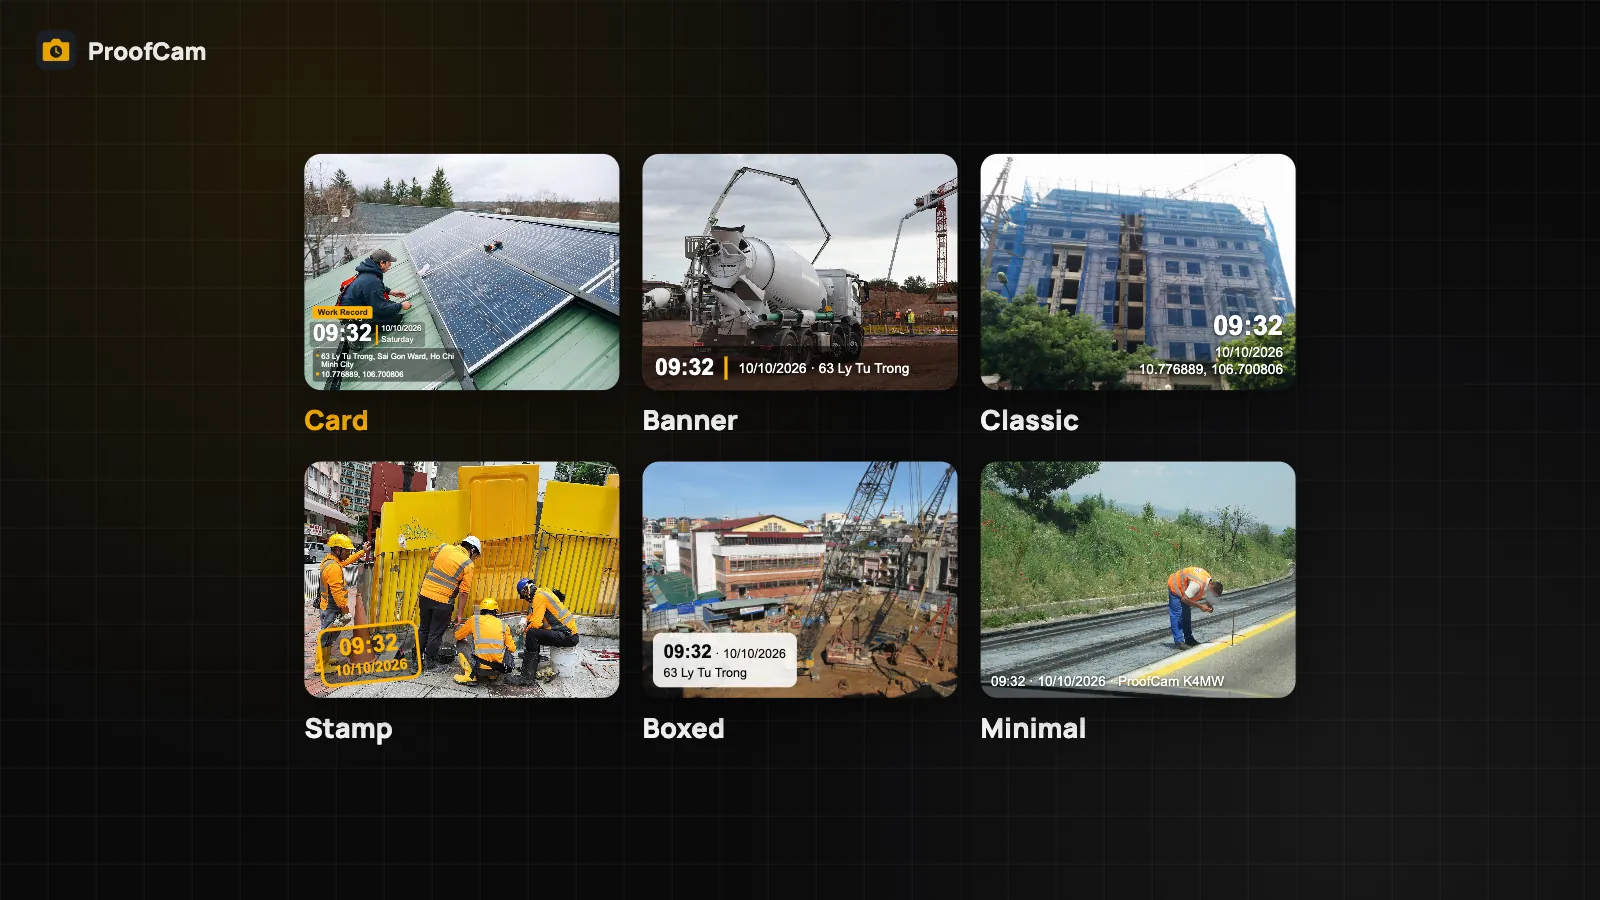
Six styles for different photos
Every template uses one of six styles. Choosing a style is free.
| Style | Looks like | Works well for |
|---|---|---|
| Card | A compact card with a large time and rows below | Site photos, inspections |
| Banner | A full-width strip along the edge of the photo | Reports and printouts |
| Classic | Plain lines of shadowed text, date and time in the accent color | Everyday records |
| Stamp | A very large time with an accent bar beside it | Making "when" obvious at a glance |
| Boxed | Dark text inside a light box with a header | Busy or dark backgrounds |
| Minimal | One small line: date, time and one detail | Photos where the subject matters most |
ProofCam also adjusts contrast automatically: it measures the brightness behind the stamp and adds just enough backdrop so the text stays readable on sky, white walls or at night. The template editor has a preview that shows how the stamp looks after a chat app compresses the photo.
Ten templates to start from
You don't have to start from a blank page. ProofCam includes ten preset templates: Work Record, Timestamp, Construction, Inspection, Proof of Delivery, Attendance, Cleaning, Security Patrol, Classic and Minimal. Each one has sensible fields switched on for that job; for example, Construction includes project and area fields and a photo counter.
Pick the closest preset, then adjust it. Free users can keep up to 3 custom templates; Plus removes the limit.
What you can put on the stamp
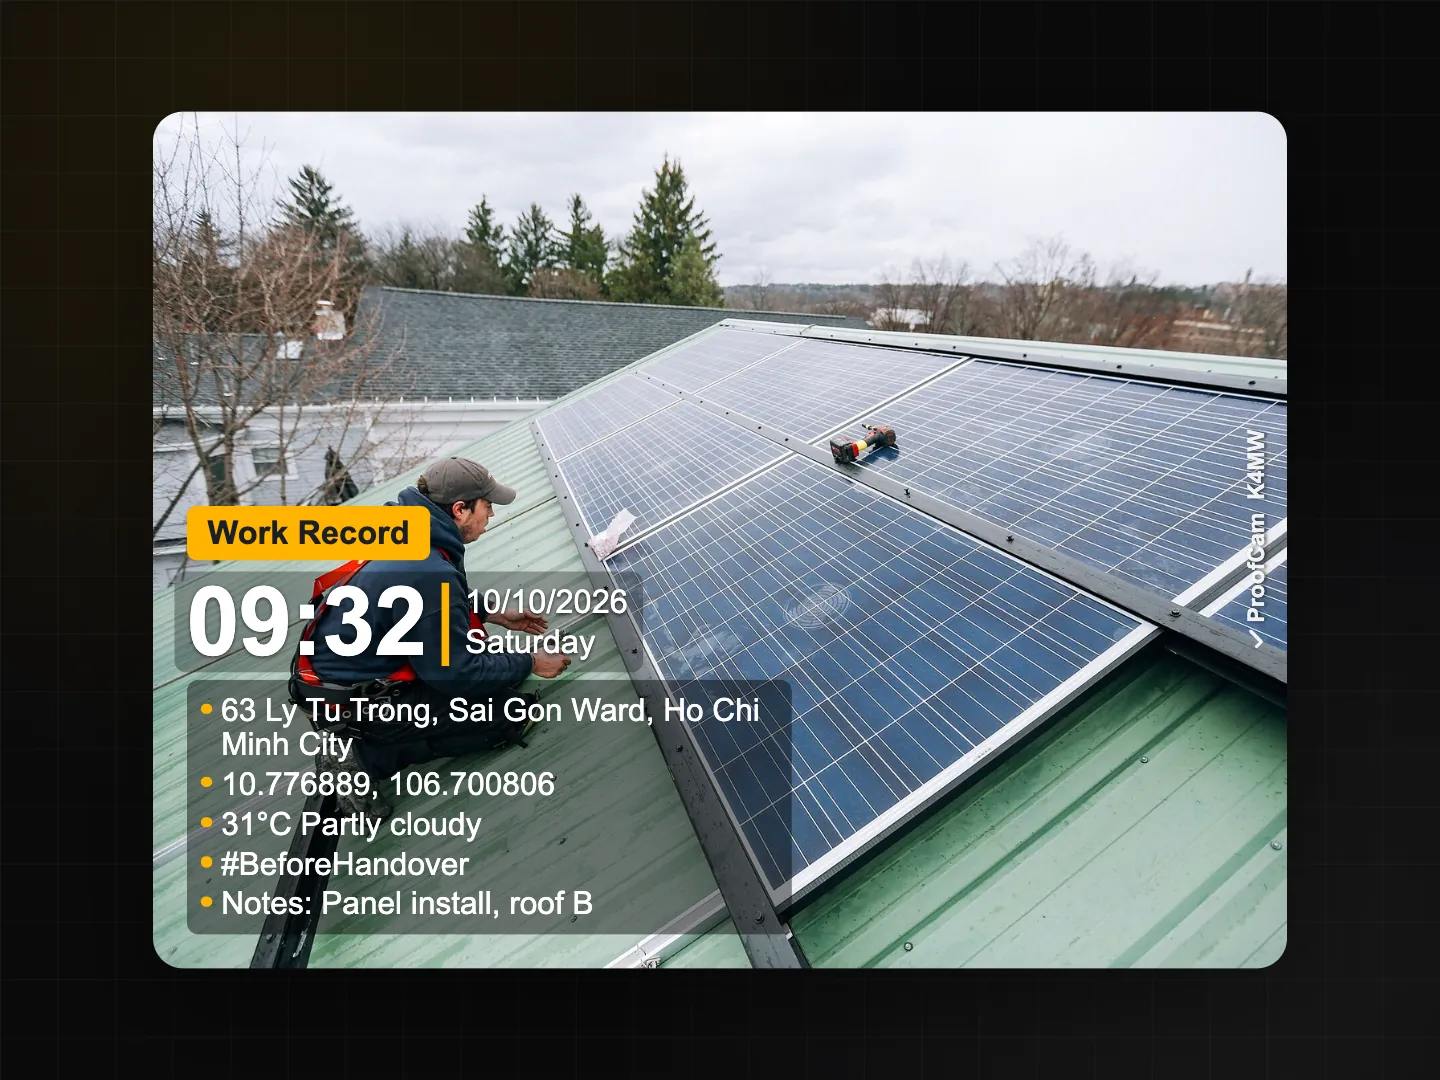
The editor lets you switch each line on or off:
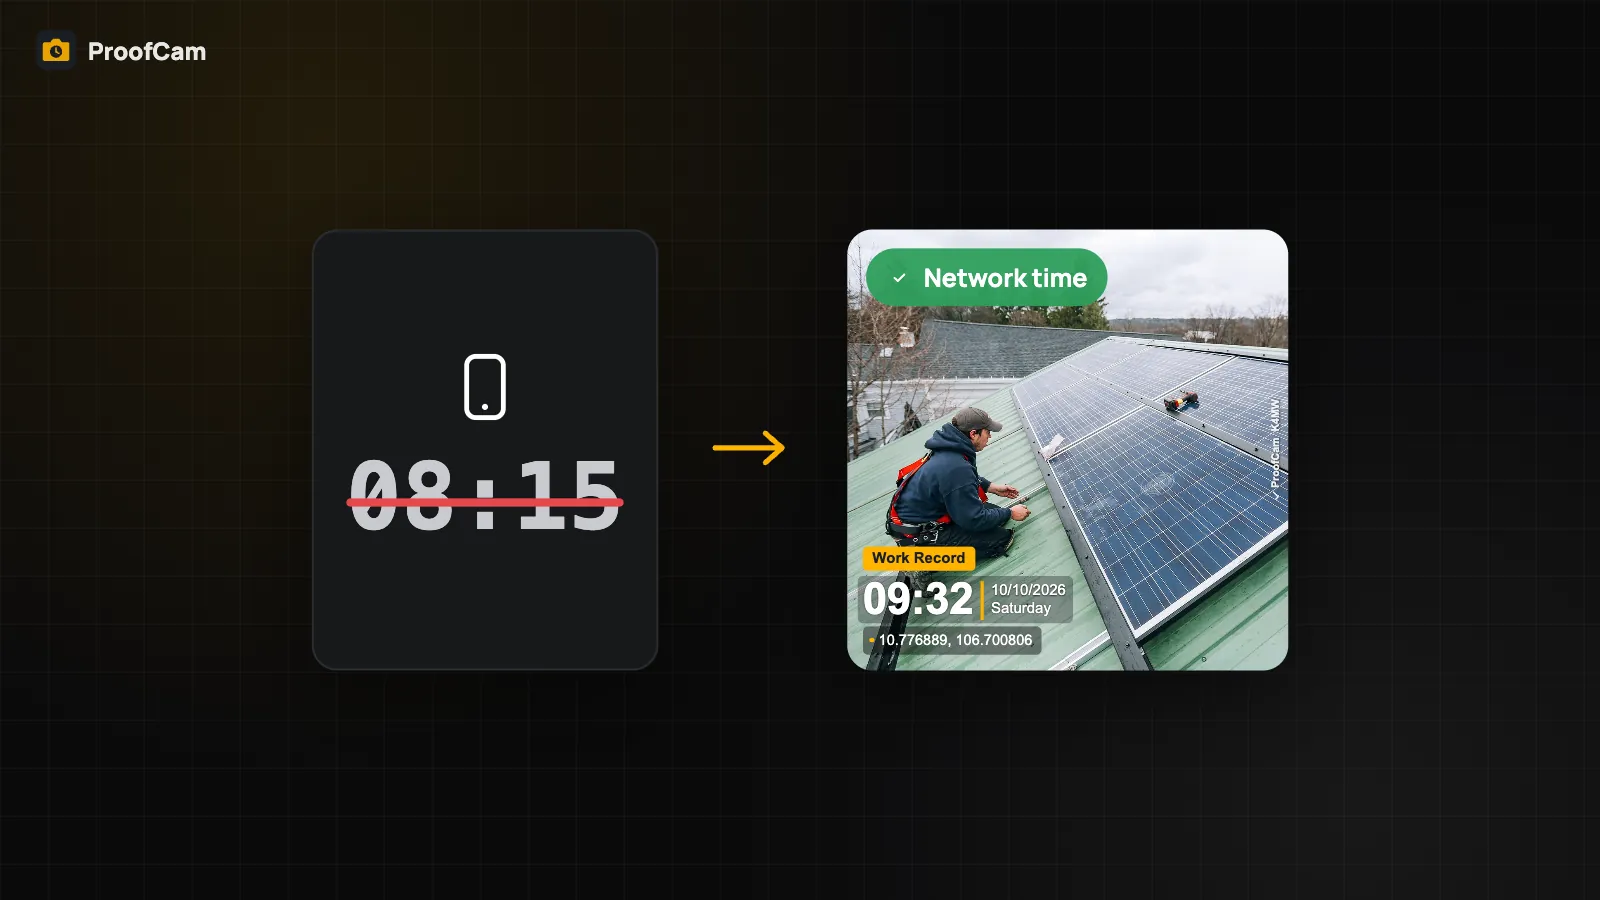
- Time and date: weekday, time zone, 24-hour or 12-hour time. Seconds and milliseconds are Plus.
- Location: street address, coordinates in decimal or degrees/minutes/seconds, GPS accuracy, altitude and compass heading. UTM and MGRS coordinates are Plus.
- Context: weather, notes (with history so you can reuse recent ones), tags, an auto-incrementing photo counter and a business card line.
- Custom fields: your own label/value pairs such as "Contractor", "Unit" or "Work order". Free allows 3 custom fields per template, Plus allows 10. Custom fields can also be used in file names.
- Branding (Plus): your company logo (image or text) and a mini map of the location. Plus also removes the small ProofCam brand line.
The Photo Code is always included, so every stamped photo can be verified.
Layout: date formats, positions, margins and fonts
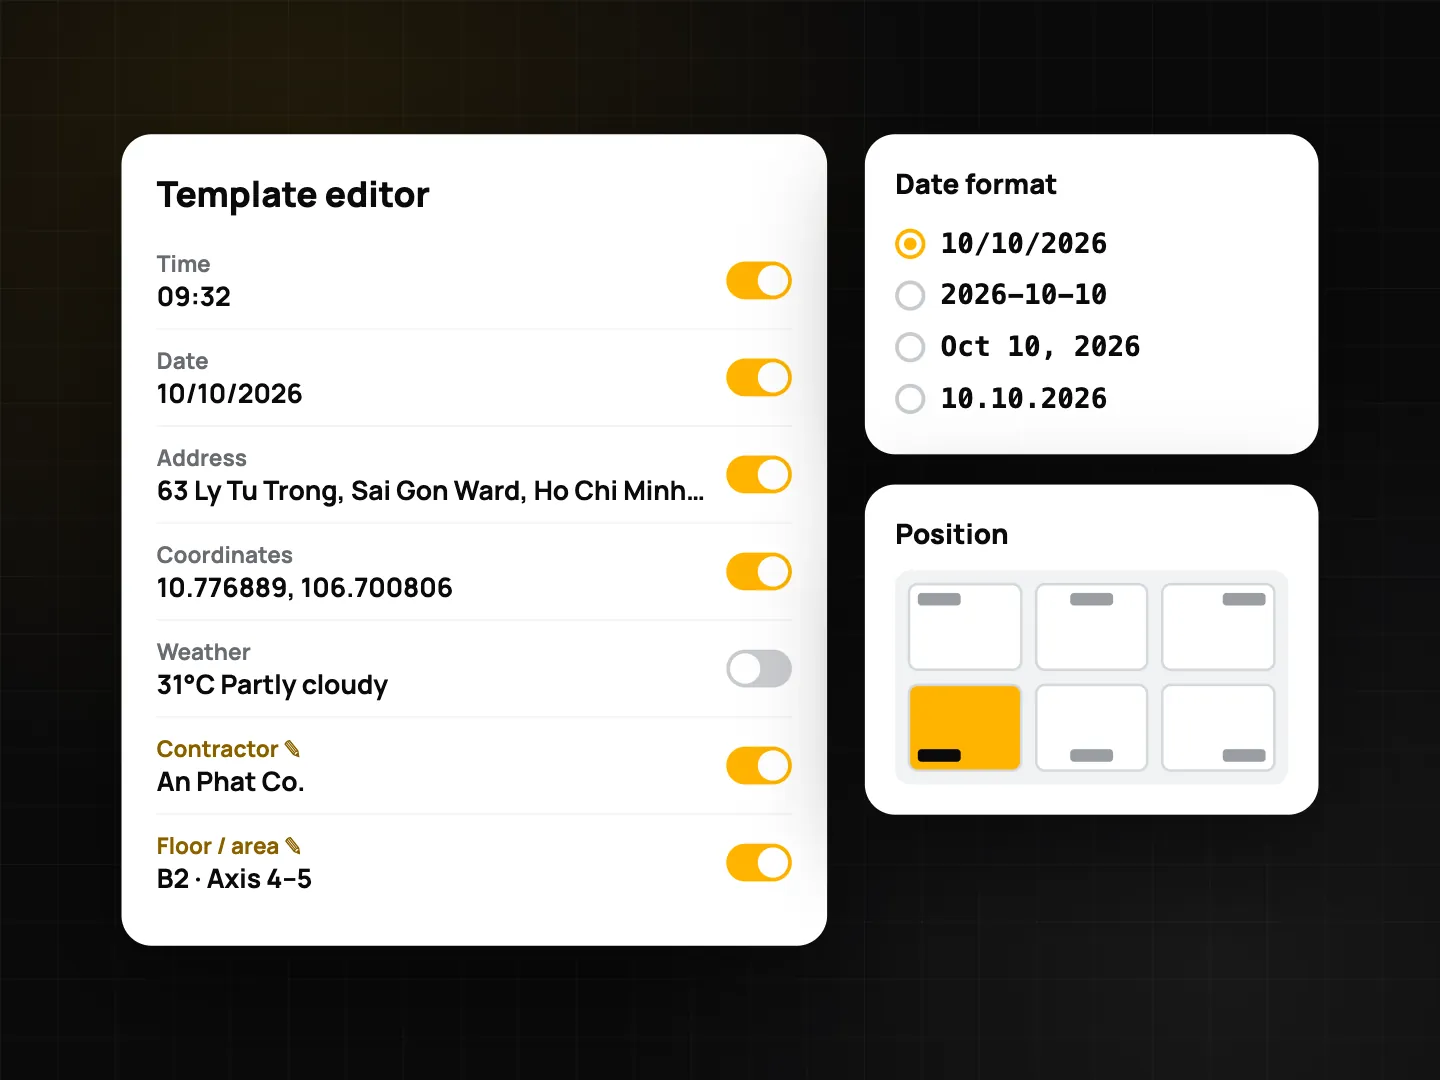
- Date format (Free): choose from 26 date patterns, such as 21/09/2026, 2026-09-21 or Monday, 21 September 2026, with a live sample as you pick.
- Position (Free): place the block in one of 6 positions: top left, top center, top right, bottom left, bottom center or bottom right.
- Text margin (Plus): besides the normal margin you can choose none, wide or print. "Print" keeps the stamp clear of the edge that gets trimmed when photos are printed.
- Fonts and look (Plus): sans, serif, mono or condensed fonts, a text outline, a fixed backdrop opacity, plus custom text size and color.
On Free you can still try Plus options in the editor preview. If you save without Plus, those options are removed and the rest of your template is kept.
How to build your own template
- On the camera screen, open the template picker and choose the preset closest to your job.
- Open the editor. Pick a style, then turn fields on or off.
- Add custom fields (for example "Contractor: Minh Phat Co." and "Block: B2").
- Choose a date format and a position. Check the preview, including the compressed-photo preview.
- Save. The template is now active on the camera; switch between templates with one tap.
Share templates with your crew
Once a template is right, everyone should use the same one. In the editor, share it as a file (.pctemplate, which includes a small logo if you use one) or as a QR code (no logo) that a colleague scans from the template list. It works between Android and iPhone, and no account is needed. Imported templates count toward the Free limit of 3.
On a Business team, admins can publish templates to the whole Teamspace and even make a team template mandatory, so every photo from the crew carries the same fields. See Teamspace for managers.
Tips
- Keep the stamp short. Time, address, project and one note are usually enough; long stamps cover the work you're trying to show.
- Put the stamp where the photo is "empty", such as the sky or the floor, by changing the position.
- Use the same custom field labels across templates so exports and file names stay consistent.
- Need the stamp to say where the photo was taken without exact coordinates? See GPS address and location trust.
FAQ
Can I change the watermark after taking a photo?
Editing the watermark after capture is a Plus feature. Without Plus, choose and check your template before shooting.
Is the style or position a Plus feature?
No. All six styles, the date formats and all six positions are free. Plus adds extra fields (up to 10 custom fields, seconds, logo, map), fonts, size and color, and the extra margin modes.
Does a shared QR template include my logo?
No. QR codes are small, so the logo is left out. Share the template as a file to include it.