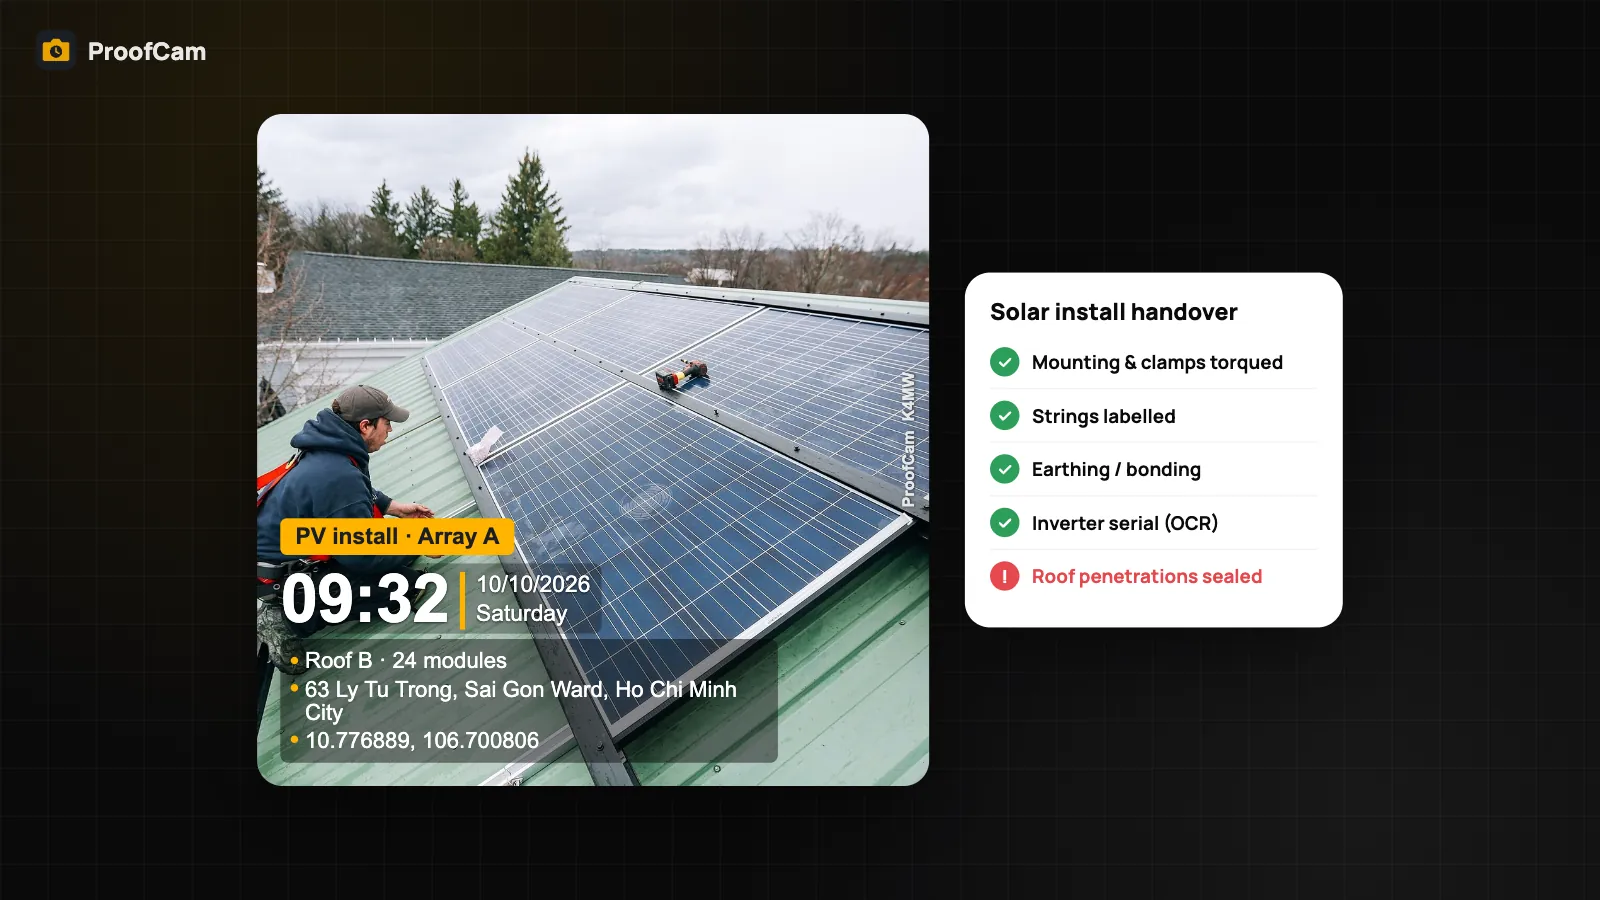
Every rooftop PV job ends with the same request: send the photos. The customer wants proof of what's under the panels, the financier or utility may want commissioning photos, and your own warranty team wants serial numbers and string readings when a call comes in two years later. Good solar installation photo documentation means the mounting, wiring, labels and test values are captured while you're on the roof, not pieced together from a crew chat at the end of the week.
This guide shows how to document residential and commercial rooftop installs with ProofCam: required photos in a checklist, string test values entered next to a photo of the meter, inverter and module serials read on the phone, and a handover PDF the customer can check.
Where solar install photos fall apart
- The important parts get covered. Rail fixings, roof penetrations and cable routes disappear under modules within hours. If nobody photographed them, there's no second chance.
- Numbers without proof. String voltages and insulation readings end up on a scrap of paper or in someone's memory. A photo of the meter display, taken at the same time, is rarely attached.
- Serial numbers typed by hand. Inverter and optimiser labels are small and often in a dark plant room or under the array. Typos break warranty registration.
- No signal on the roof. Industrial roofs and rural homes often have weak coverage, so uploads fail and photos get sent hours later.
- Requirements differ by job. Utilities, financiers and commercial clients each ask for their own photo set. A checklist per client keeps everyone from guessing.
ProofCam features for solar installation photo documentation
| Need | ProofCam feature | Plan |
|---|---|---|
| Time, GPS, address and heading on every photo | Watermark with network time and true-north compass | Free |
| Required photos per stage | Checklist with required photo items (min/max count) | Free: 1 template · Plus unlimited · Business team templates |
| String test values | Number questions with unit and min/max, typed by the installer | Same as checklists |
| Inverter and module serials | On-device text recognition from photo details; barcode/QR question in checklists | Free · document-mode OCR Plus |
| Signed handover or commissioning forms | Document mode: multi-page scan → PDF, a Photo Code per page | Plus |
| Panel tilt on the photo | Tilt printed on the photo; level on preview | Level Free · printed tilt Plus |
| Array overview | 4-direction set N/E/S/W | Plus |
| Install progress | Interval capture + time-lapse MP4 | Plus |
| Roof layout with pinned photos | Floor plans with photo pins + annotated PDF | Business (or trial) |
| Proof the photo is original | Photo Code + web verify page | Free |
| Delivering to the customer | Share link, PDF report | Share link with an account/Teamspace · report builder Plus or Business |
ProofCam doesn't measure voltage
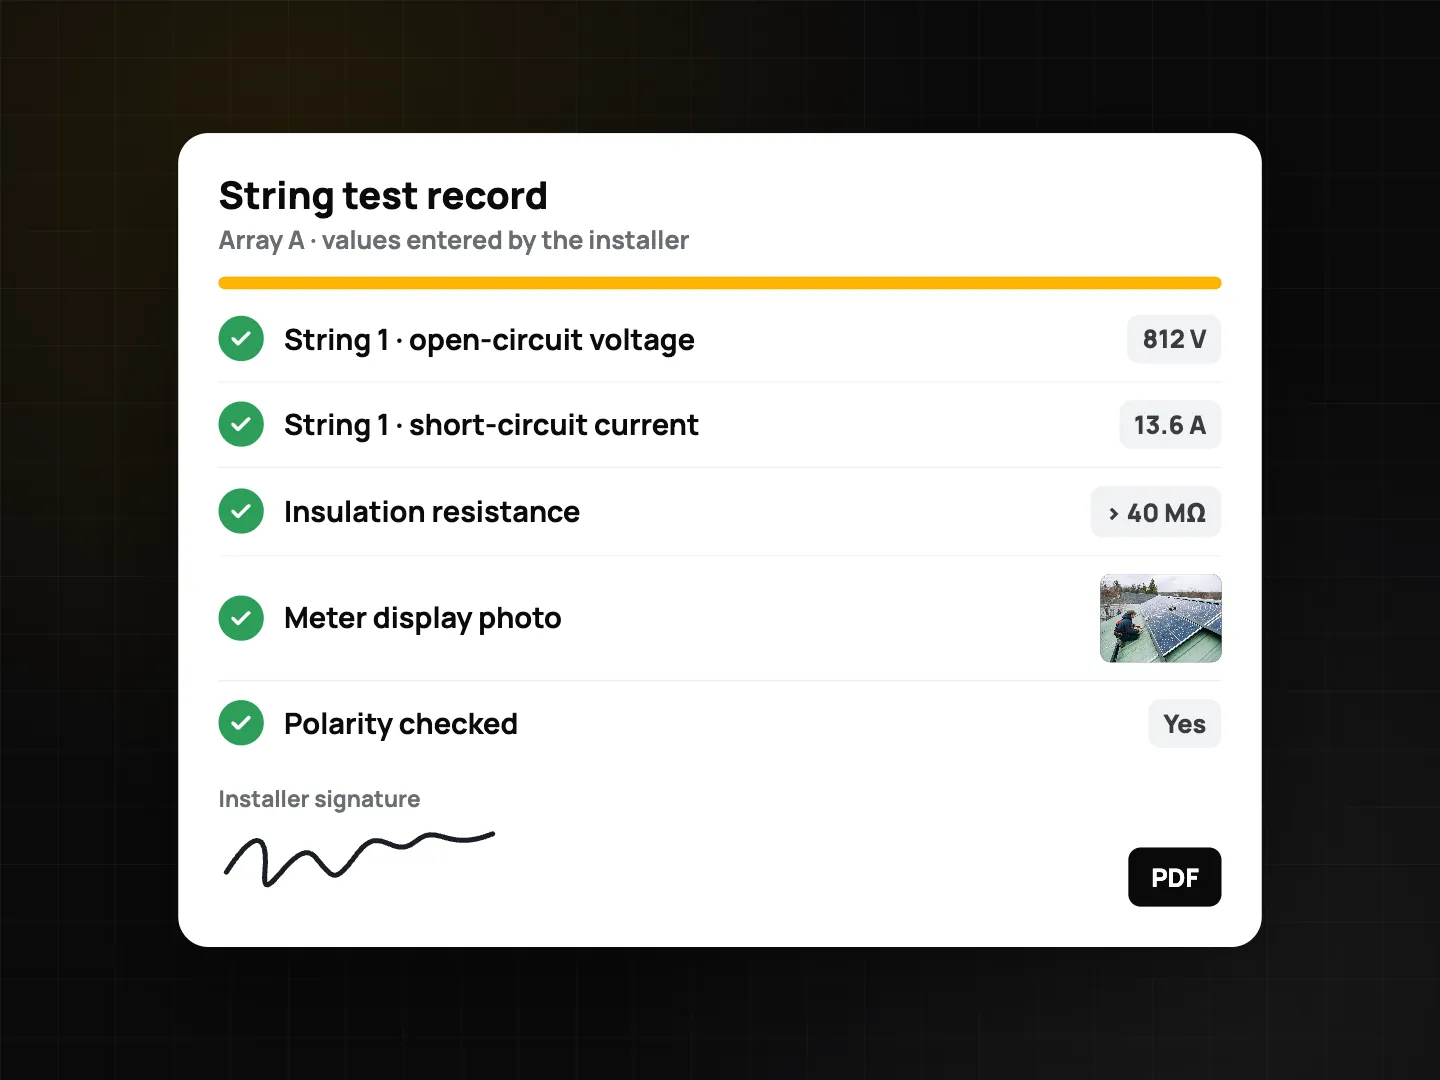
Let's be precise. ProofCam is a camera and a checklist. It doesn't read your multimeter or insulation tester. The installer measures with their own instrument and types the value into a number field, for example open-circuit voltage in V or insulation resistance in MΩ. The template can set a unit and a minimum and maximum so an out-of-range entry stands out, and a photo item right next to it captures the meter display with time, place and Photo Code.
Step-by-step workflow
- Build the template once. Create a "Solar install handover" checklist with sections for roof, mounting, DC wiring, inverter, AC and earthing, testing and handover. A team admin can also start from the Electrical installation acceptance starter template and adapt it. See inspection checklists with PDF reports.
- Create the project. One project per site, for example "Roof B · 24 modules". On a Business team, import the roof layout as a floor plan and pin photos to each array or string.
- Before work starts. Shoot a 4-direction set (Plus) from the roof and photos of the existing roof condition, so pre-existing damage is on record.
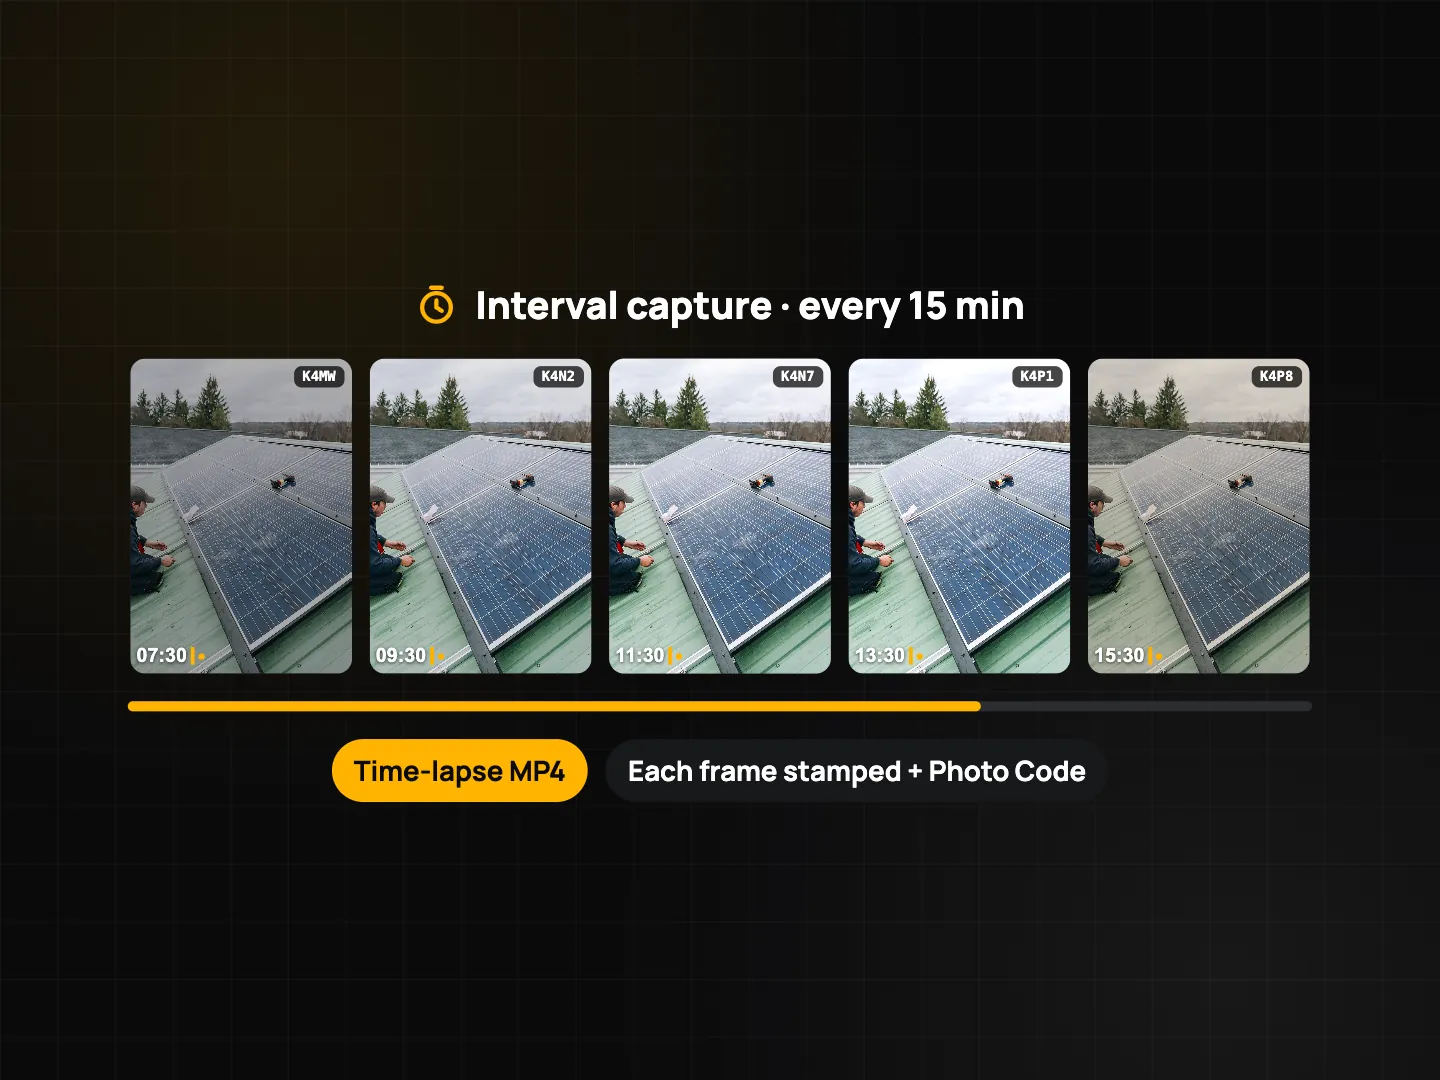
- During installation. Answer the required photo items as you go: rail fixings, flashing and sealed penetrations, clamps, cable routes and string labels. With Plus, turn on printed tilt so array photos show the panel angle as measured by the phone. Set up interval capture on a tripod for a time-lapse of the day.
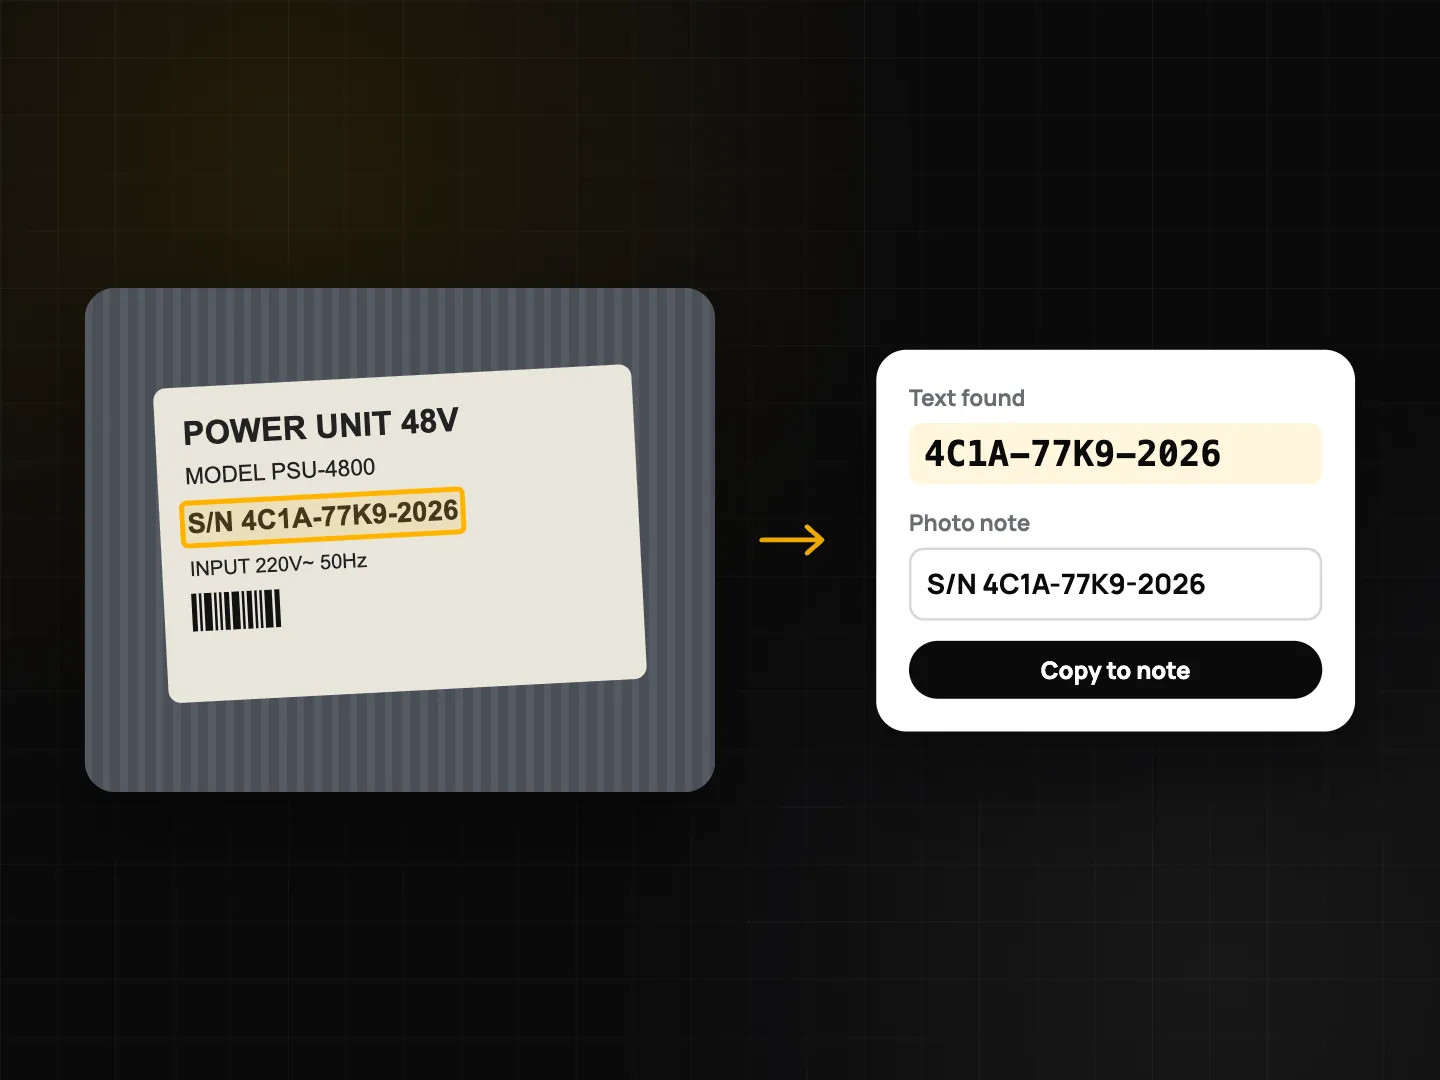
- Serials. Photograph the inverter and module labels, open photo details and tap text recognition. Copy the serial into the checklist and check it against the label. Barcode labels can be scanned with a barcode question instead.
- Testing. Measure with your own meter, enter each string's values in the number fields, and take the meter photo in the same item.
- Handover. Get the customer's signature in the checklist. If there's also a paper handover or commissioning form, scan it in document mode (Plus) so each page gets its own Photo Code. Details are in document scanning and OCR.
- Deliver. Generate the PDF, with every photo's Photo Code and a verify QR, and send a share link where the customer can view the photos on a grid and a map and download a ZIP. Everything above works offline on the roof and syncs later. See offline photo proof.
Solar install checklist template
| Section | Item | Question type |
|---|---|---|
| Site | Customer / site address, roof type | Text, single choice |
| Existing roof condition | Photo, min. 2 | |
| Array overview, 4 directions | Photo, min. 4 | |
| Mounting | Rail fixings and spacing | Yes/No/N/A + photo |
| Roof penetrations sealed / flashing | Yes/No/N/A + photo | |
| Module clamps torqued as specified | Yes/No + photo | |
| DC wiring | Strings labelled | Yes/No + photo |
| Cable routing and protection | Yes/No + photo | |
| DC isolator installed and labelled | Yes/No/N/A + photo | |
| Inverter | Inverter serial | Text or barcode scan |
| Inverter mounting and clearances | Photo | |
| Earthing | Earthing / bonding of frames | Yes/No + photo |
| Testing | String Voc (V), Isc (A) per string | Number with unit, min/max |
| Insulation resistance (MΩ) | Number with unit, min | |
| Meter display | Photo | |
| Polarity checked | Checkbox | |
| Handover | Warning labels in place | Yes/No + photo |
| Customer briefed on shutdown | Checkbox | |
| Installer and customer signatures | Signature |
Turn on scoring if you want a pass mark, and mark key items as flagged answers so a missed sealant photo doesn't slip through. On a team, flagged items can create follow-up tasks automatically.
Tips
- Photograph before you cover. Fixings and penetrations first, modules second. A required photo item makes this hard to skip.
- Calibrate the compass away from steel rails and the inverter when ProofCam asks. If it's unreliable, the heading is left off the photo.
- Keep the meter photo and the typed value in the same item, so a reviewer can compare them at a glance.
- Check the requirements of your utility, financier or local authority before you finalise the photo list. ProofCam supports your records; it doesn't decide what a dossier must contain.
Working on towers as well as roofs? See the telecom site audit app guide, or the construction daily report app for larger builds.
FAQ
Can ProofCam read voltage or insulation values from my meter?
No. The installer measures with their own instrument and types the value into a number field. A photo of the meter display in the same item documents the reading.
Is there a ready-made solar checklist?
There's no bundled solar template. Build your own from the table above, or start from the Electrical installation acceptance starter template on a team. Free includes one checklist template; Plus has unlimited templates.
Does it work on a roof with no signal?
Yes. Photos, Photo Codes, checklists and PDFs are created offline and sync when the phone is back online.
How does the customer check the photos are original?
Each photo has a Photo Code. The customer can enter it on the verify page or scan the QR in the PDF. A copy sent through a chat app shows as a modified copy, which is expected.
Related: construction photo documentation and Photo Codes and verifying originals.