"Which way was this photo facing?" is one of the most common questions about site photos, and one of the hardest to answer a week later. Was the panel row shot from the south? Is that wall really out of plumb, or was the phone just tilted? Did the antenna point at the bearing in the design?
ProofCam turns the phone's own sensors into a camera with level and compass. A level line on the preview helps you hold the phone straight, the compass bearing (true or magnetic north) can be stamped on the photo, and pitch and roll are saved in the photo's evidence data. On iPhone there is also a dedicated inclinometer. This guide covers what each tool does, how to read the values, and which plan you need.
Camera with level and compass: the level line
The level shows a line across the preview that turns to "level" when the phone is within ±1°.
- Android: tap Level in the camera's top bar. It is hidden in video mode.
- iPhone: turn on Bubble level in Settings.
Need to shoot something that is meant to be at an angle, like a roof pitch or a ramp? Hold the phone along the reference surface and tap Set zero. The level then measures from that position. Reset zero returns to true horizontal.
The level is Free on both platforms. It also helps the blurry photo detection, which warns when a shot is noticeably tilted.
Compass bearing on the photo
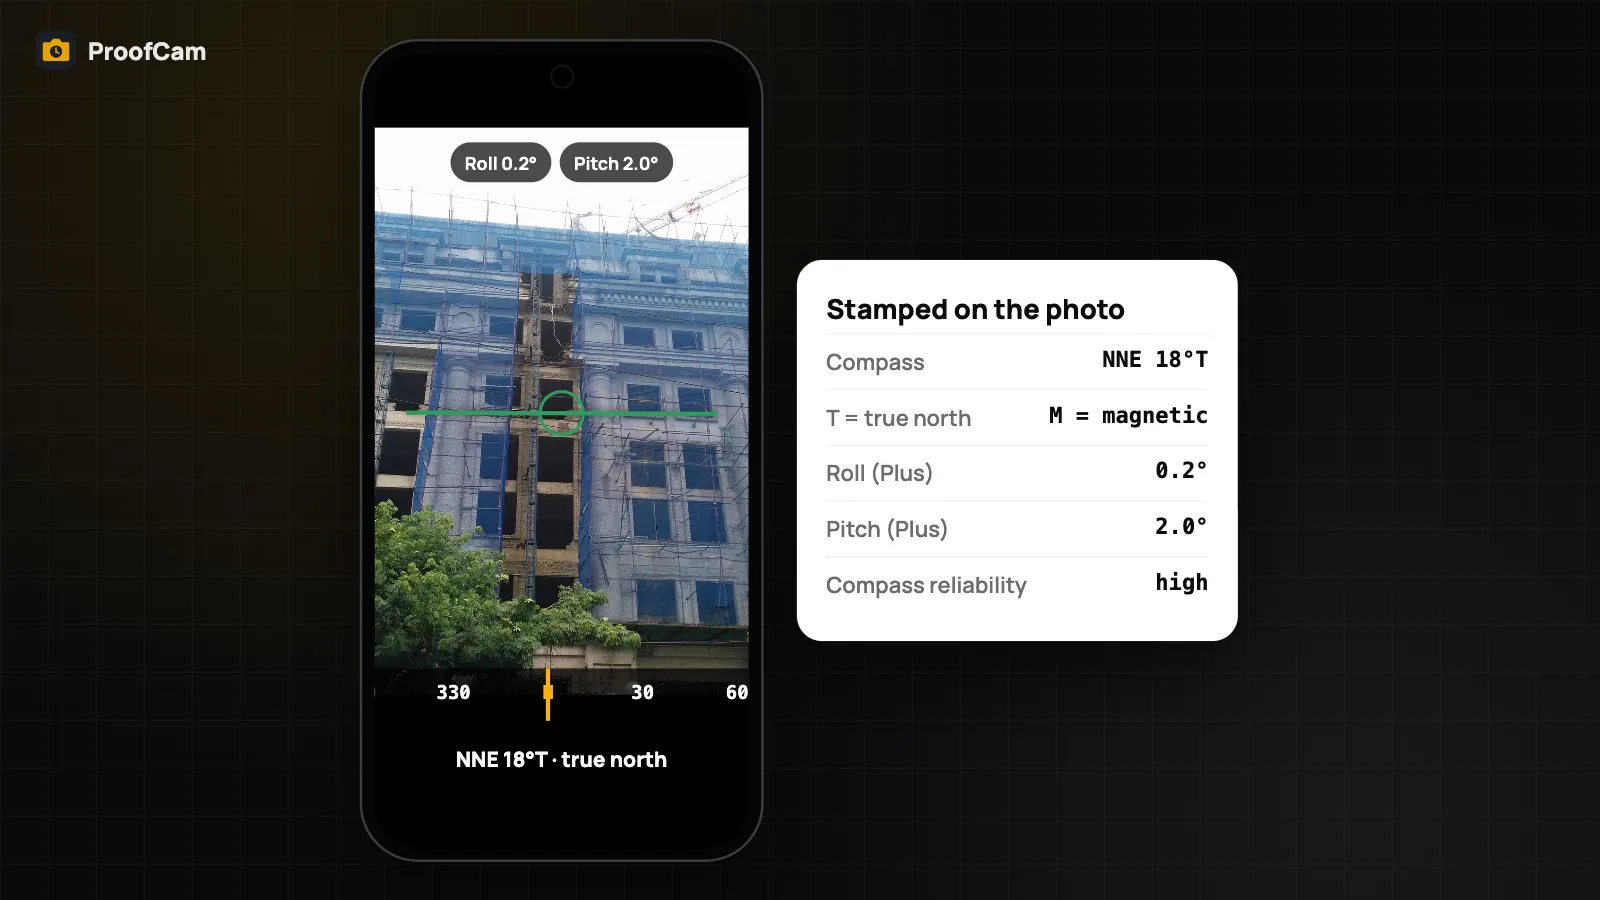
Turn on the Compass switch in your watermark template and ProofCam prints a line such as N 358°T on the photo:
- the number is the direction the camera was facing;
- T means true north, M means magnetic north.
The heading is also written into the photo's EXIF data, so mapping and GIS tools can read it. The compass line is Free.
ProofCam rates the compass reliability as high, medium, low or unreliable. When the reading is unreliable, for example next to steel beams, a generator or a vehicle, no heading number is printed. You get no number instead of a wrong one. Move a few steps away from metal and wave the phone in a figure-eight to let the sensor recalibrate.
True north vs magnetic north
A magnetic compass points to magnetic north, which can be several degrees away from true (geographic) north depending on where you are. Plans, maps and antenna designs normally use true north.
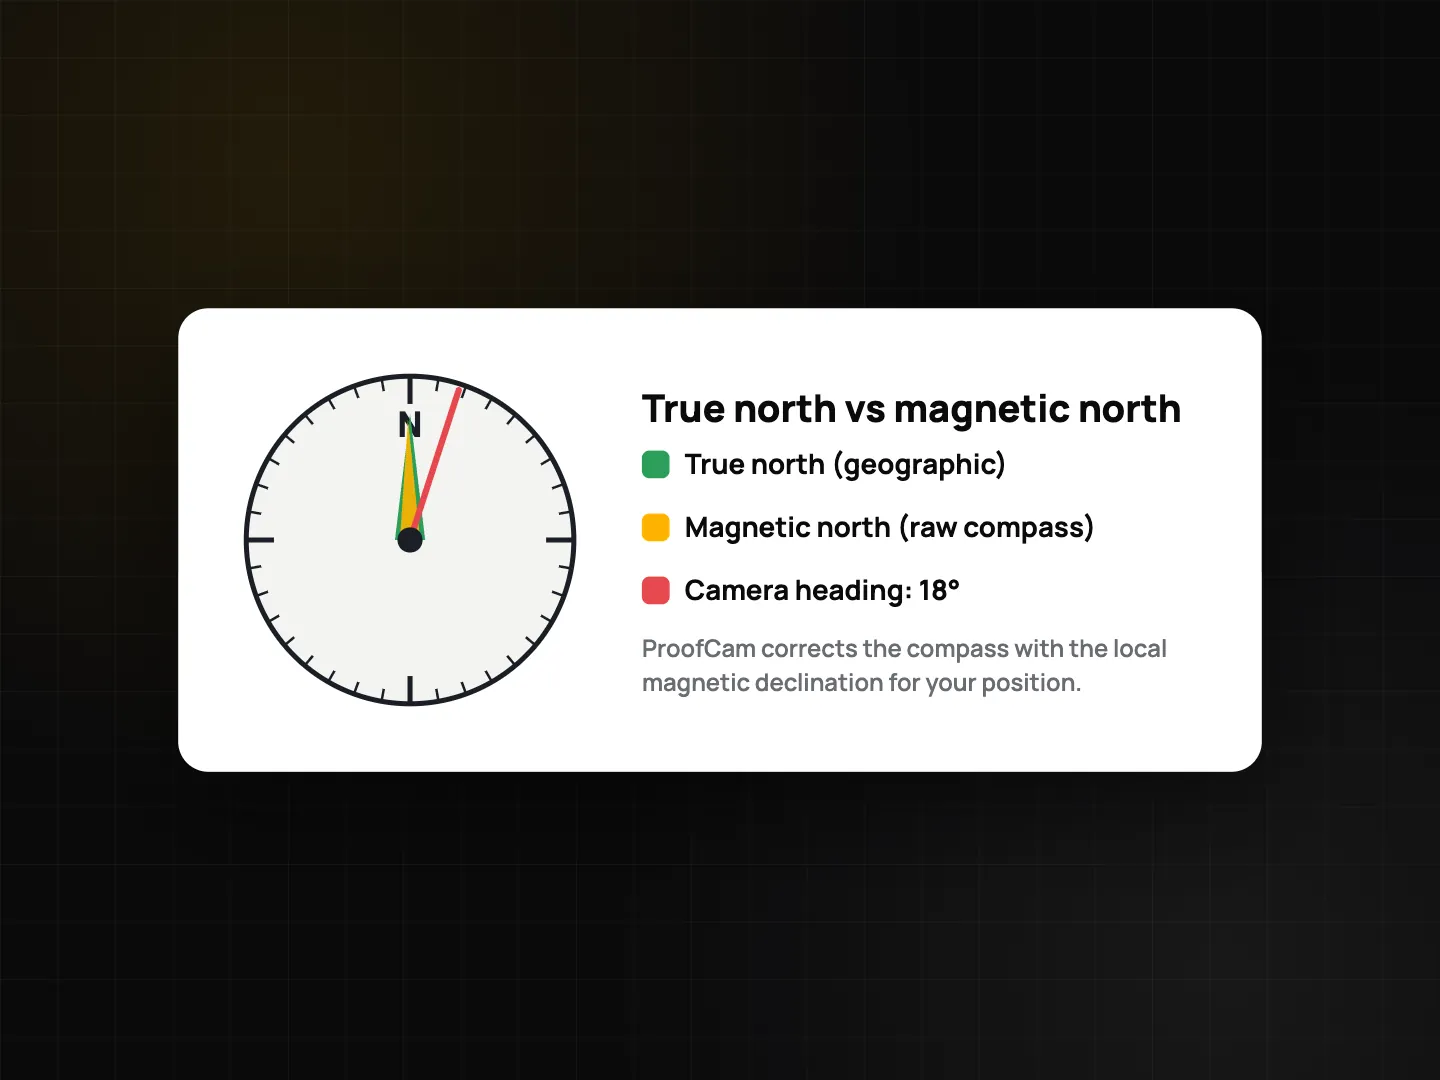
How ProofCam gets true north:
- Android adds the local magnetic declination for your position to the magnetic heading.
- iPhone uses the system's true heading.
The evidence data keeps the true heading, magnetic heading and declination, so anyone reviewing the photo can see both.
Pitch and roll: tilt on the photo
Pitch (camera tipped up or down) and roll (camera rotated left or right) are always saved in the photo's evidence data, even when they are not printed.
To print them on the stamp, turn on Pitch / roll in the template. Printing them is a Plus feature. This is useful when the angle itself is part of the record, such as:
- the tilt of a solar panel row, shot along the frame;
- whether a pole, mast or formwork panel is out of plumb;
- the slope of a drainage channel or ramp.
The values come from the phone's motion sensors, so they show how the phone was held. Line the phone up carefully against the surface you want to measure. ProofCam doesn't publish accuracy figures for these readings; for formal measurements, use a proper instrument.
Inclinometer on iPhone
iPhone has a dedicated screen: Settings → Inclinometer. It has four modes:
| Mode | Use it for |
|---|---|
| Surface | Lay the phone flat to read the tilt of a slab, table or panel |
| Plumb | Hold the phone against a wall, column or post |
| Beam | Lay the phone along a beam or pipe |
| Antenna | True-north azimuth and down-tilt of an antenna (Plus) |
Hold freezes the reading, so you can take the phone off the surface and still read the number.
Android has no separate inclinometer screen. Telecom crews on Android use the antenna angle tool AngleCam, which needs Plus or the telecom pack. For more on antenna checks, see telecom site audits.
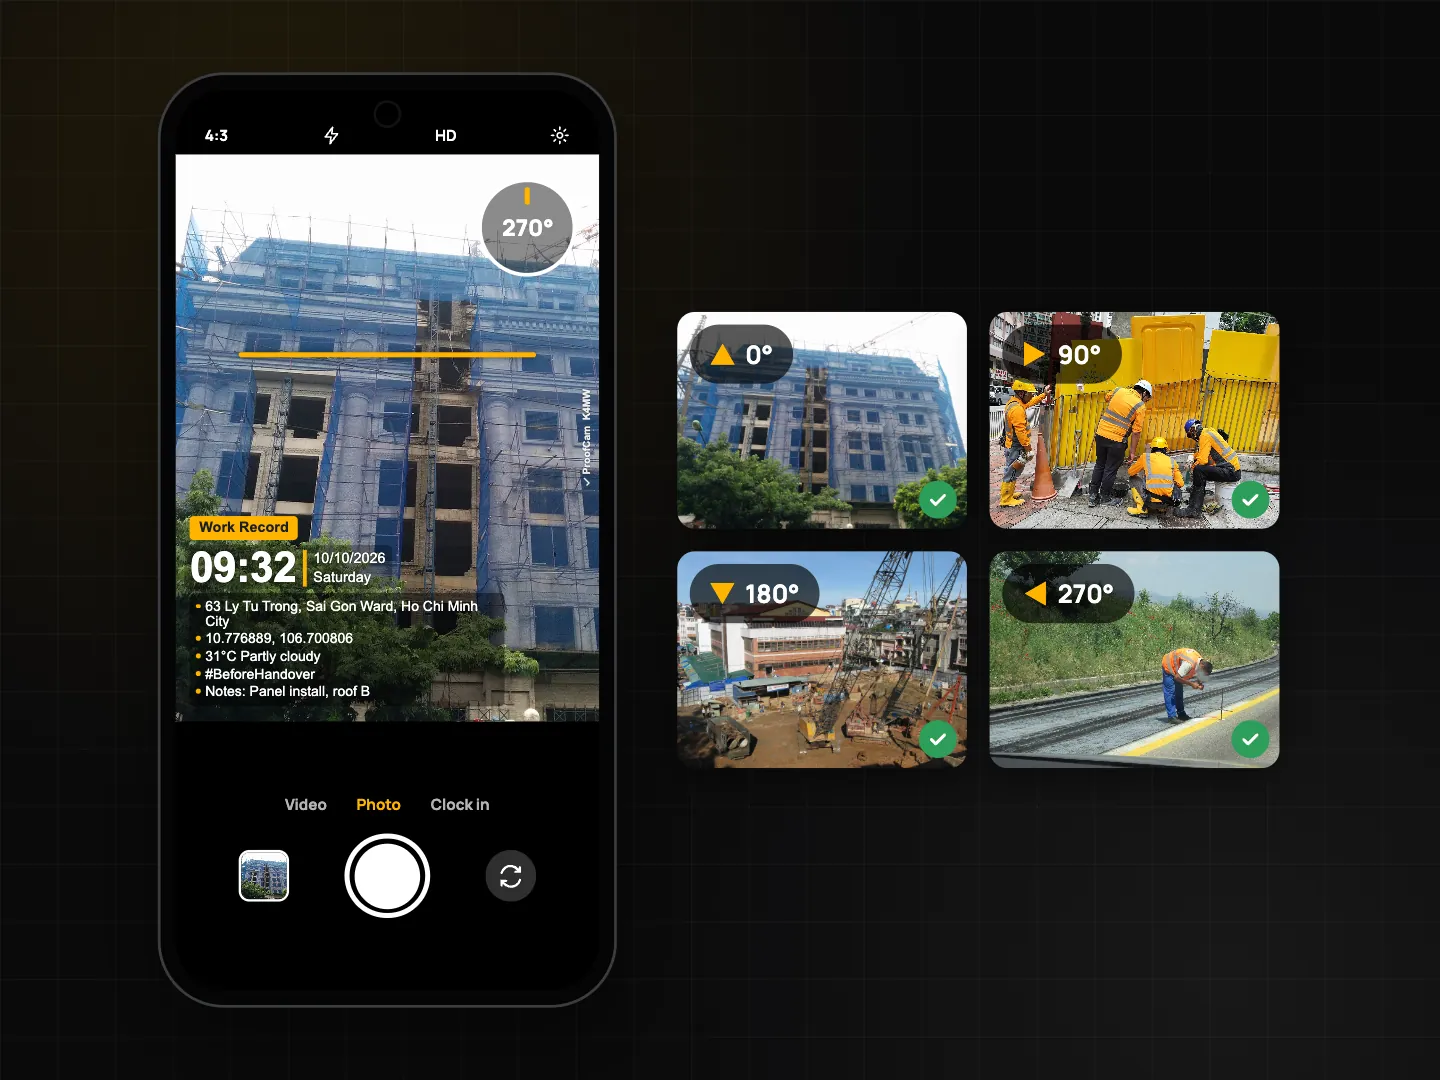
Four-direction photo set
Many inspections ask for photos facing north, east, south and west from the same point: around a tower base, a solar array, a plot boundary. ProofCam's 4-direction set guides you with the compass to each bearing, takes the four shots and builds a 2×2 collage. It won't let you shoot a direction while the compass is unreliable. This is a Plus feature.
See how this fits into a full shot list in the construction photo documentation guide and in solar installation photo documentation.
Phone sensors vs external devices
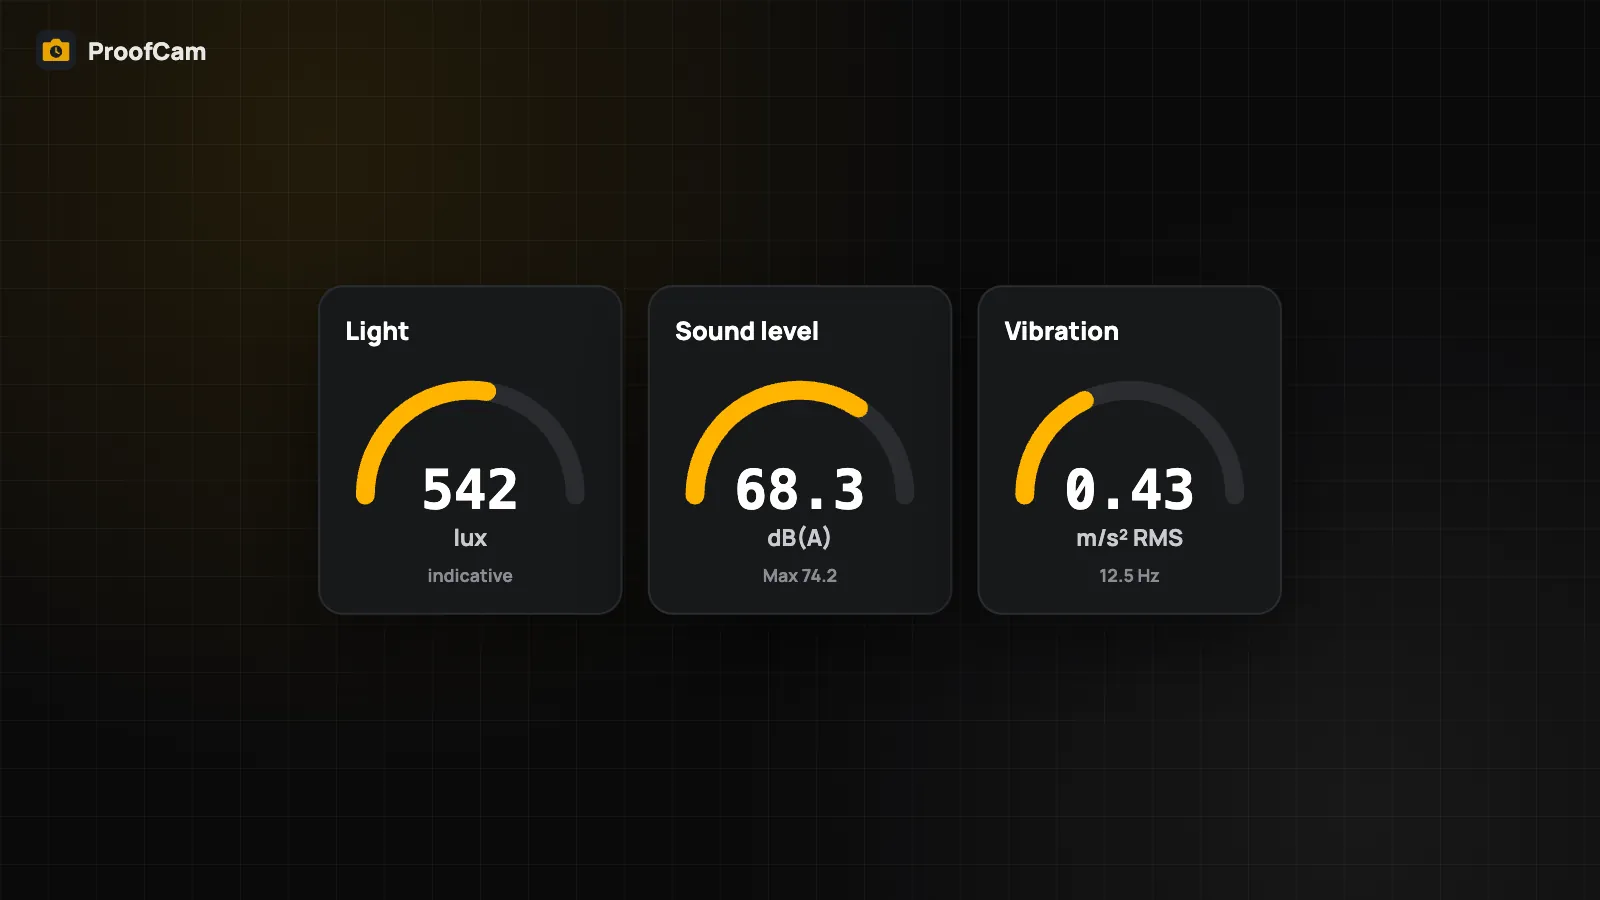
Everything in this guide uses the phone's built-in sensors: accelerometer, gyroscope and magnetometer. They are good enough to document direction and approximate tilt on a photo. When you need survey-grade position or precise distances, ProofCam can also read external devices such as RTK GNSS receivers and laser meters; see field meters, RTK GNSS and laser.
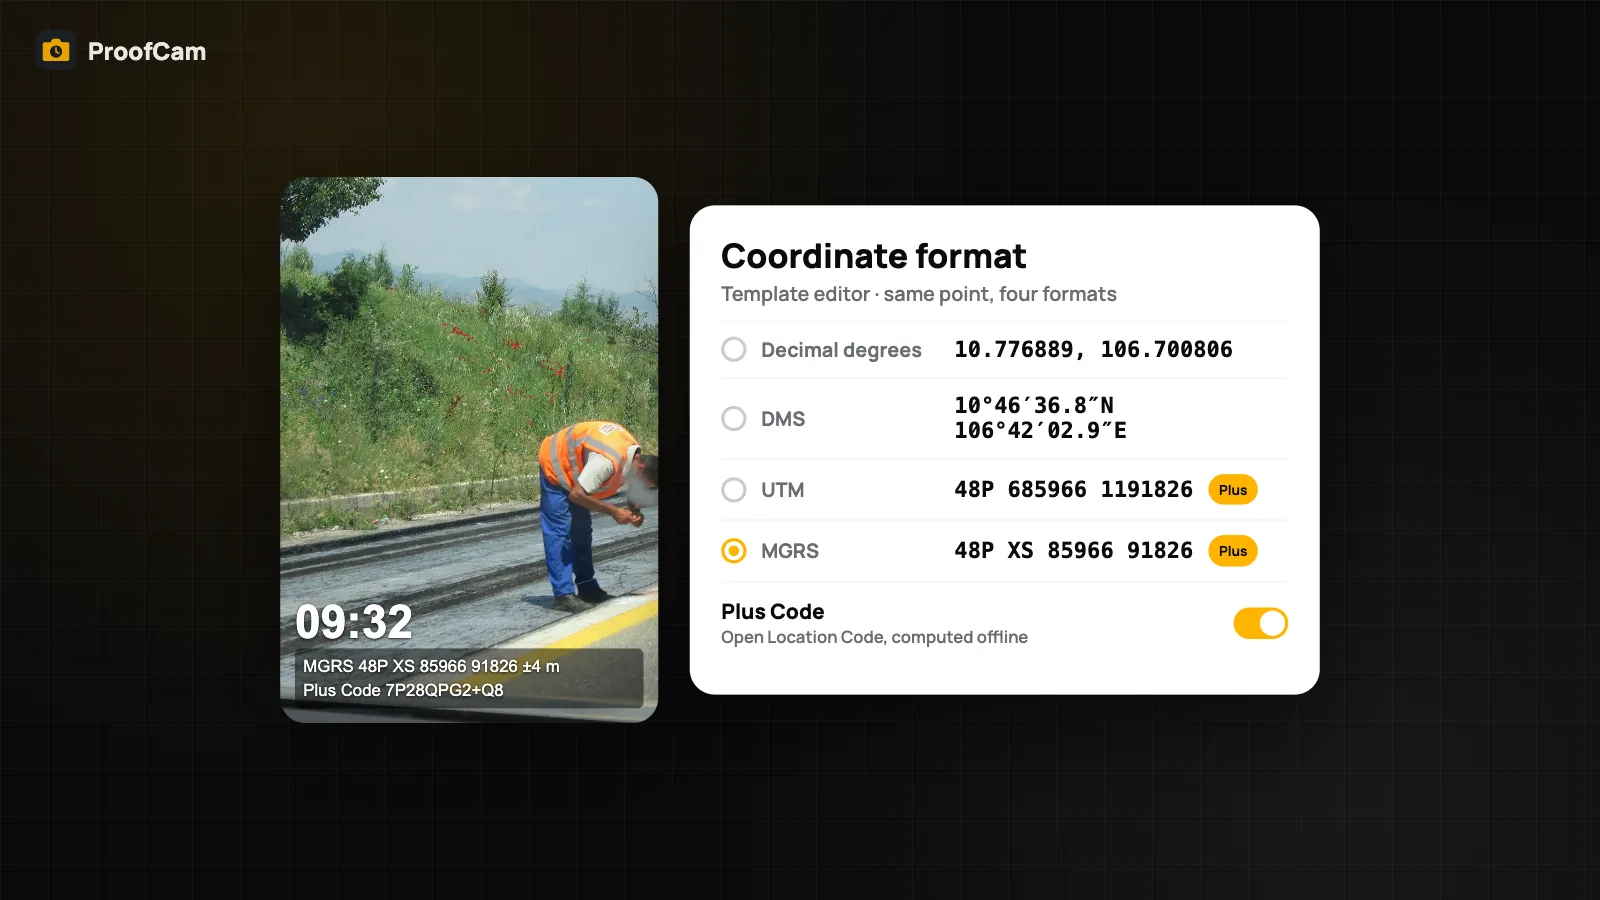
If you also need coordinates in UTM or MGRS on the same photo, see UTM and MGRS coordinates on photos.
Which plan and platforms
| Feature | Plan | Android | iPhone |
|---|---|---|---|
| Level on preview, Set zero | Free | Level button (photo mode) | Bubble level in Settings |
| Compass line (true / magnetic) | Free | Yes (adds declination) | Yes (system true heading) |
| Pitch and roll saved in evidence data | Free | Yes | Yes |
| Print pitch / roll on the photo | Plus | Yes | Yes |
| Inclinometer: Surface, Plumb, Beam, Hold | Free | No separate screen | Yes |
| Antenna mode / AngleCam | Plus (Android also: telecom pack) | AngleCam | Inclinometer Antenna mode |
| 4-direction set with collage | Plus | Yes | Yes |
FAQ
Why is there no compass number on my photo?
The compass reading was rated unreliable, usually because of nearby metal or a magnet. ProofCam prints no heading rather than a wrong one. Move away from metal and recalibrate with a figure-eight motion.
What does the T or M after the bearing mean?
T is true north, M is magnetic north. The evidence data stores both, plus the declination.
Are pitch and roll saved if I don't print them?
Yes. They are always saved in the photo's evidence data. Printing them on the stamp needs Plus.
Is the phone accurate enough for formal measurements?
Treat it as documentation, not a survey instrument. For precise work, use dedicated equipment and record its readings on the photo.
Related: field meters, RTK GNSS and laser and blurry photo detection.